
Picture Frame Gallery - Brooch Collection
This is a current work-in-progress collection that I have been working towards over the course of a year. I wanted to create number of completely different picture frames that will hold a very sentimental insert. 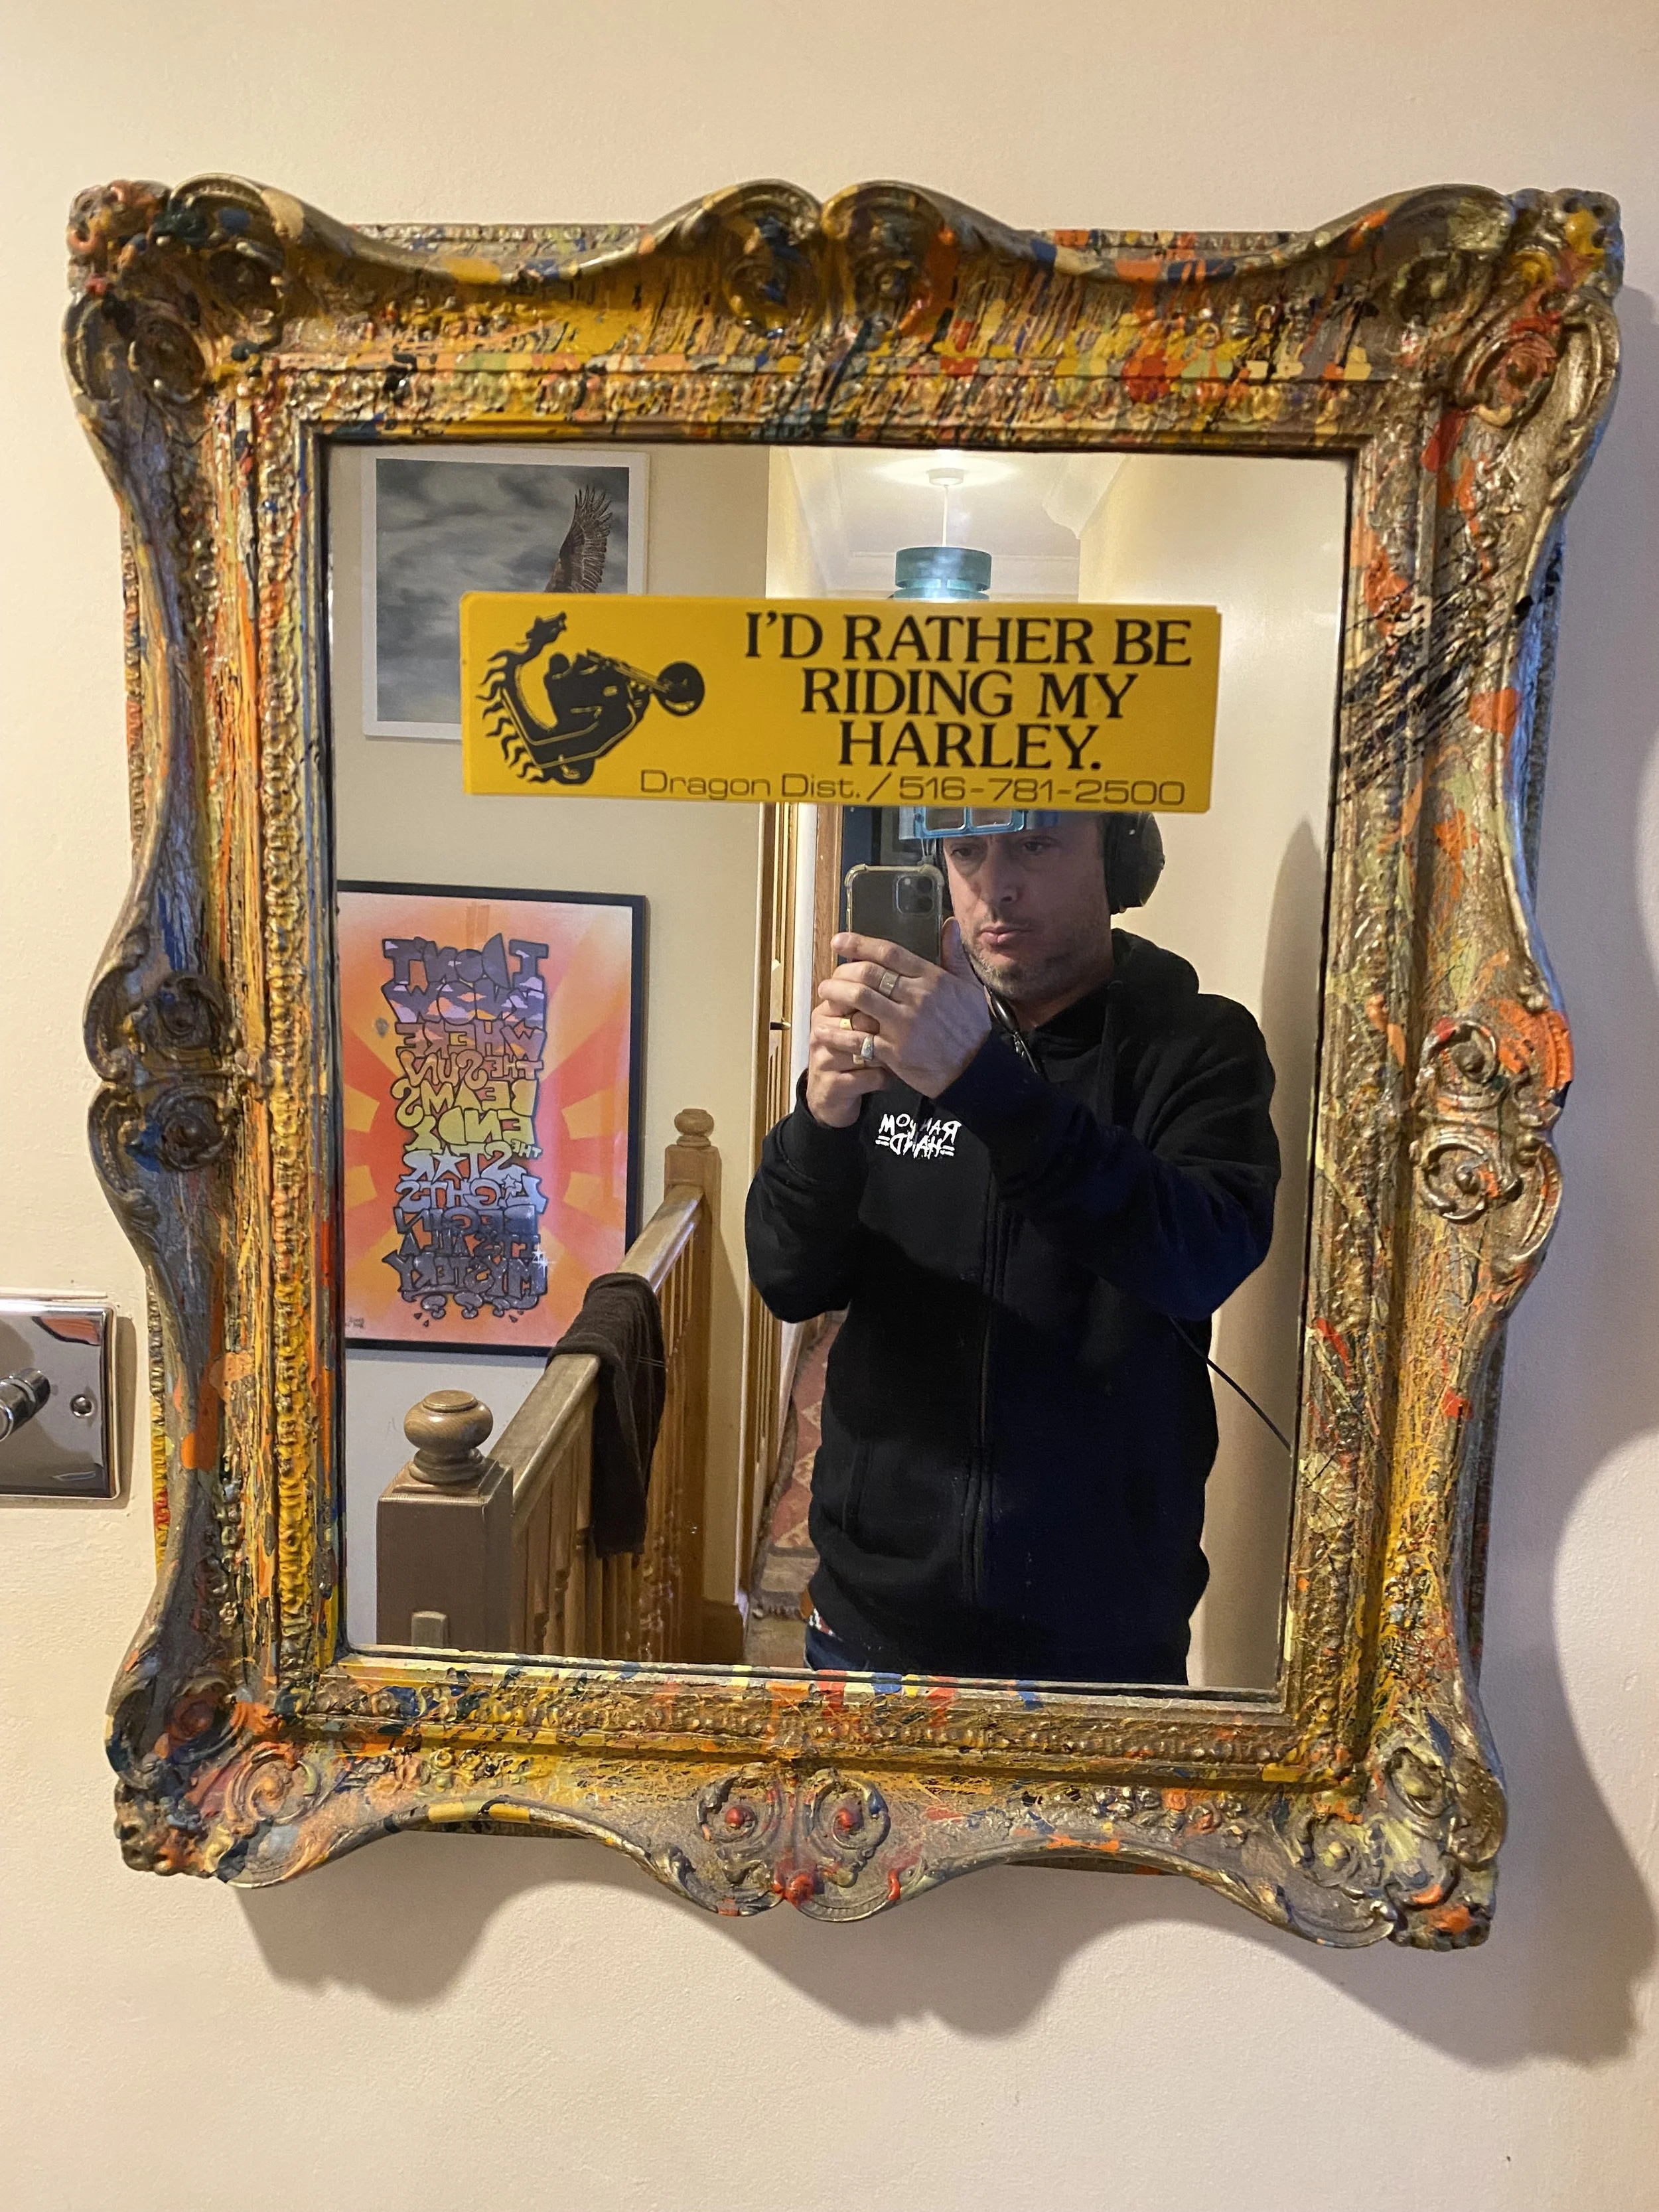
I have looked into this family mirror my whole life, from learning to put on a tie for school, to gelling my hair as a teenager! I thought this would be the start of a great carving project and something that was close to my heart.
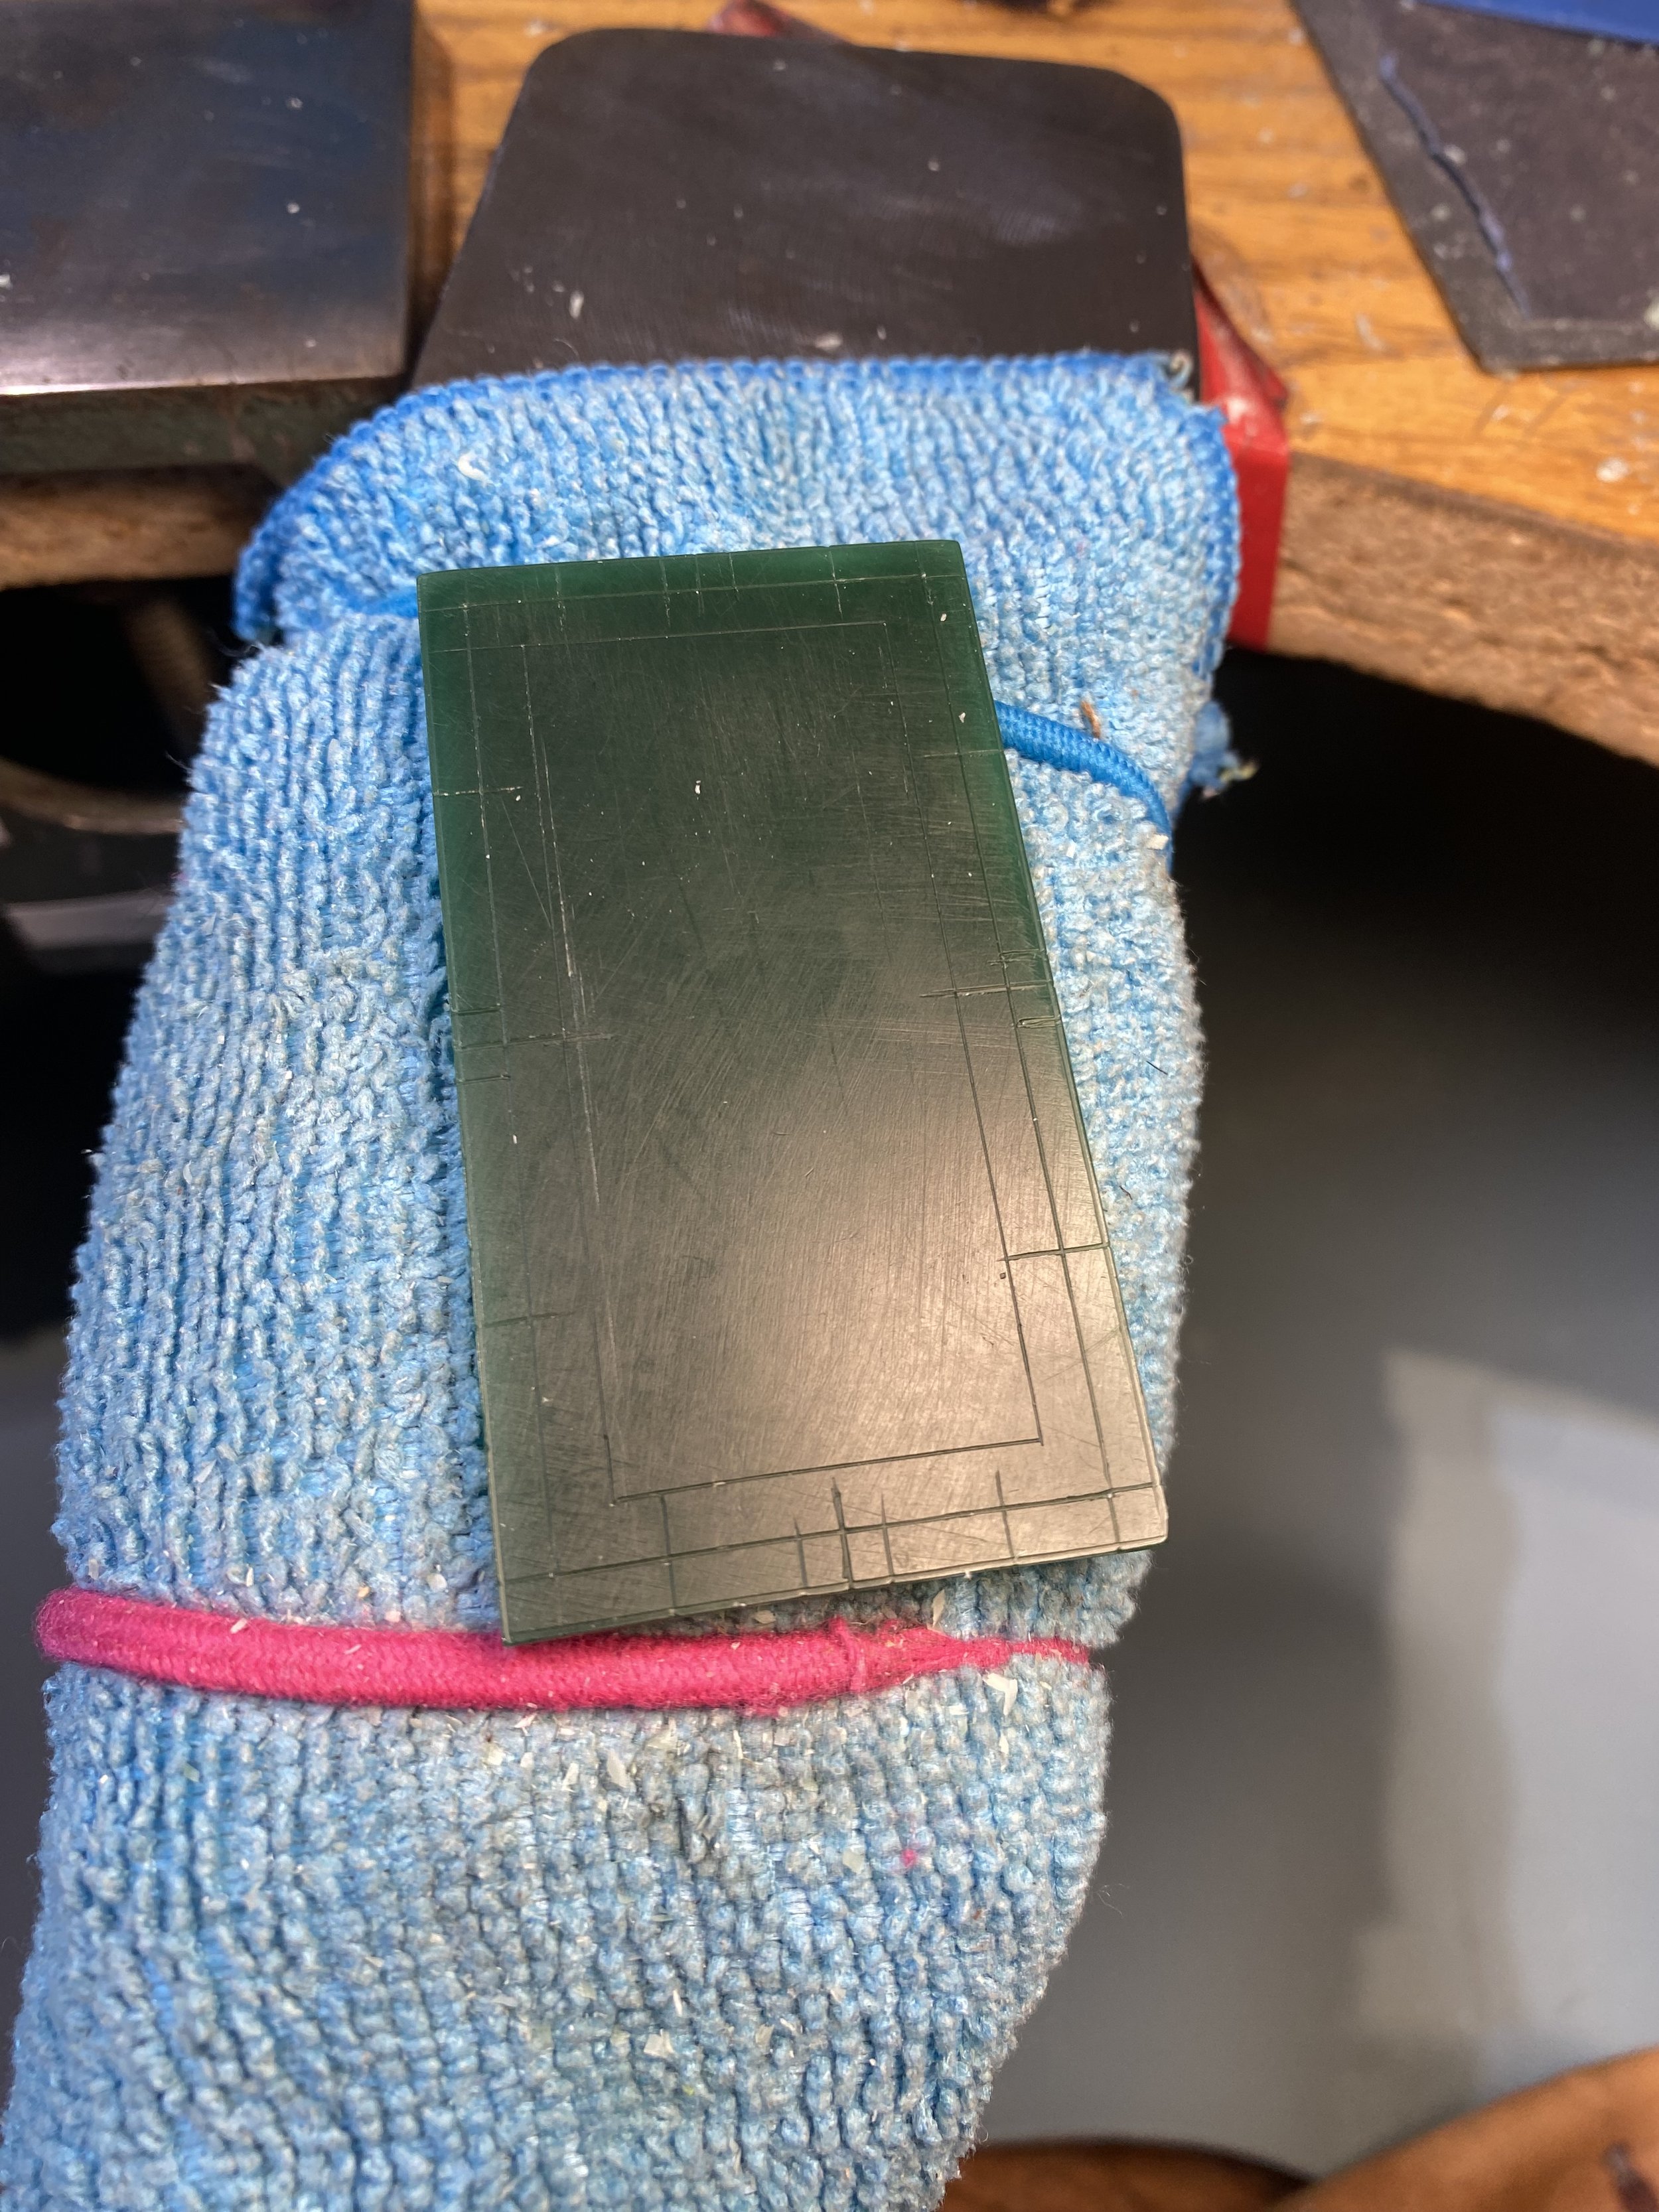
First starting with a blank canvass, scoring out the boundary lines before the artistry begins.
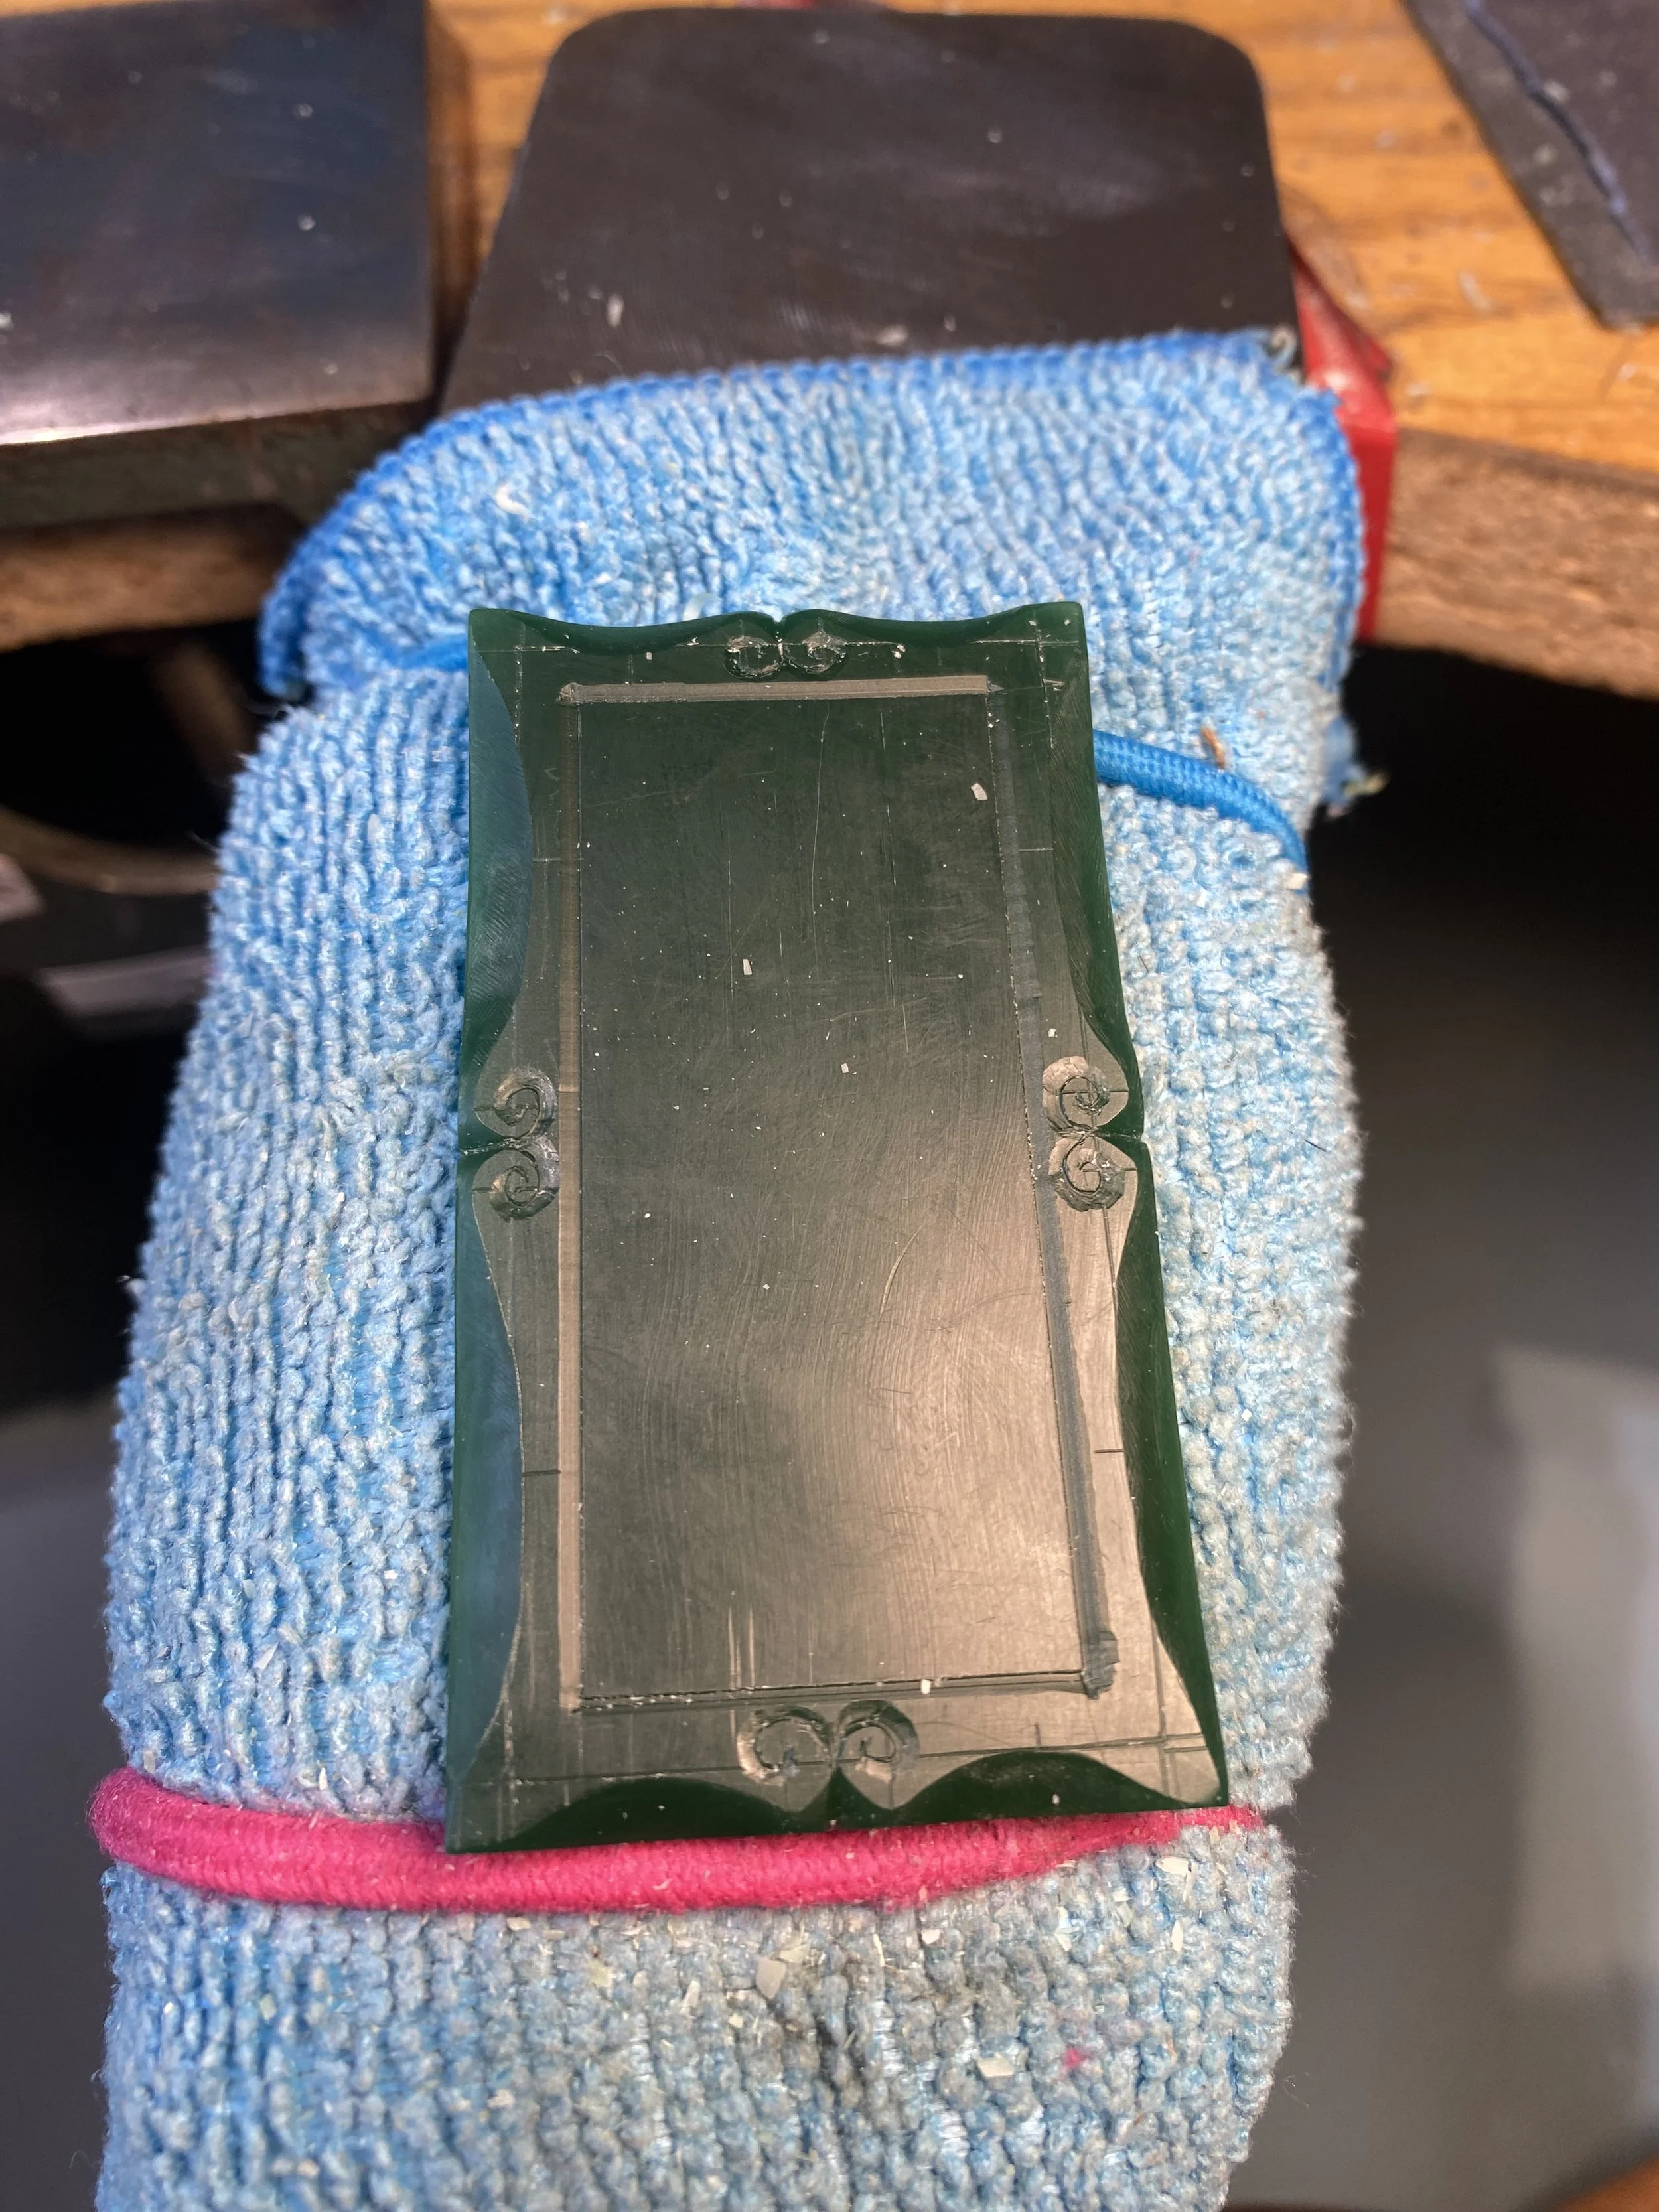
Following on from the inspiration of the family mirror, I wanted to get the main scallops on the side in early in order to allow space for the rest of the design.
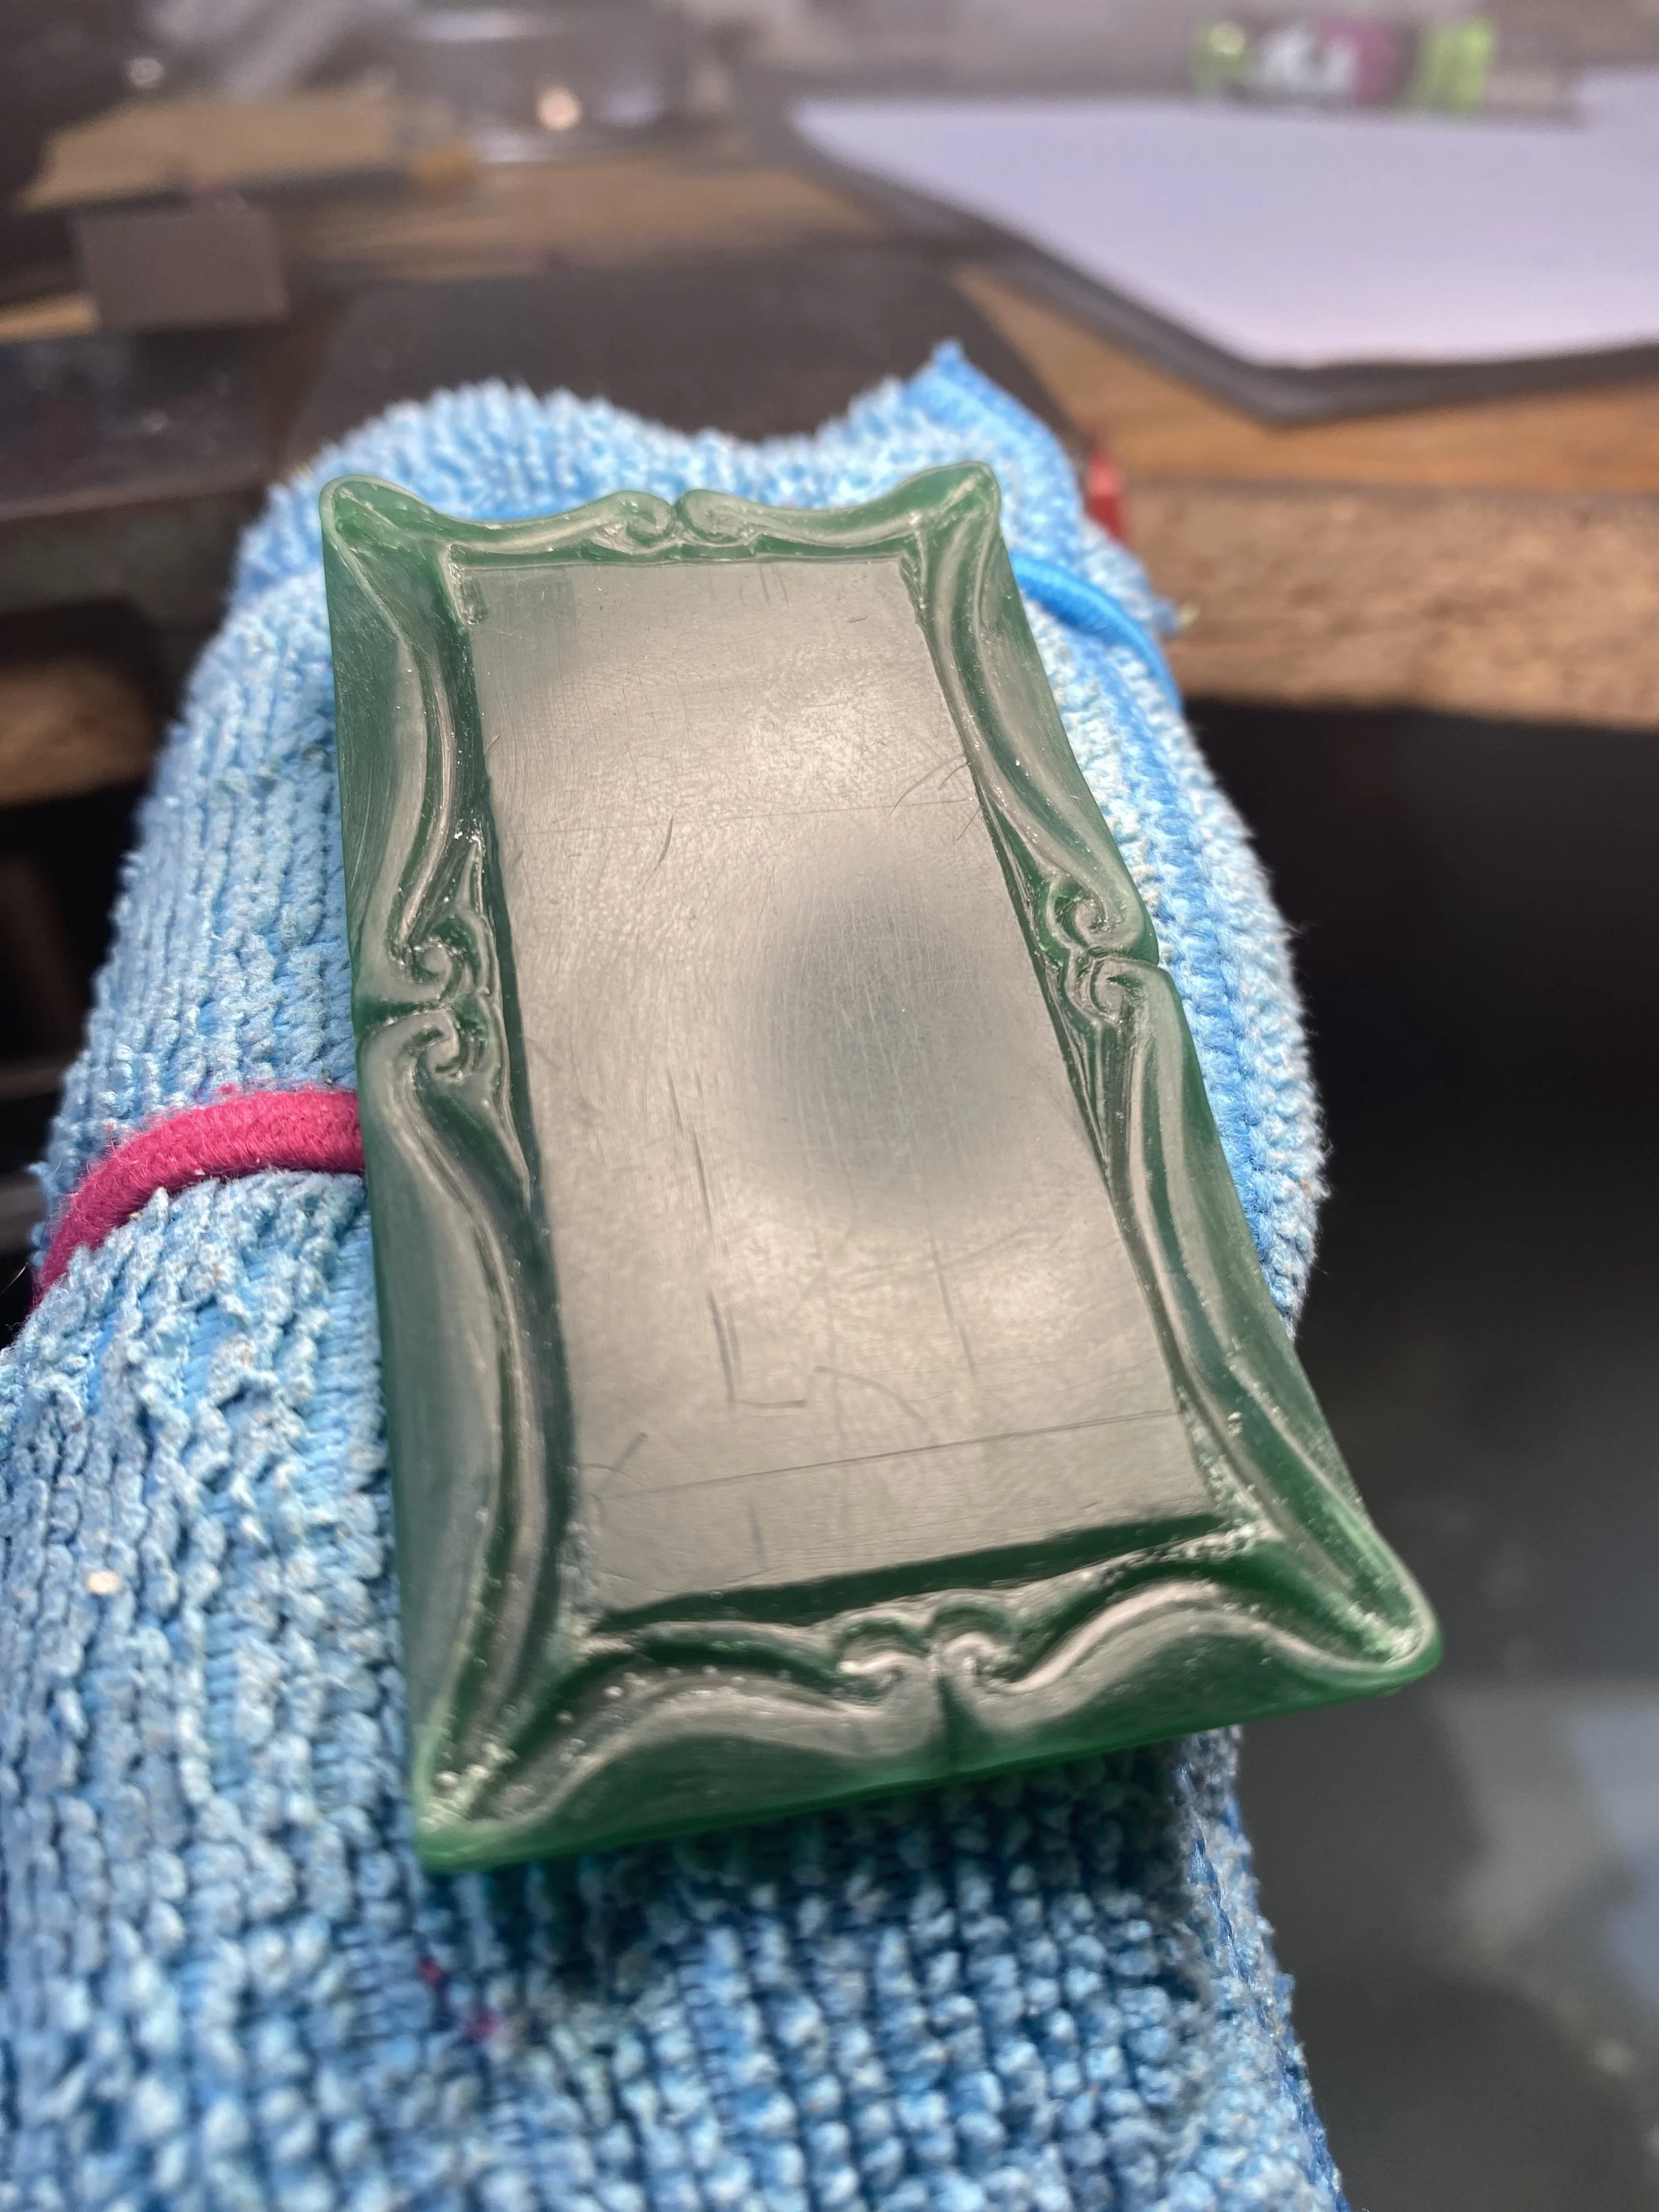
Starting to bevel the centre section to give more depth and definition to the design.
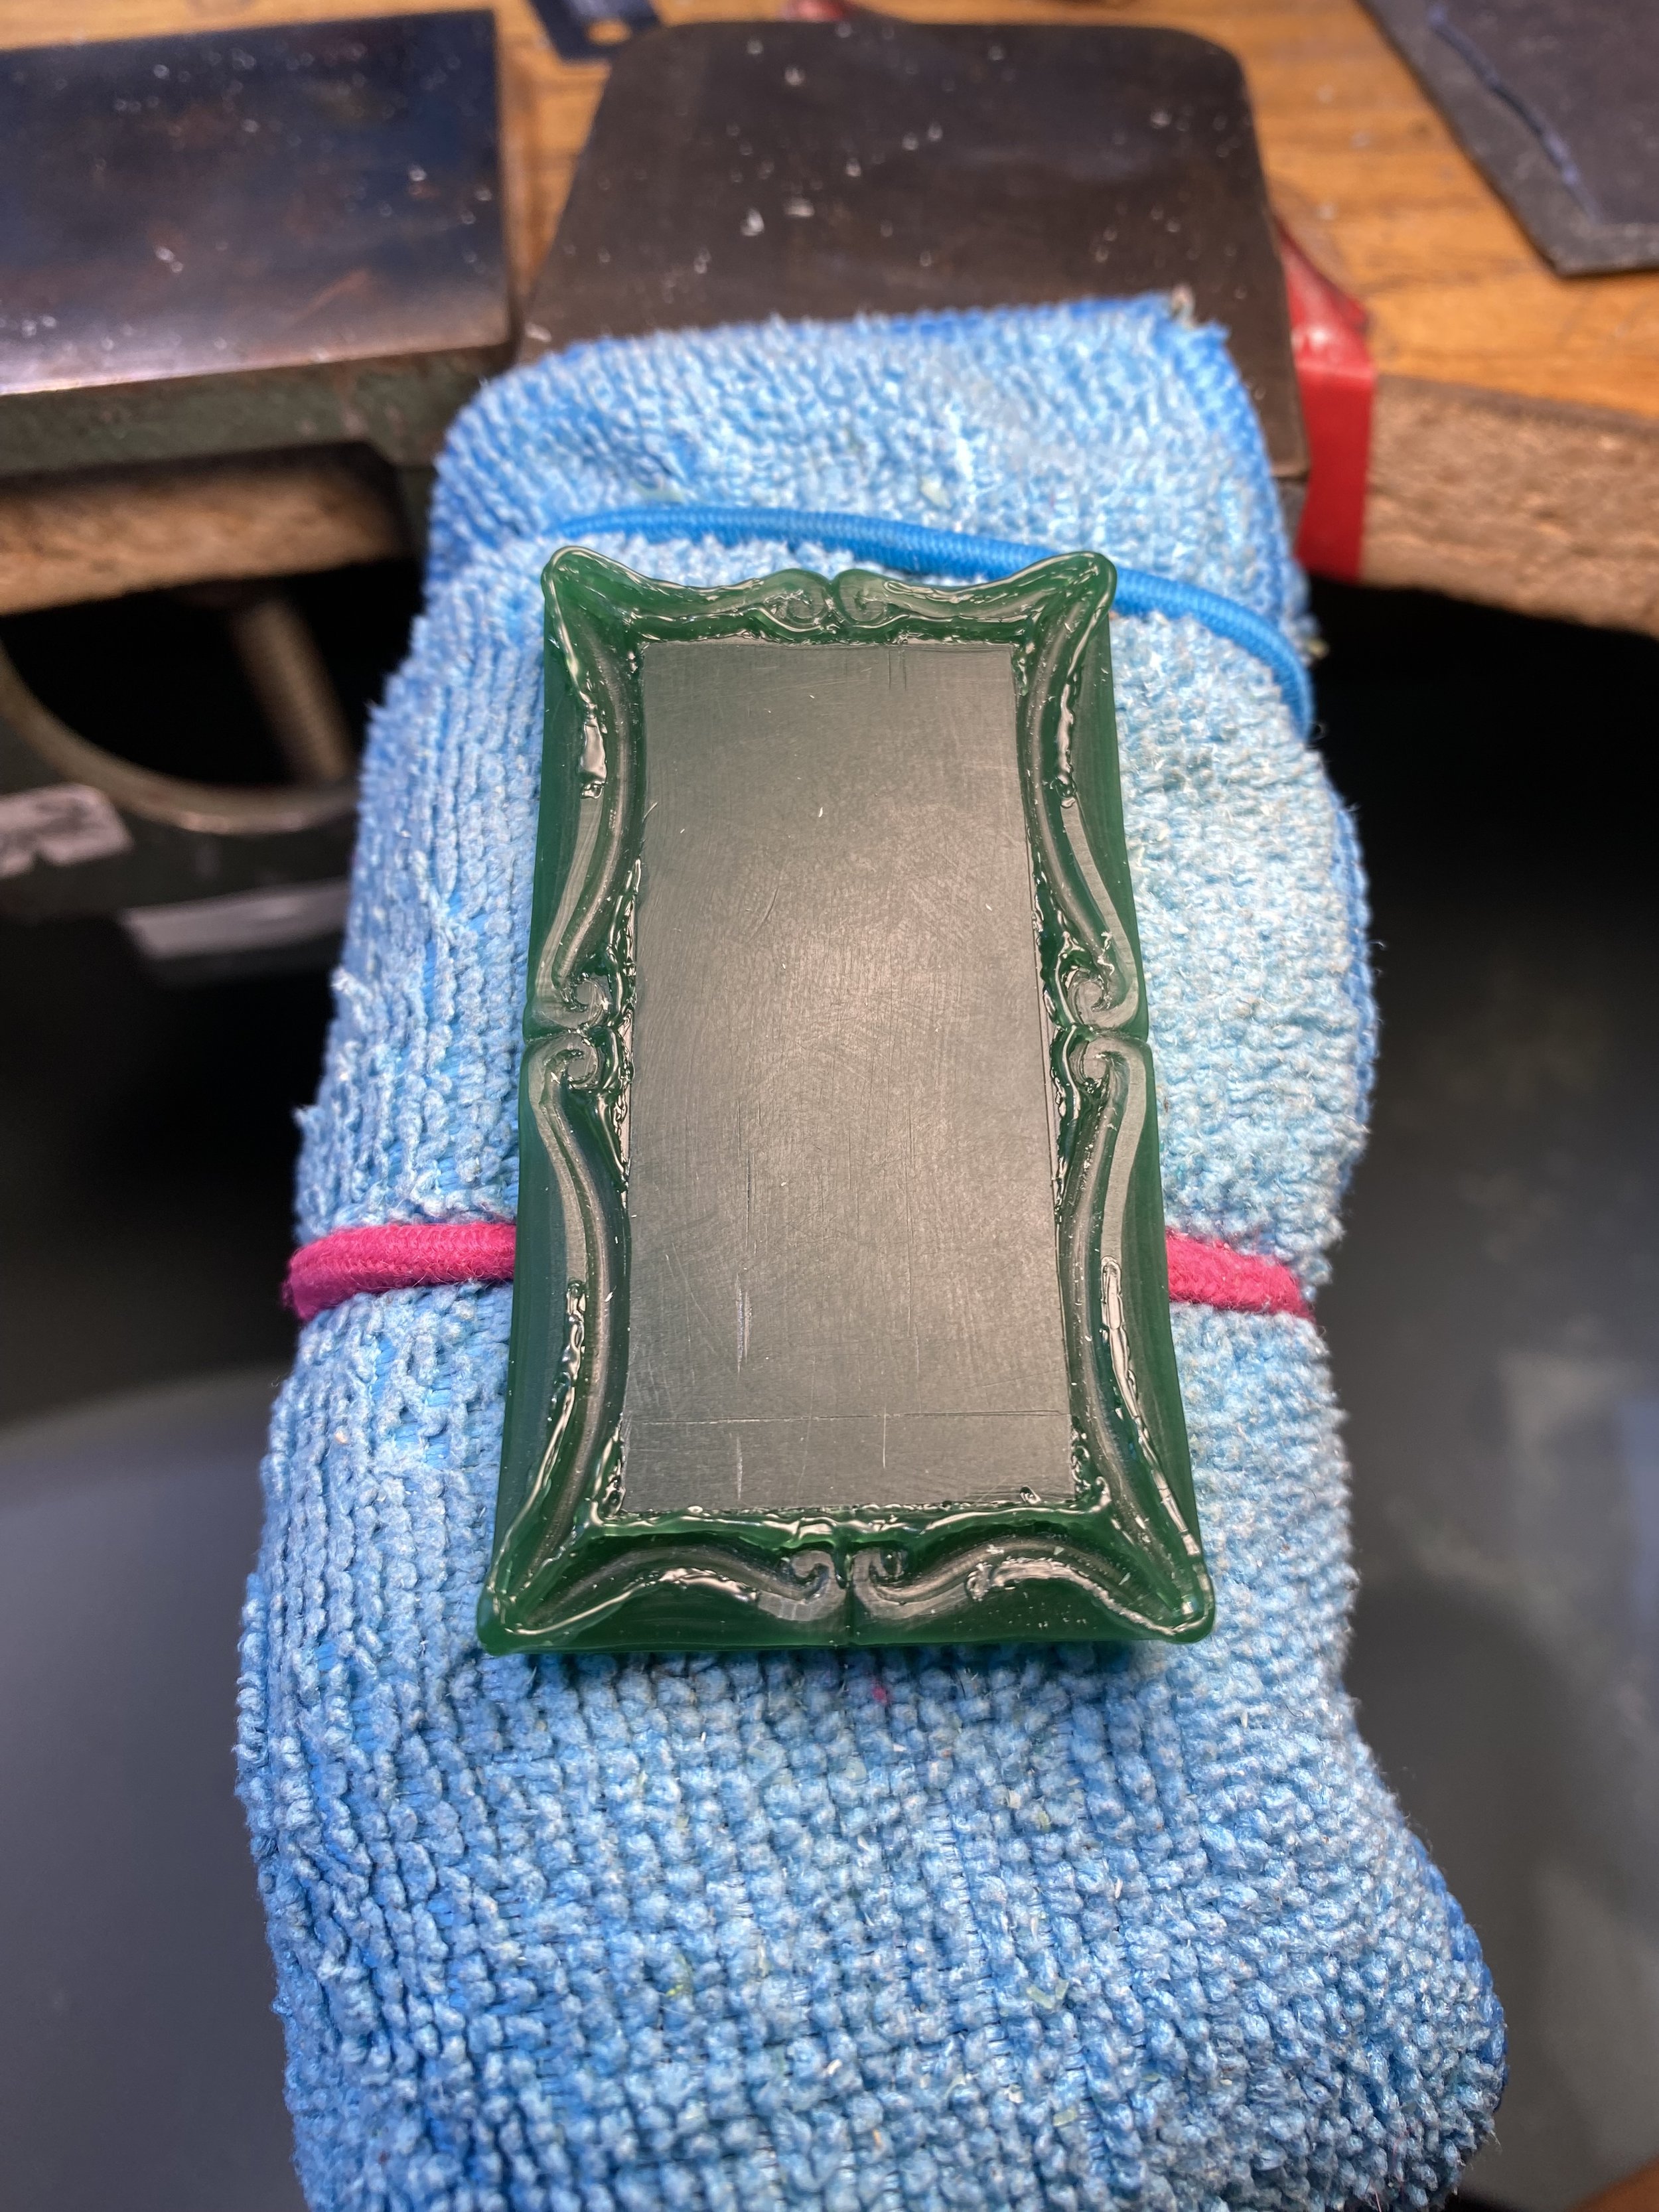
Giving some more definition of the outside scallops and building up the central swirls to contrast.
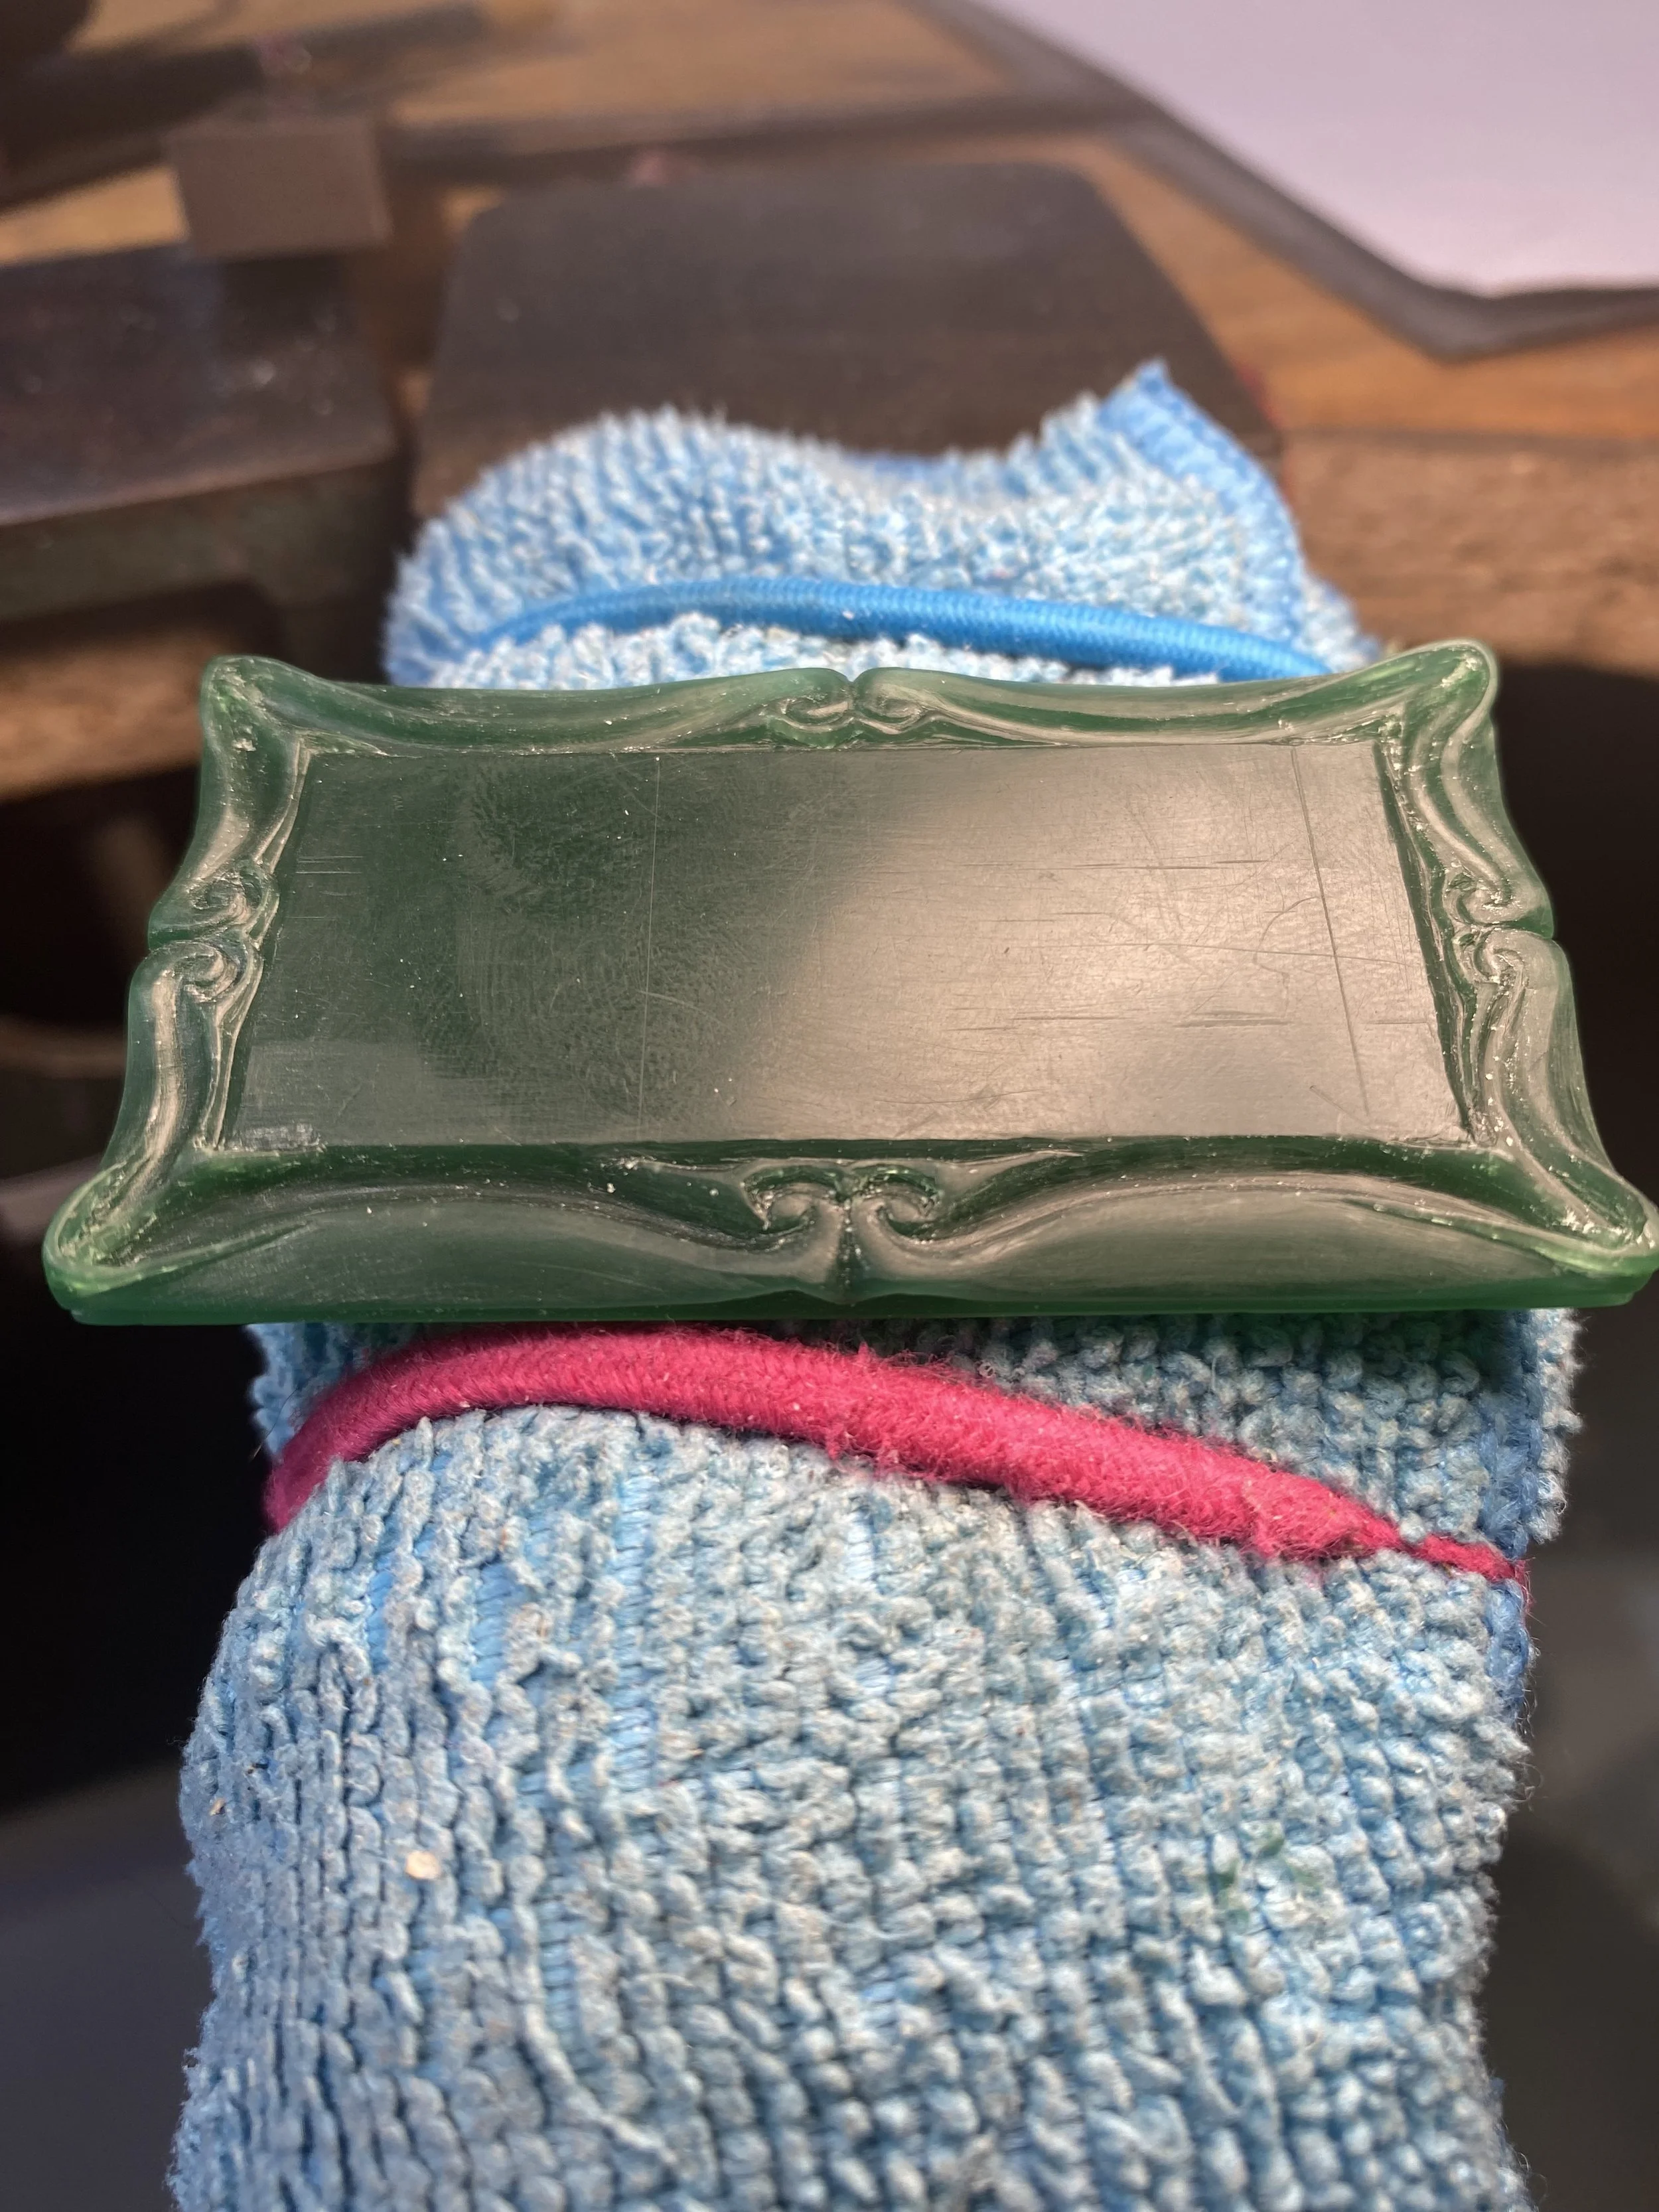
Created accentuated corners to give the piece more presence.
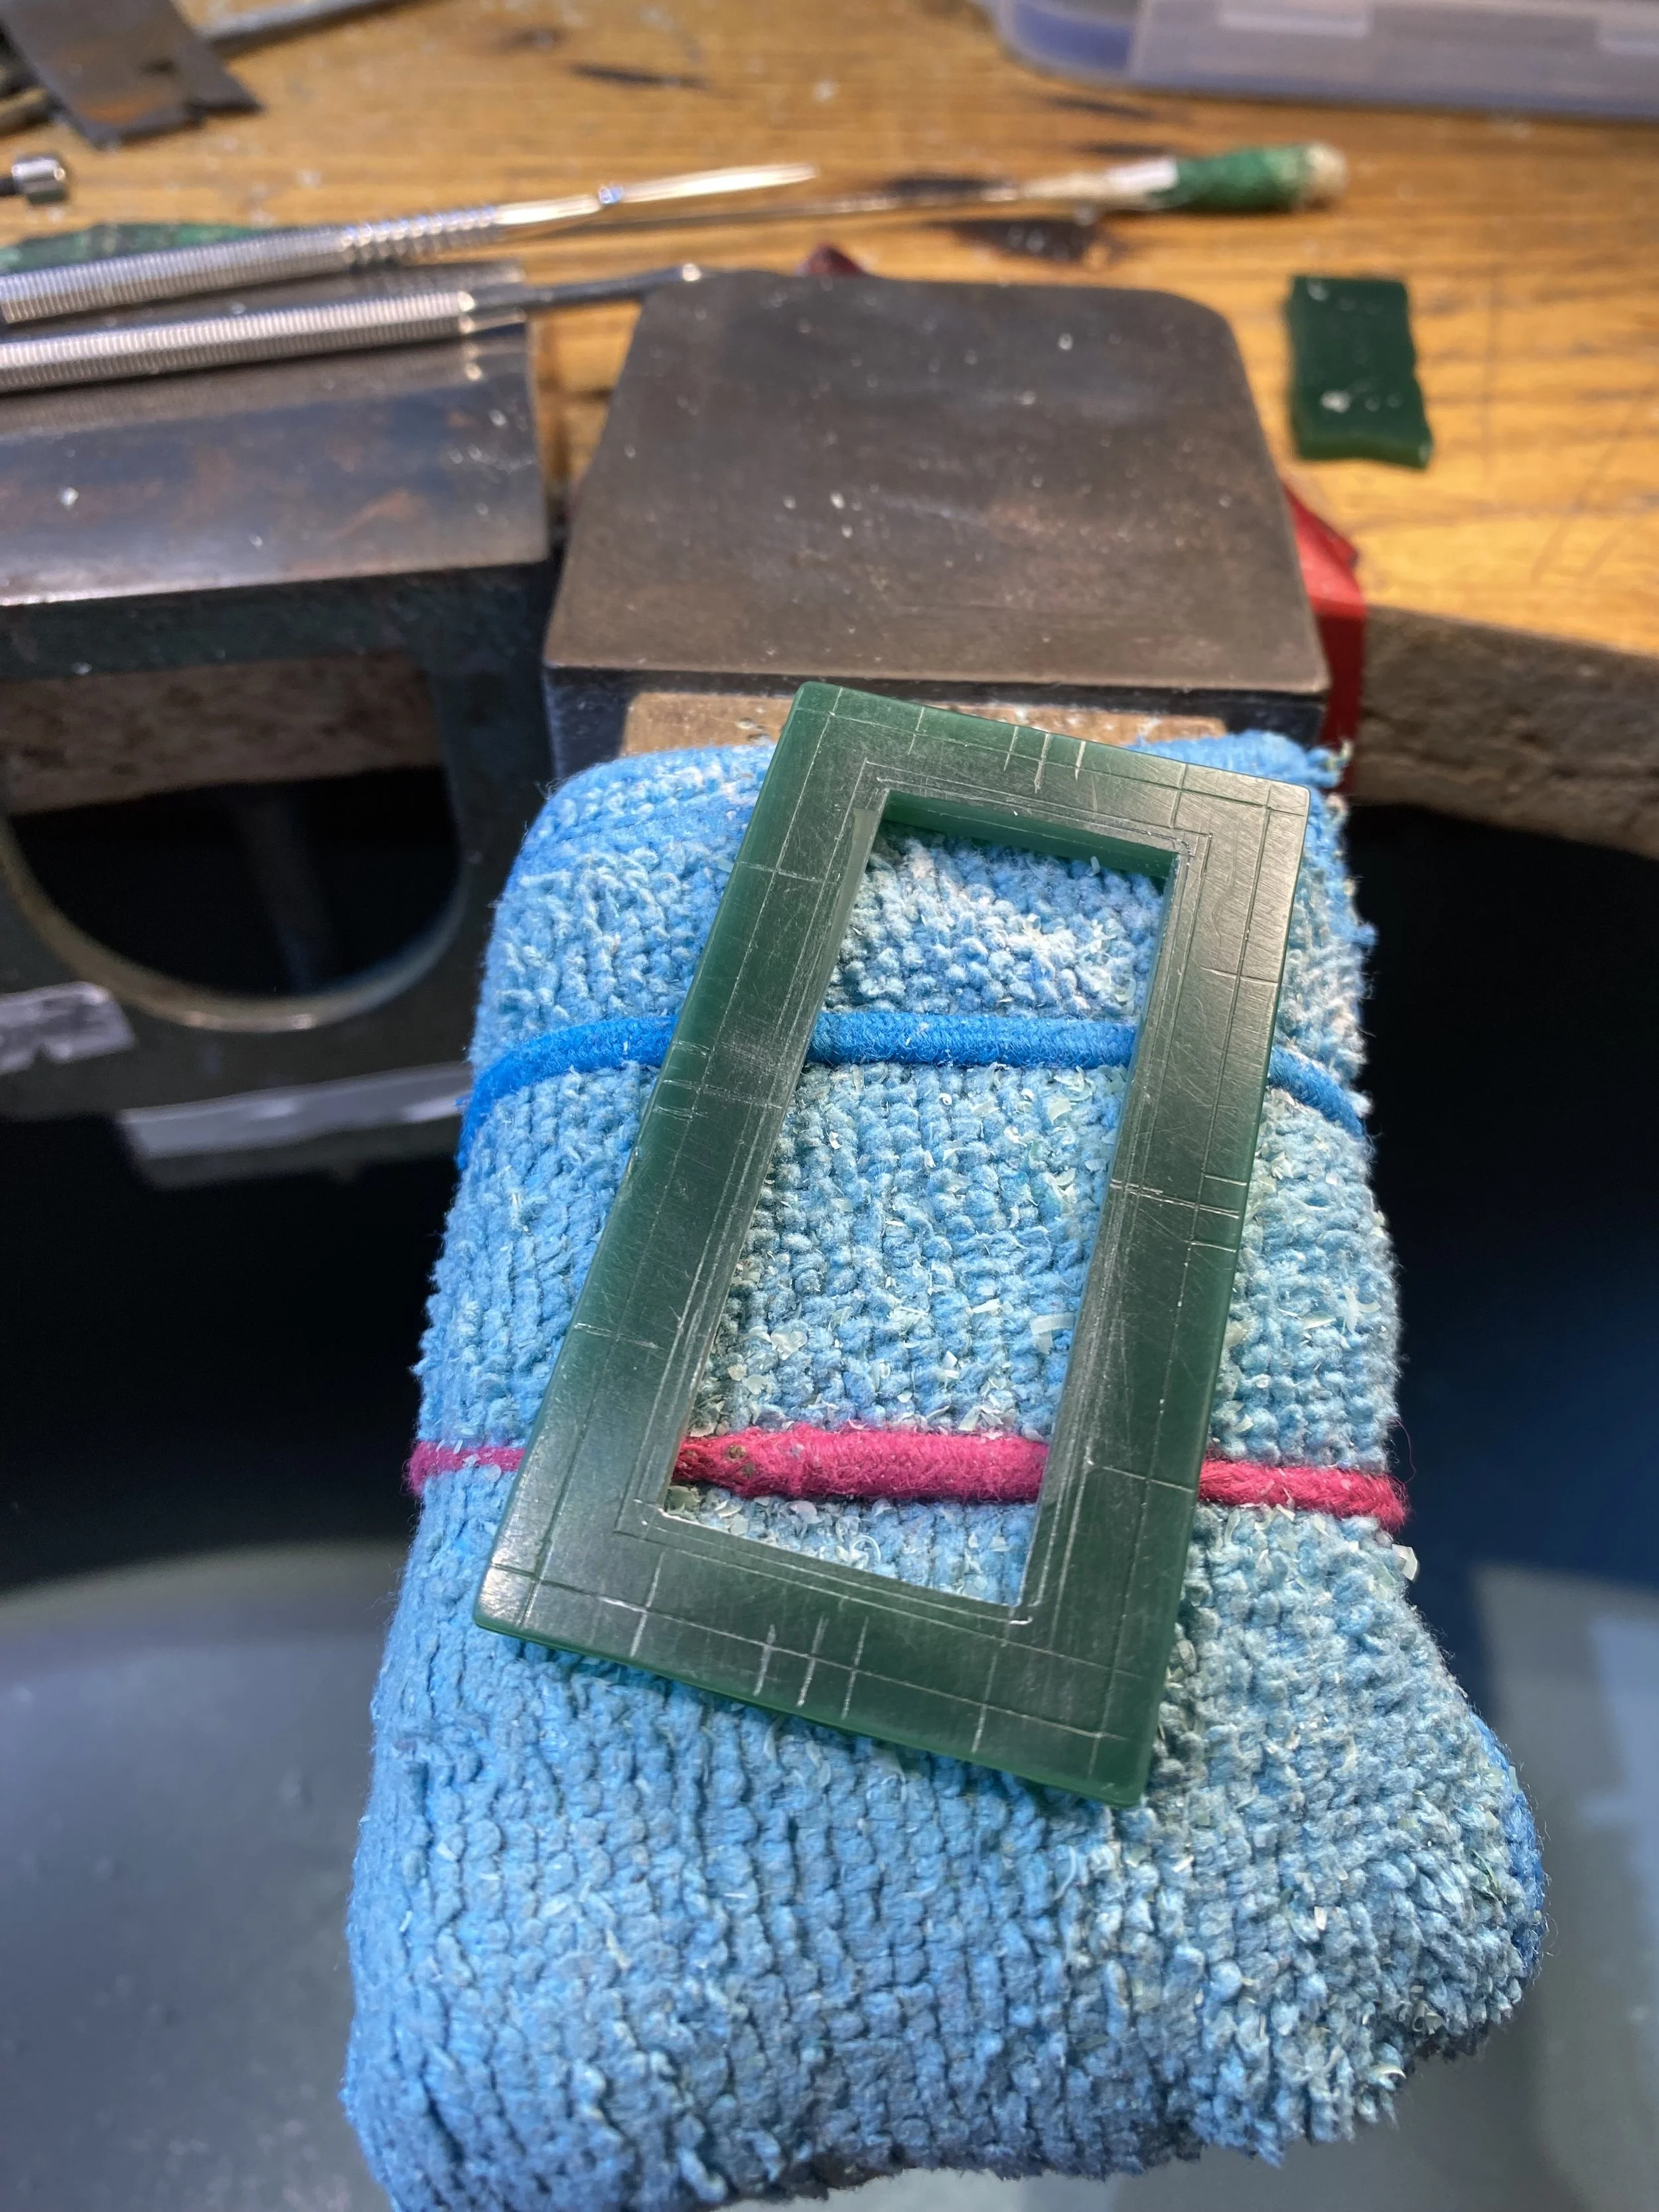
Flipped over the carving, calculated the size of the boarder and removed the centre. I did this at this stage to help give the carving some structural rigidity when mainly carving on the front.
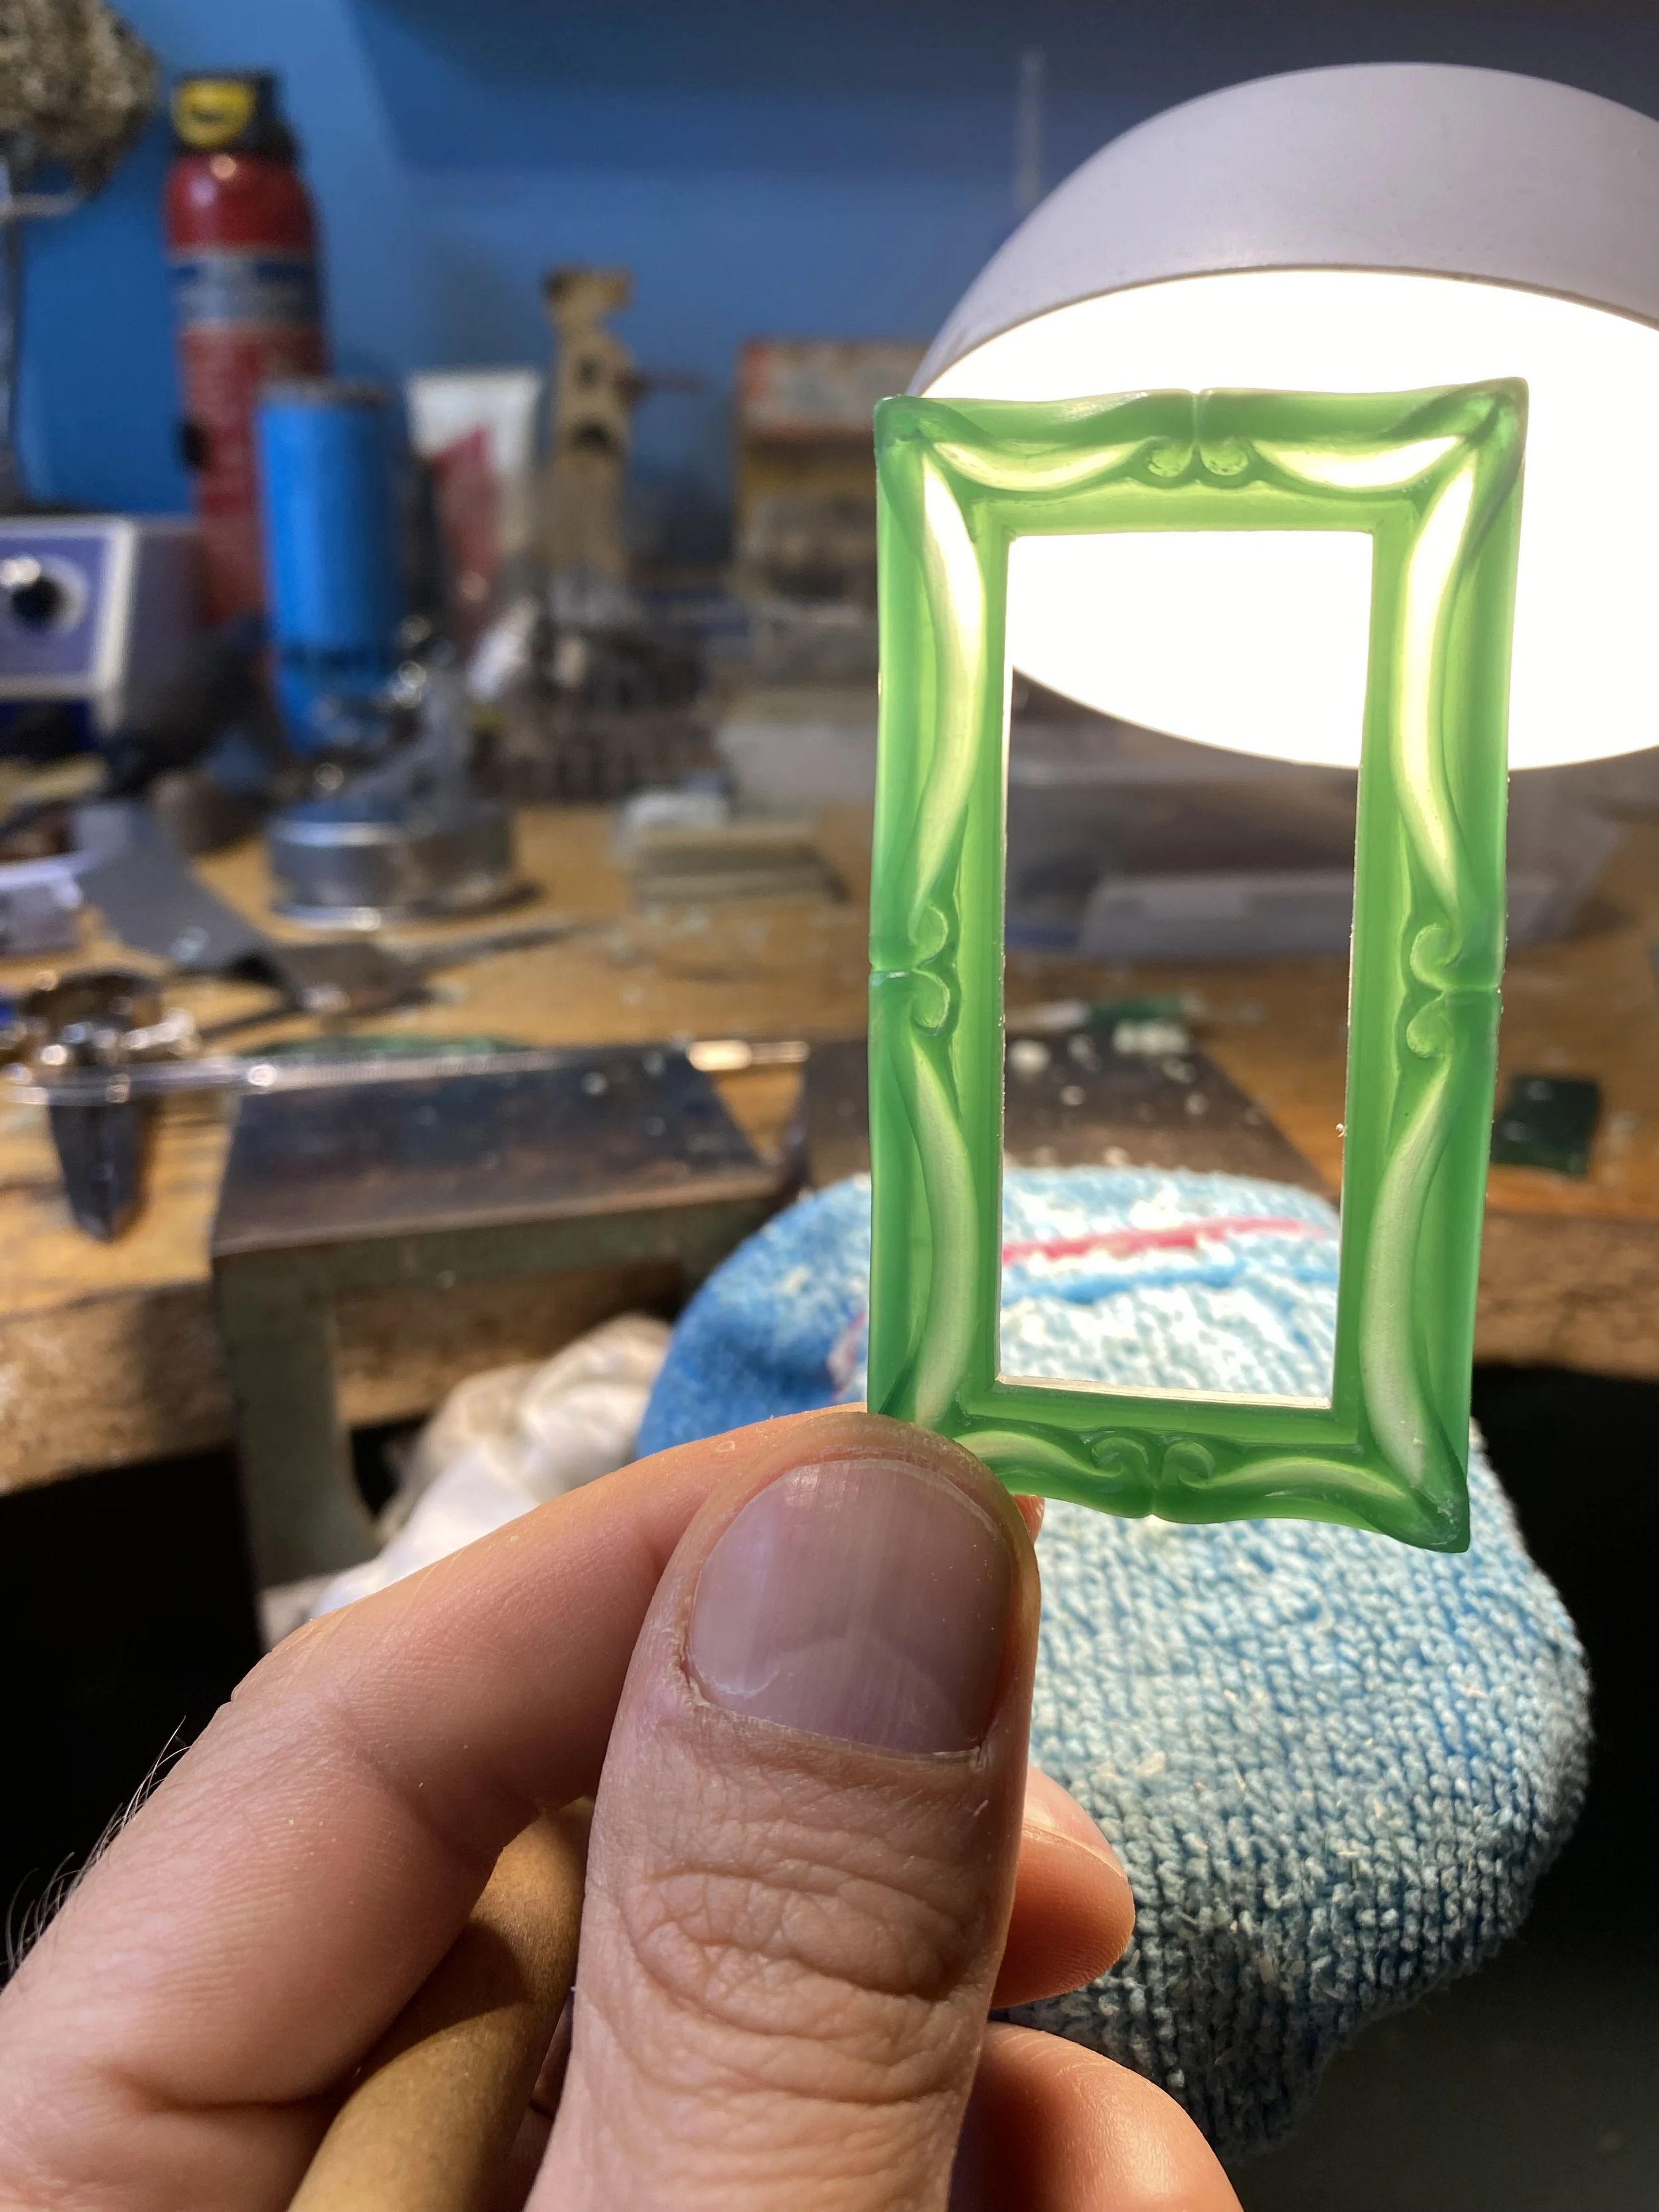
Thickness check... I think that's just about at tolerance for a casting!
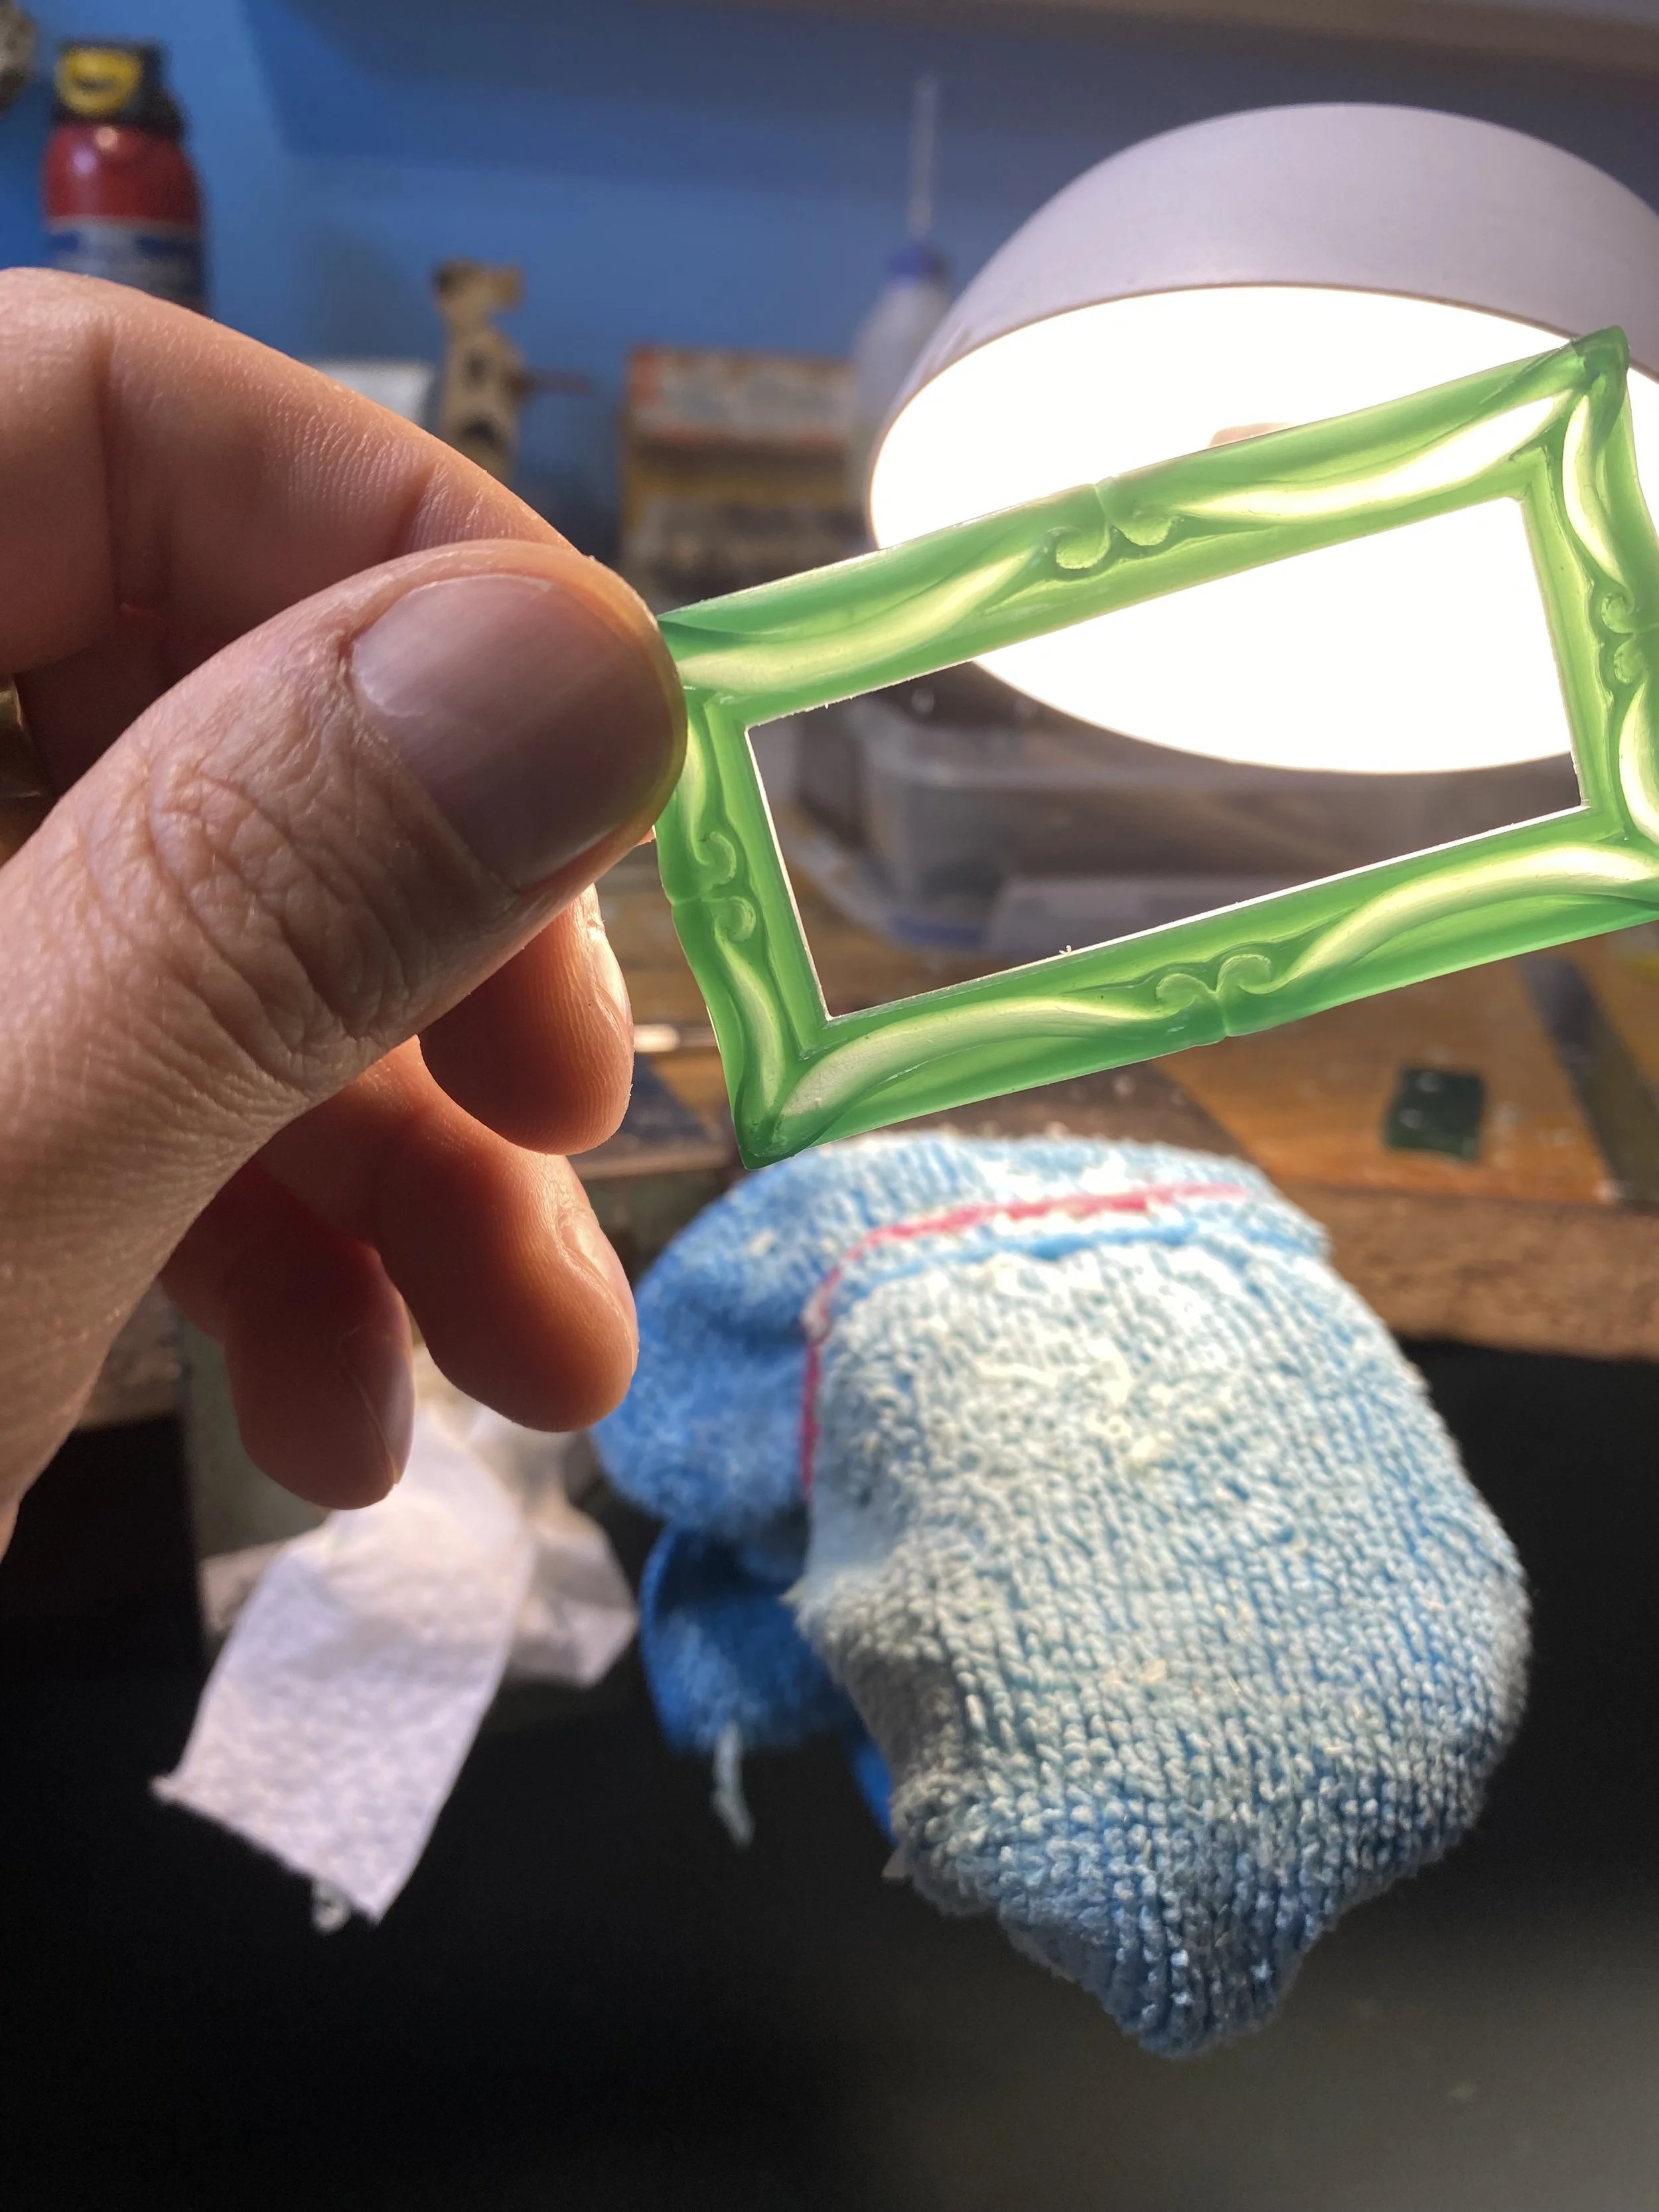
There is a limitation as to how thin you can carve to as the weight of the investment (casting plaster) will sometimes shift and not allow the silver to flow propperly.
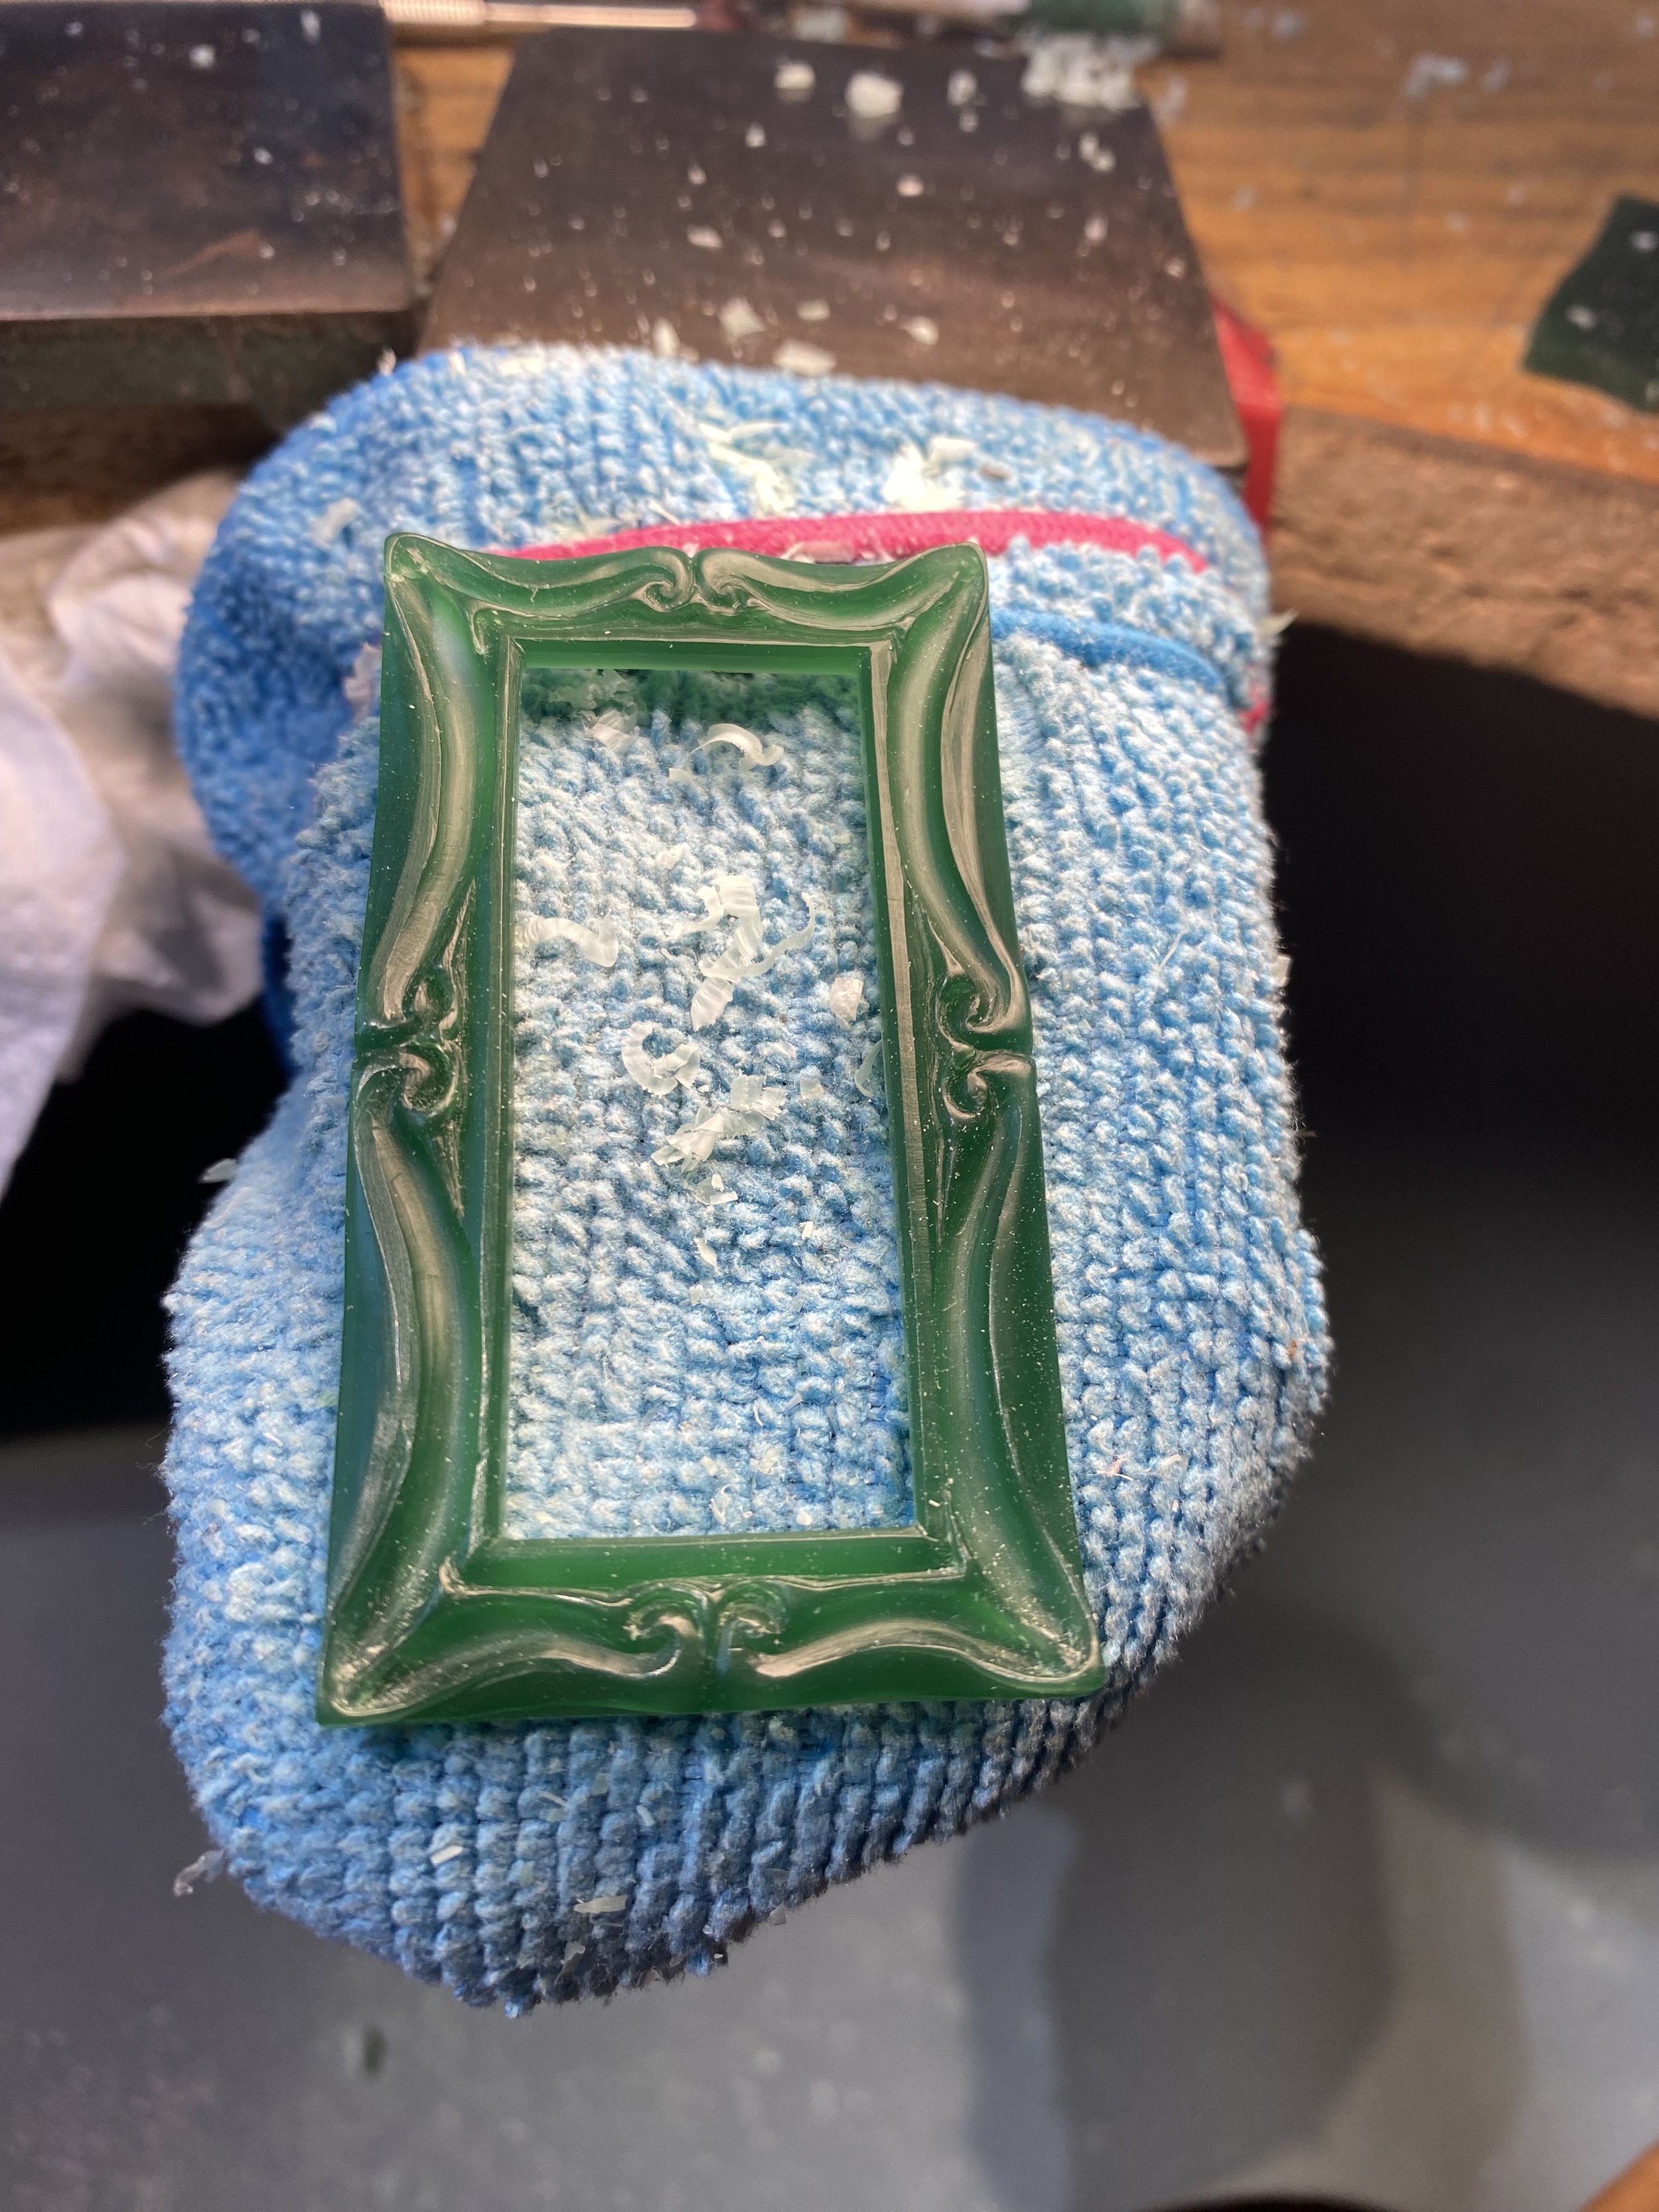
Fully carved and built up. I love the flow of this piece, with a big nod to the inspiration from the family mirror.
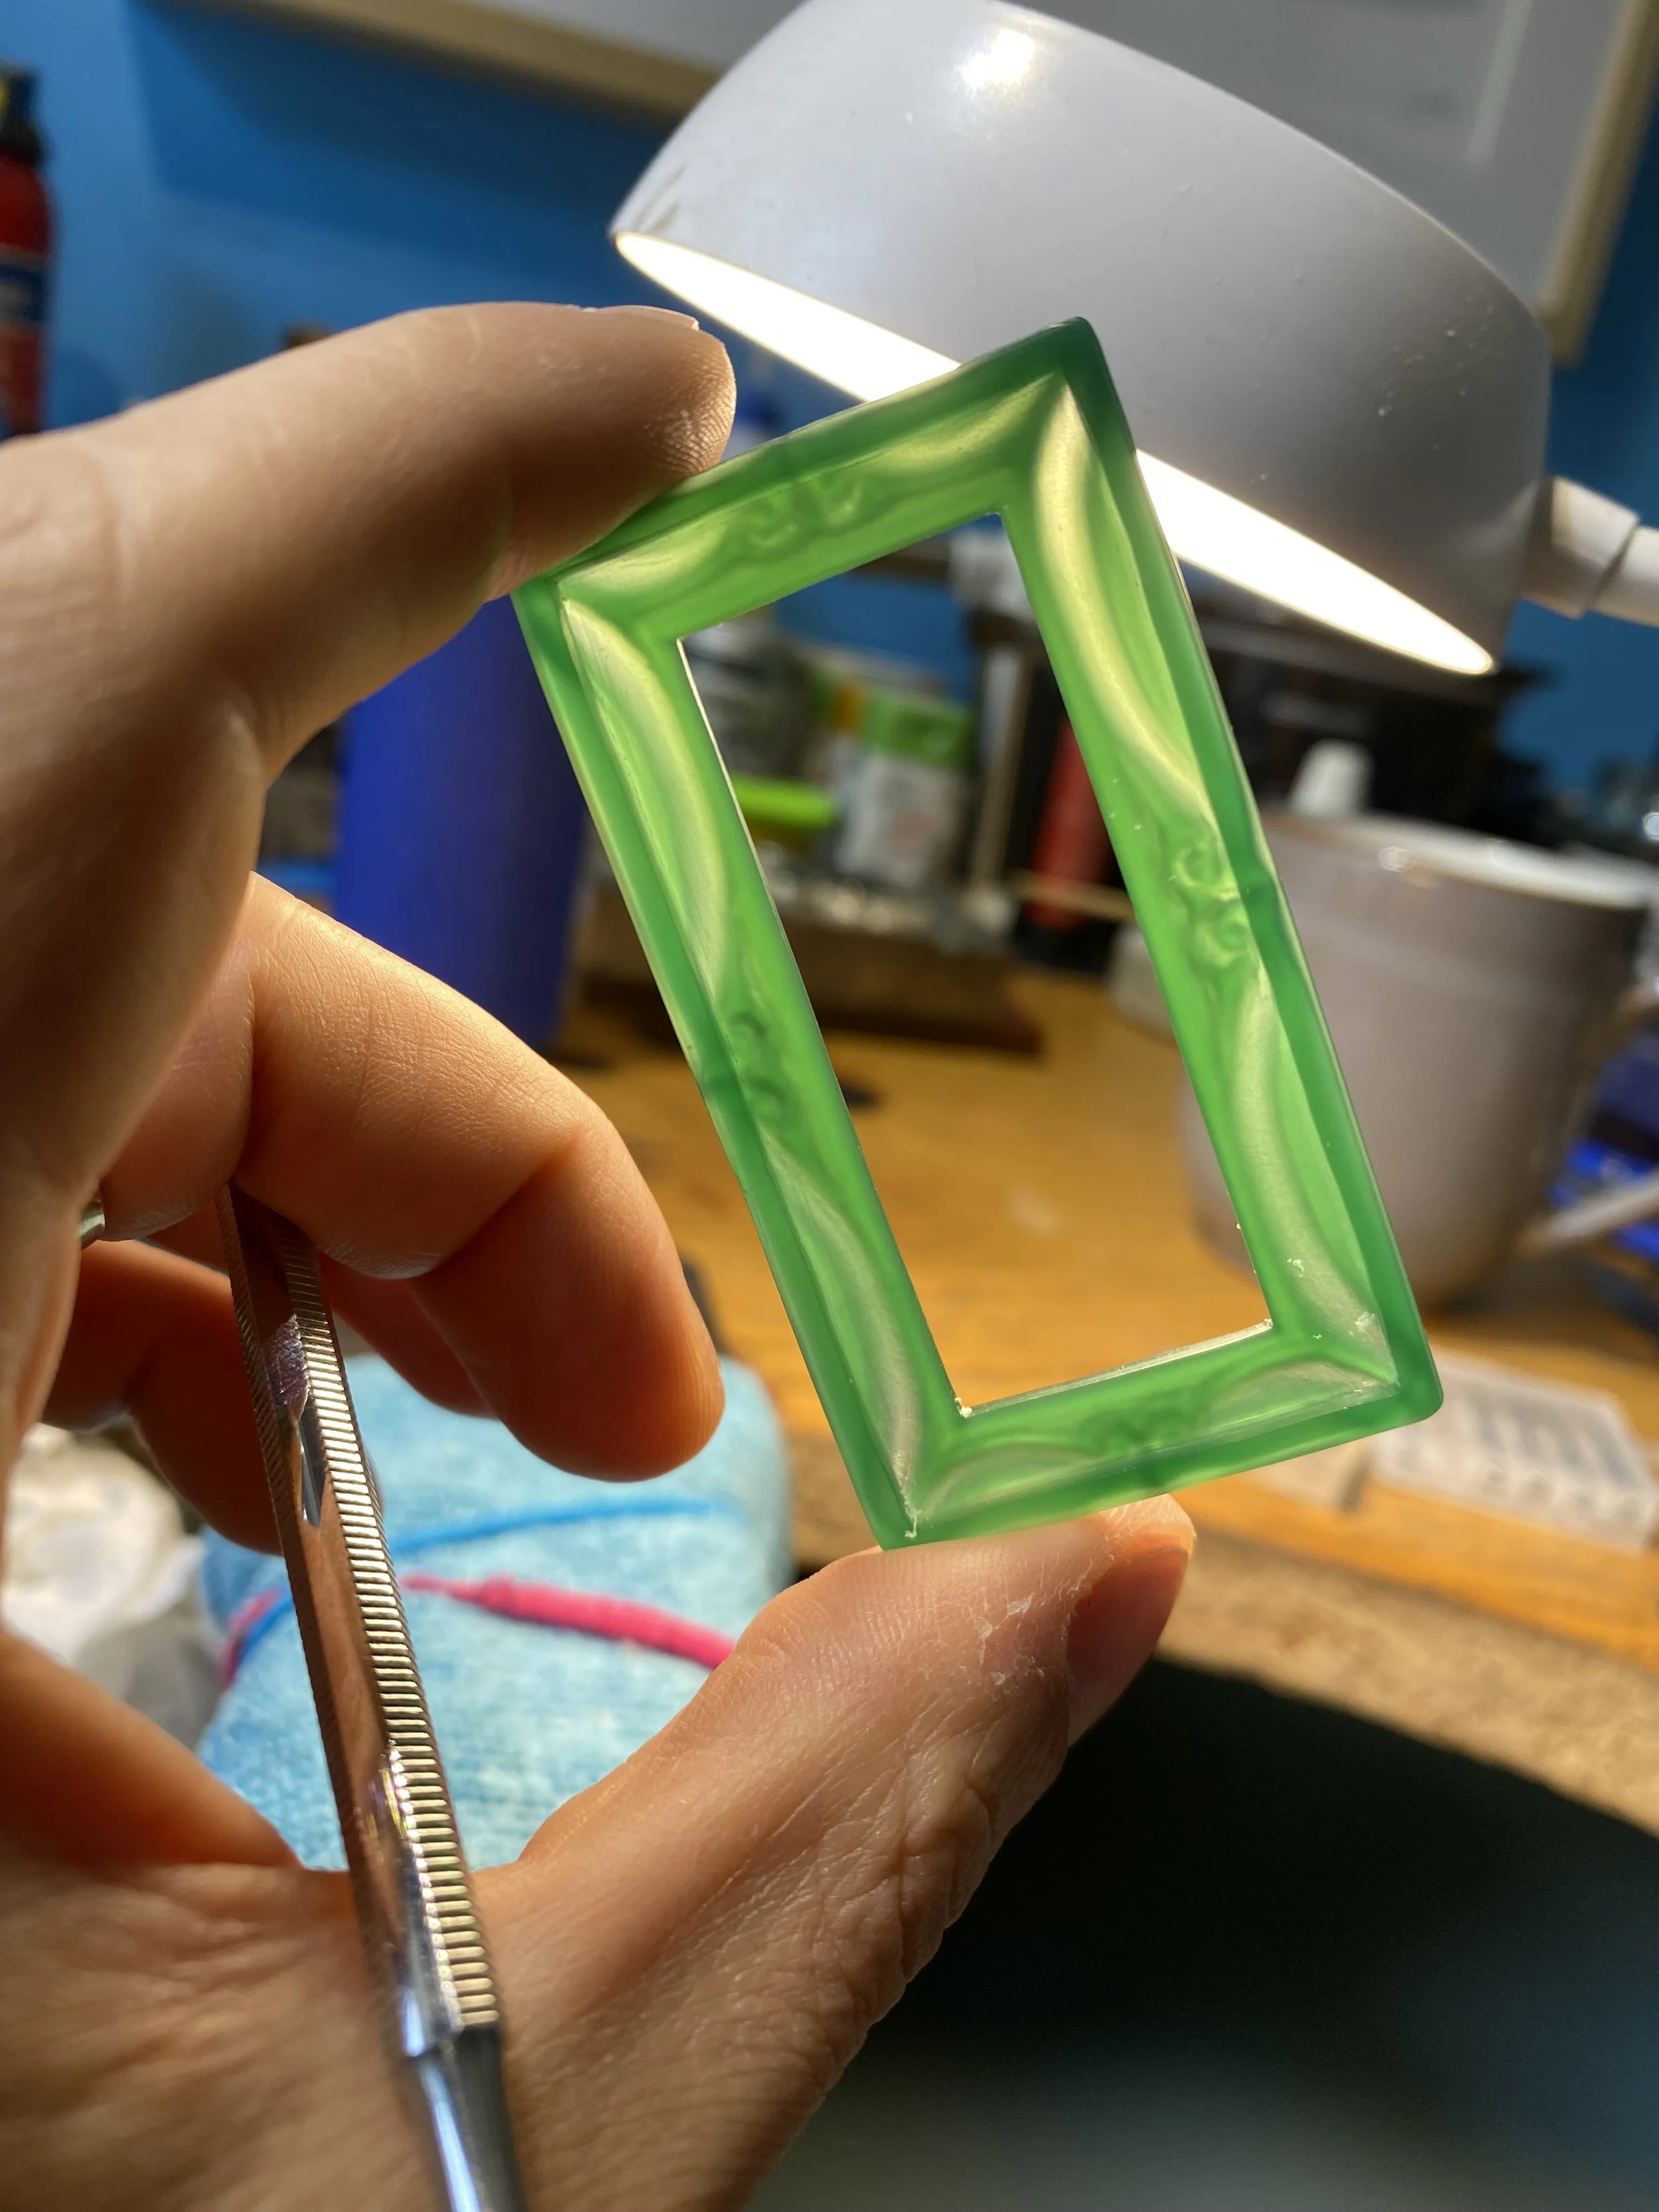
Here you can see the back of the carving which is recessed to allow the backplate to be fitted. I actual added a sheet of think Pink dental wax to the recessed interior as I had a fear that the casting process wouldn't flow properly.
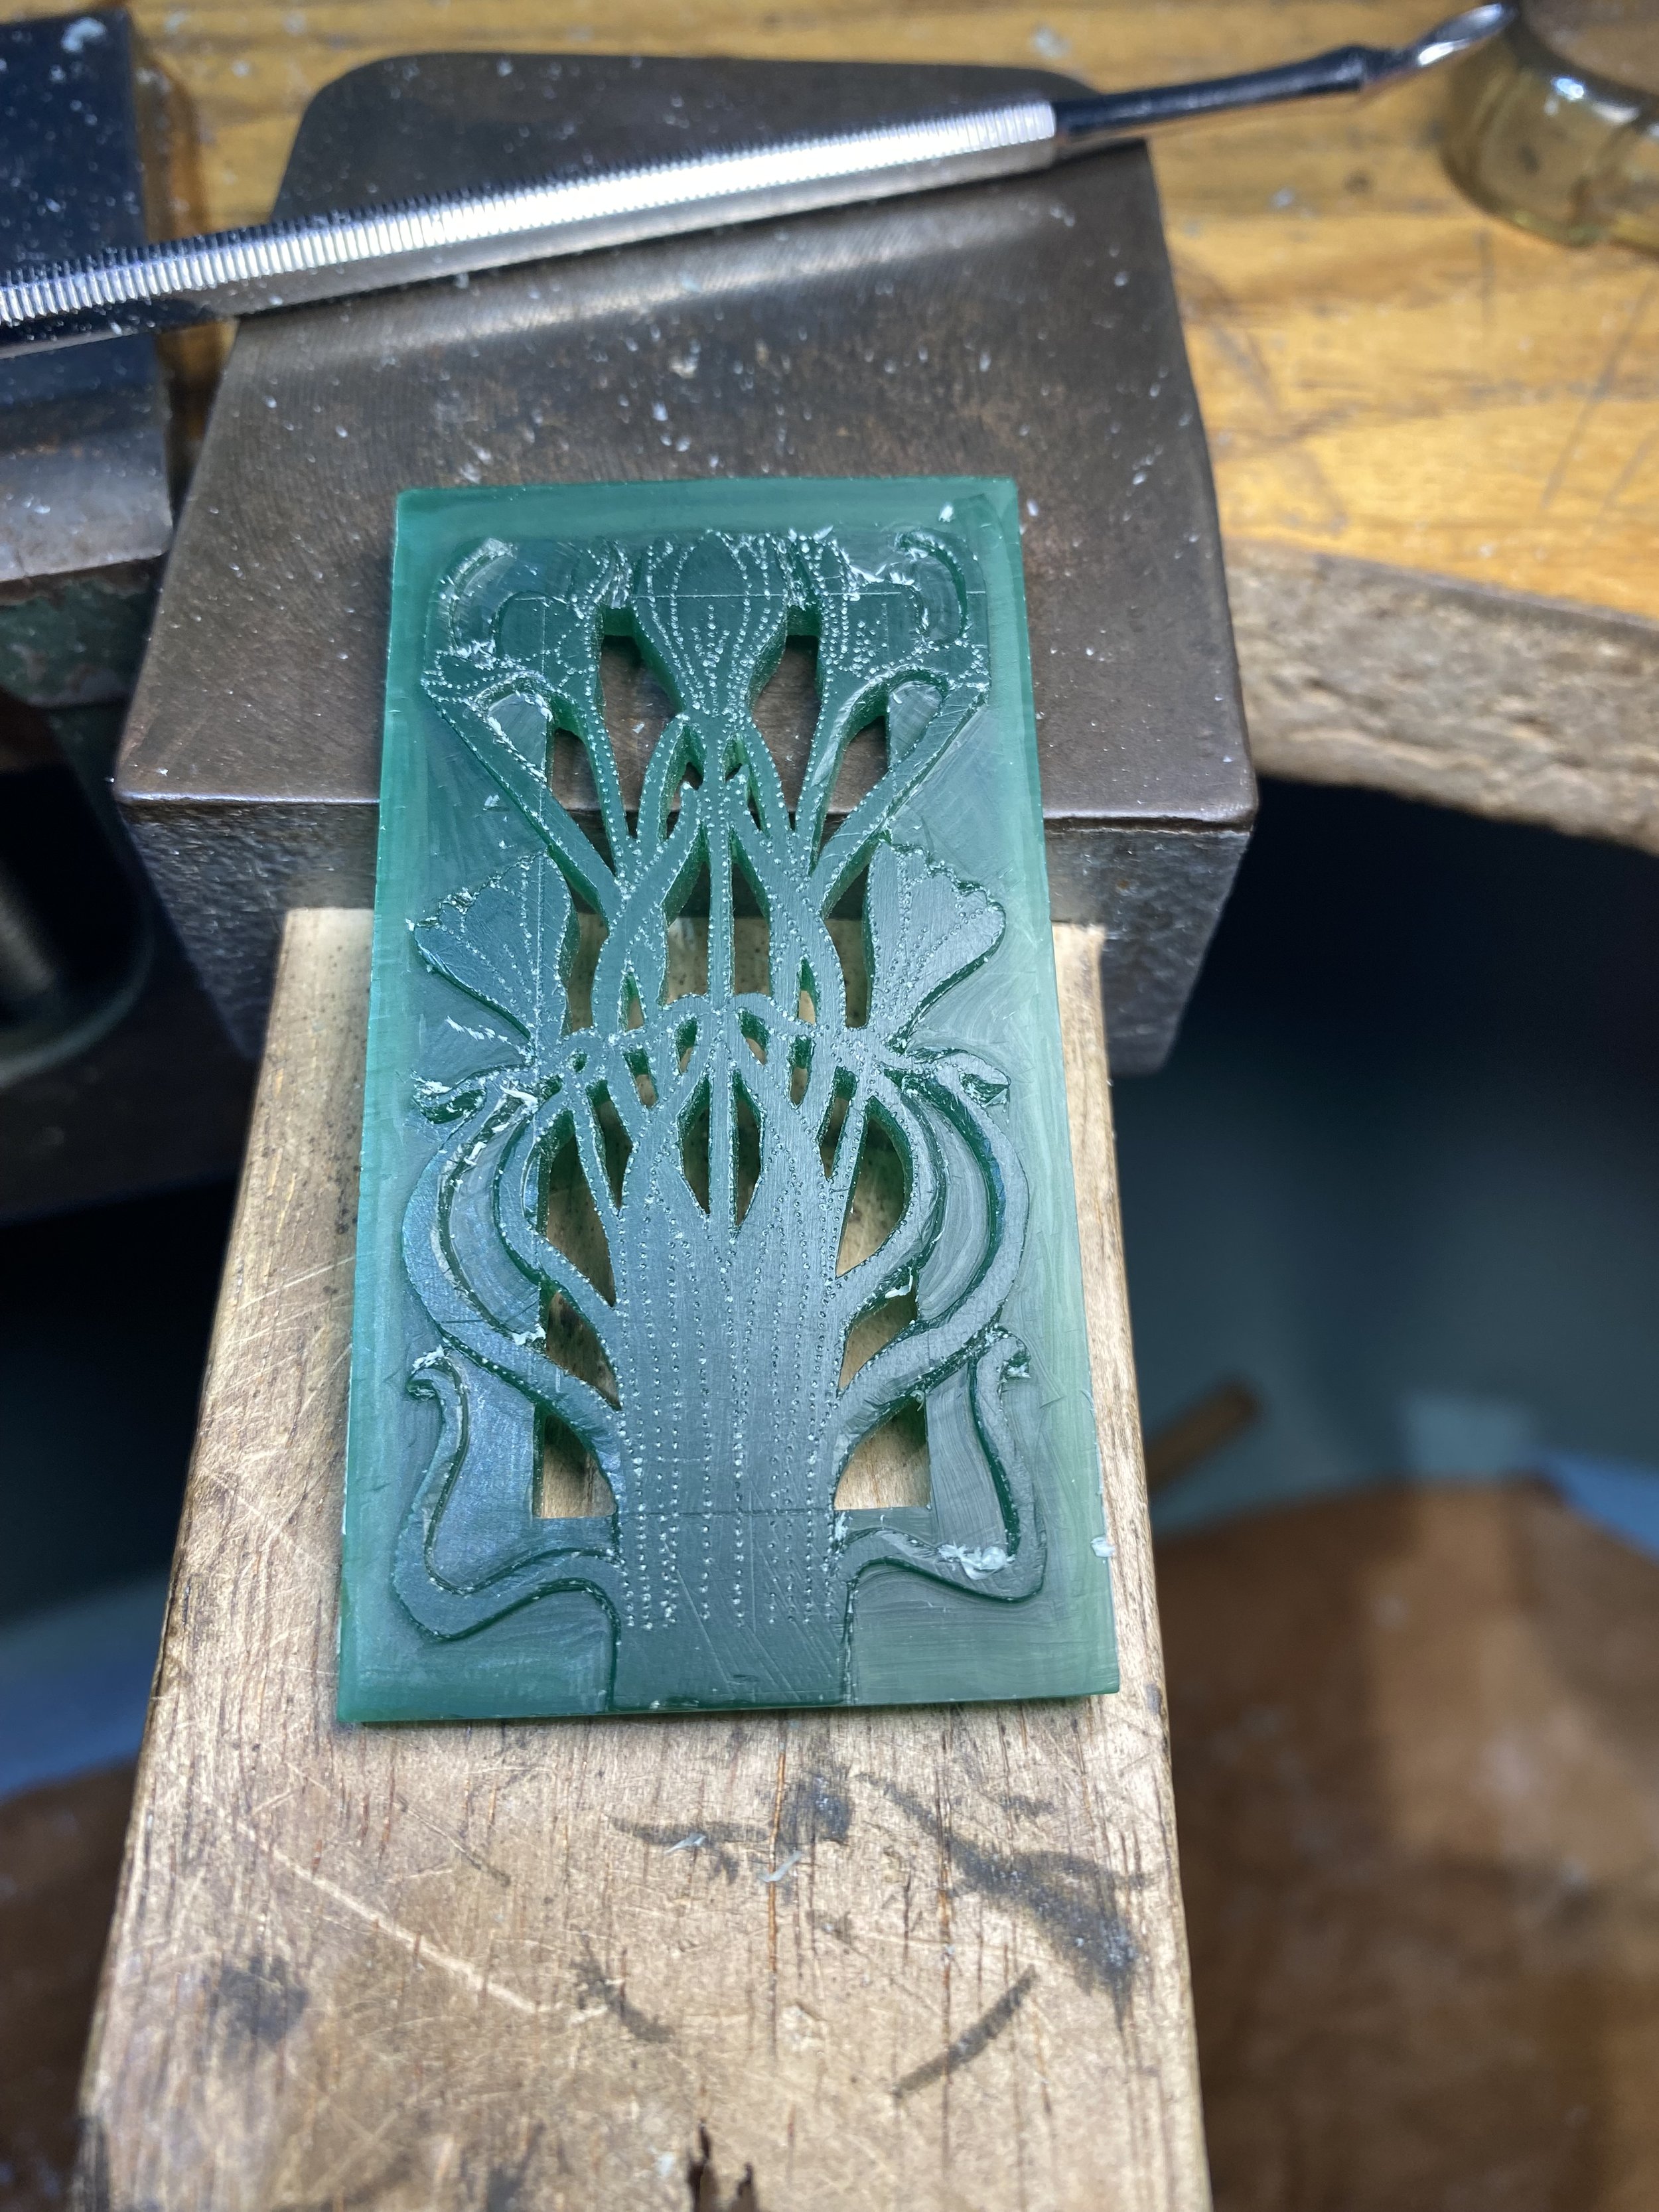
Second brooch design, which is also created to be a backing for the first design which I will show you later on in this gallery.
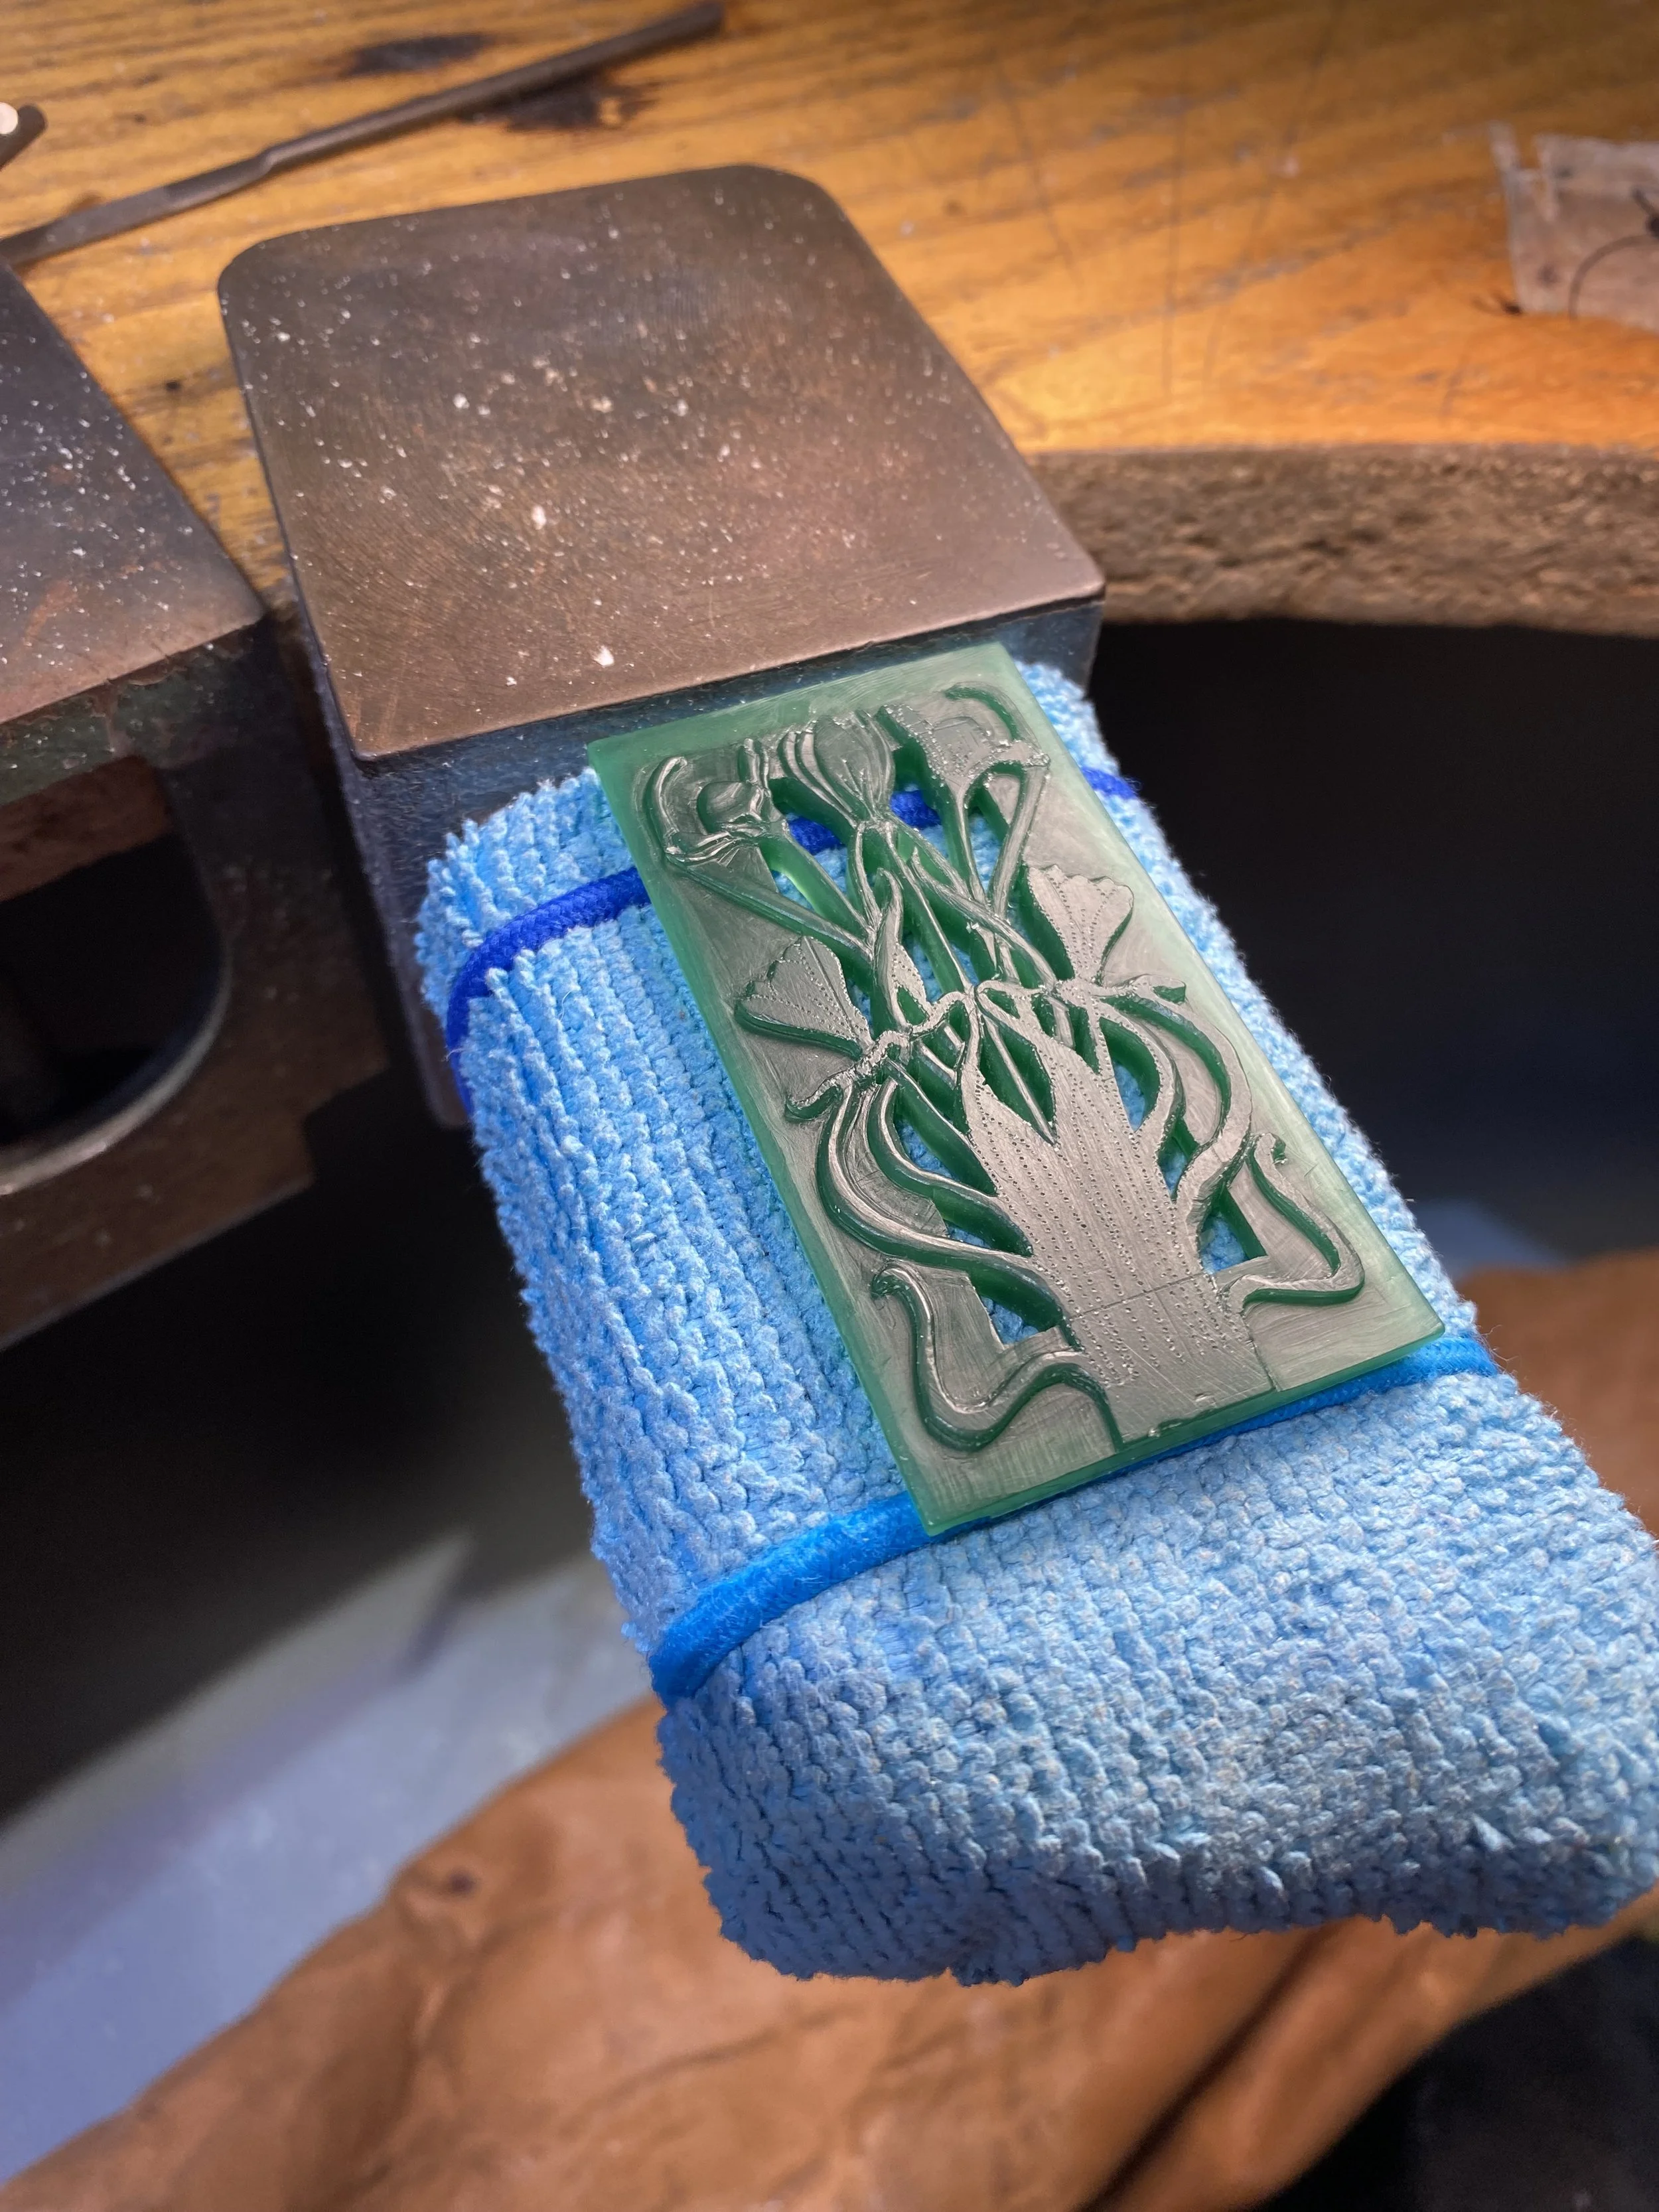
I really wanted to push my carving capabilities to see if I would be possible of creating an Art Nouveau style piece of jewellery!
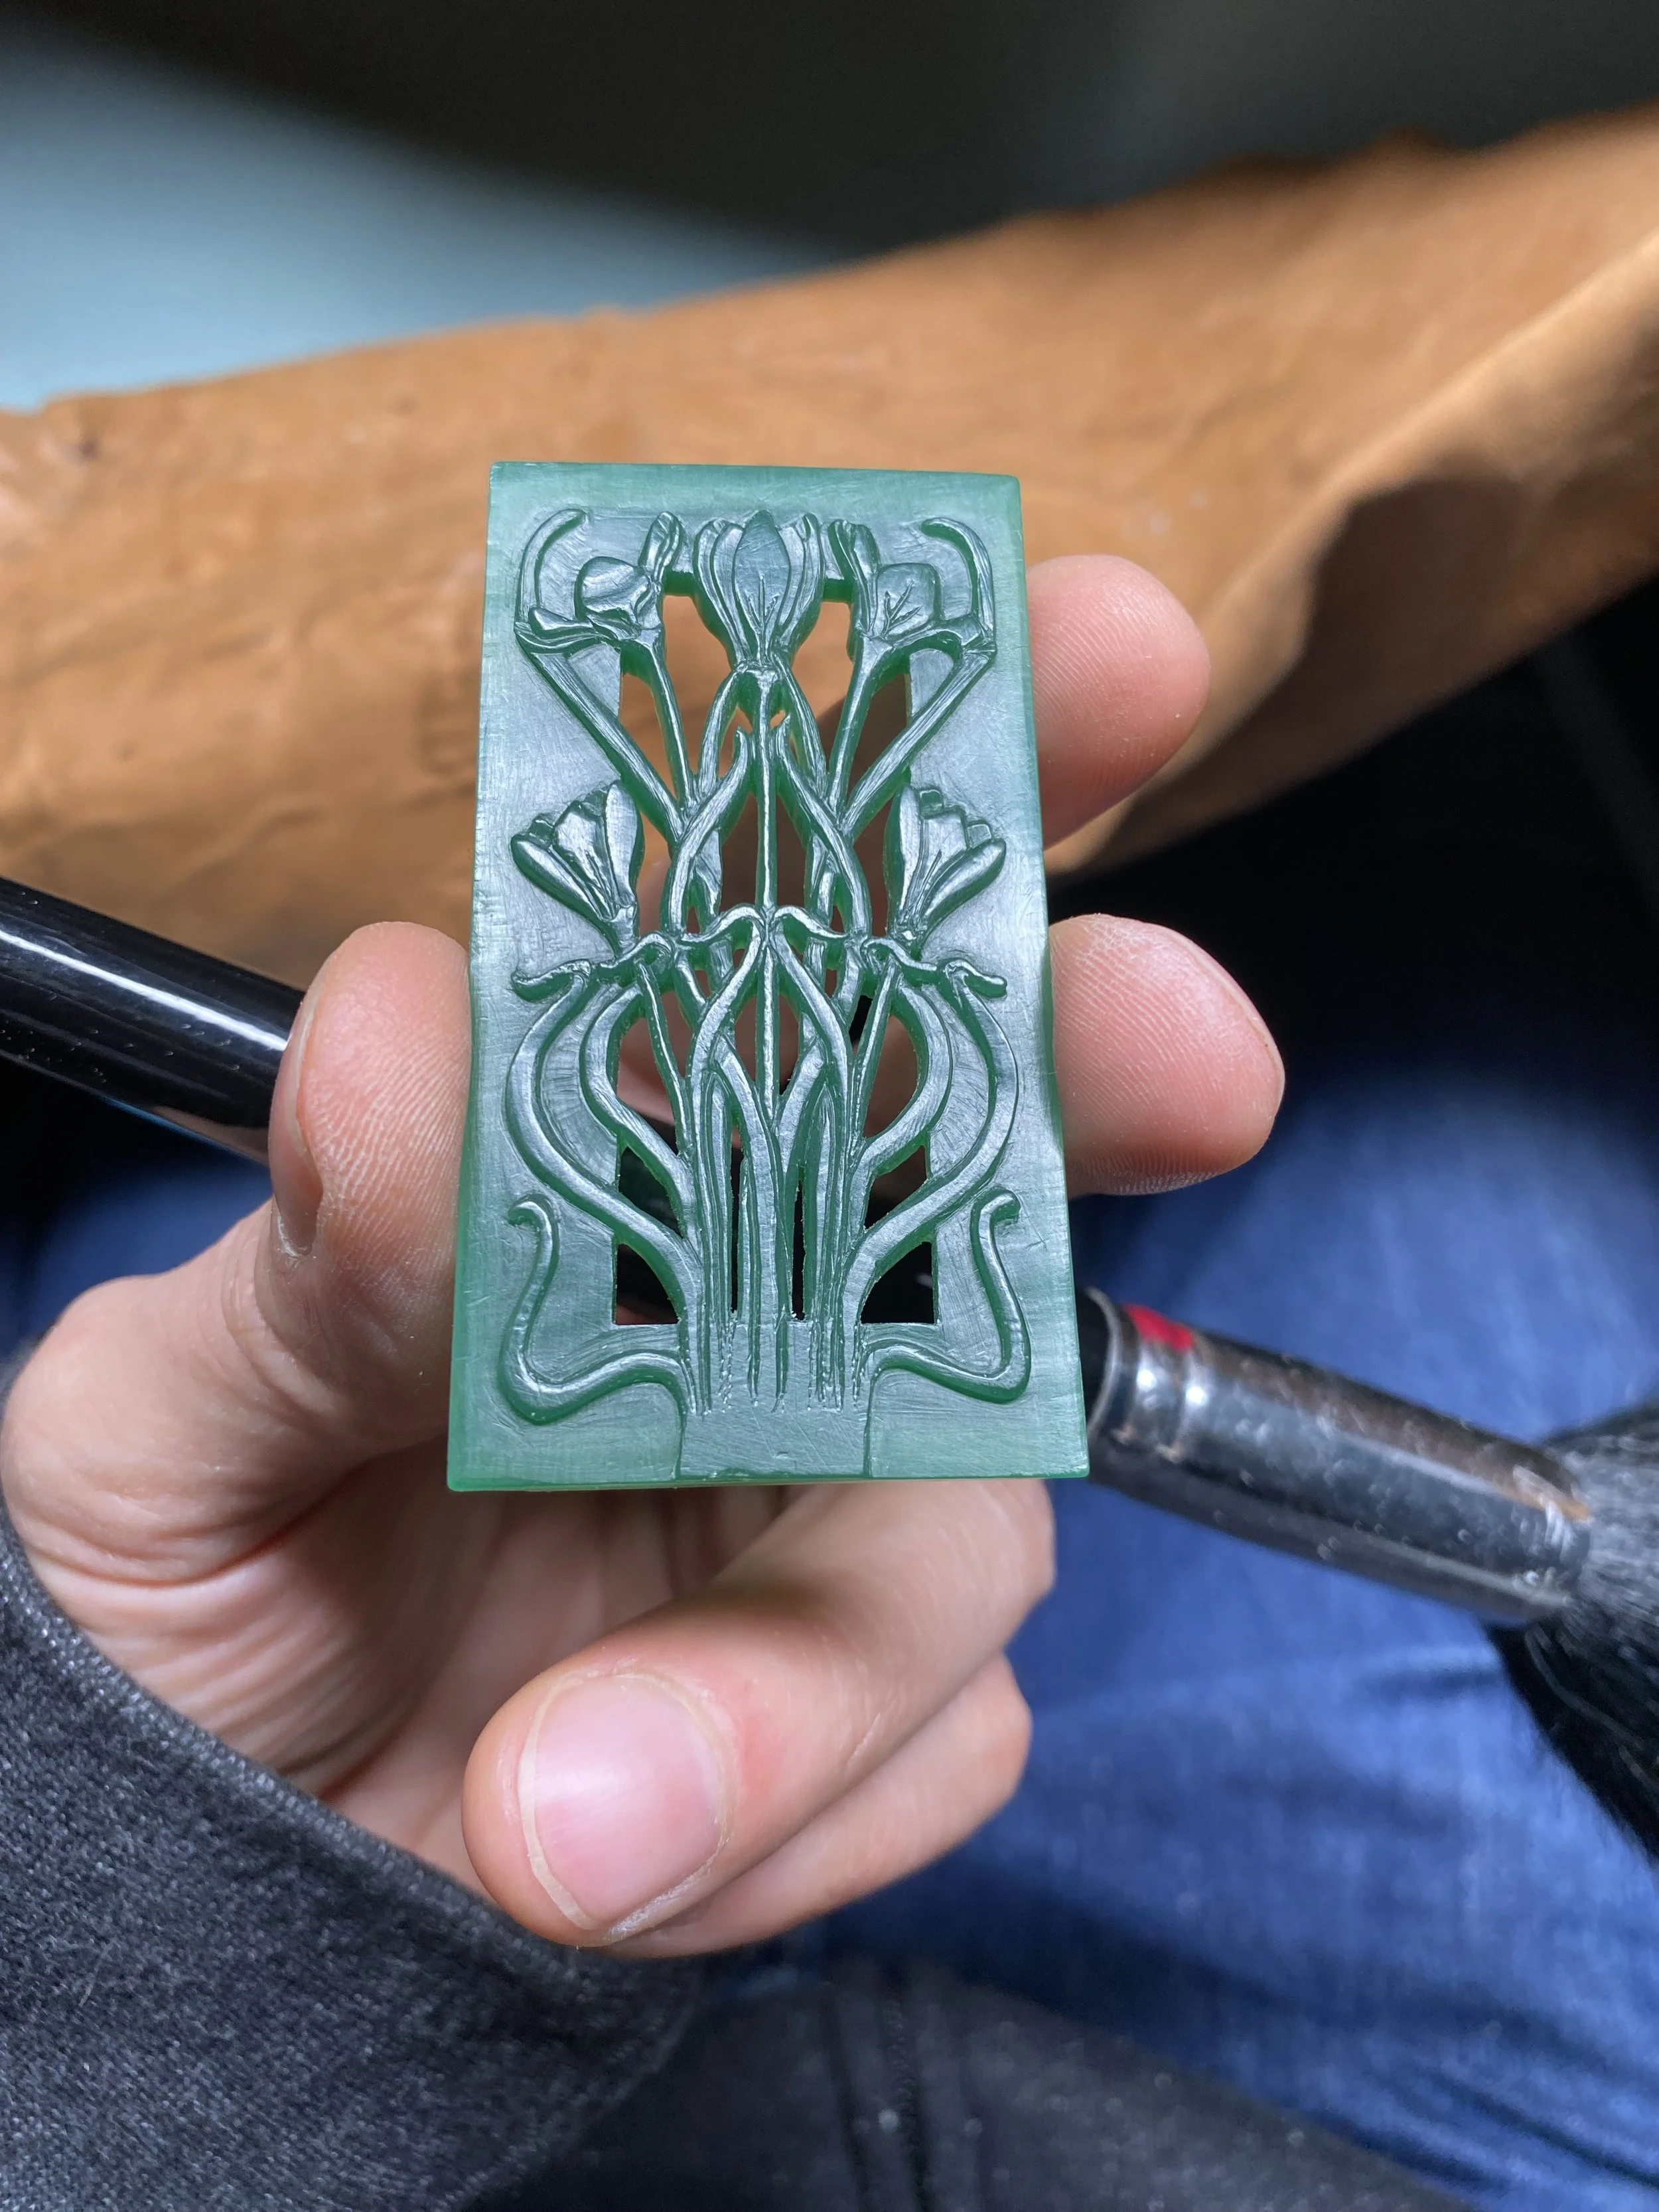
Slowly making progress! I carved a window in the middle to allow this to become a very stylised frame.
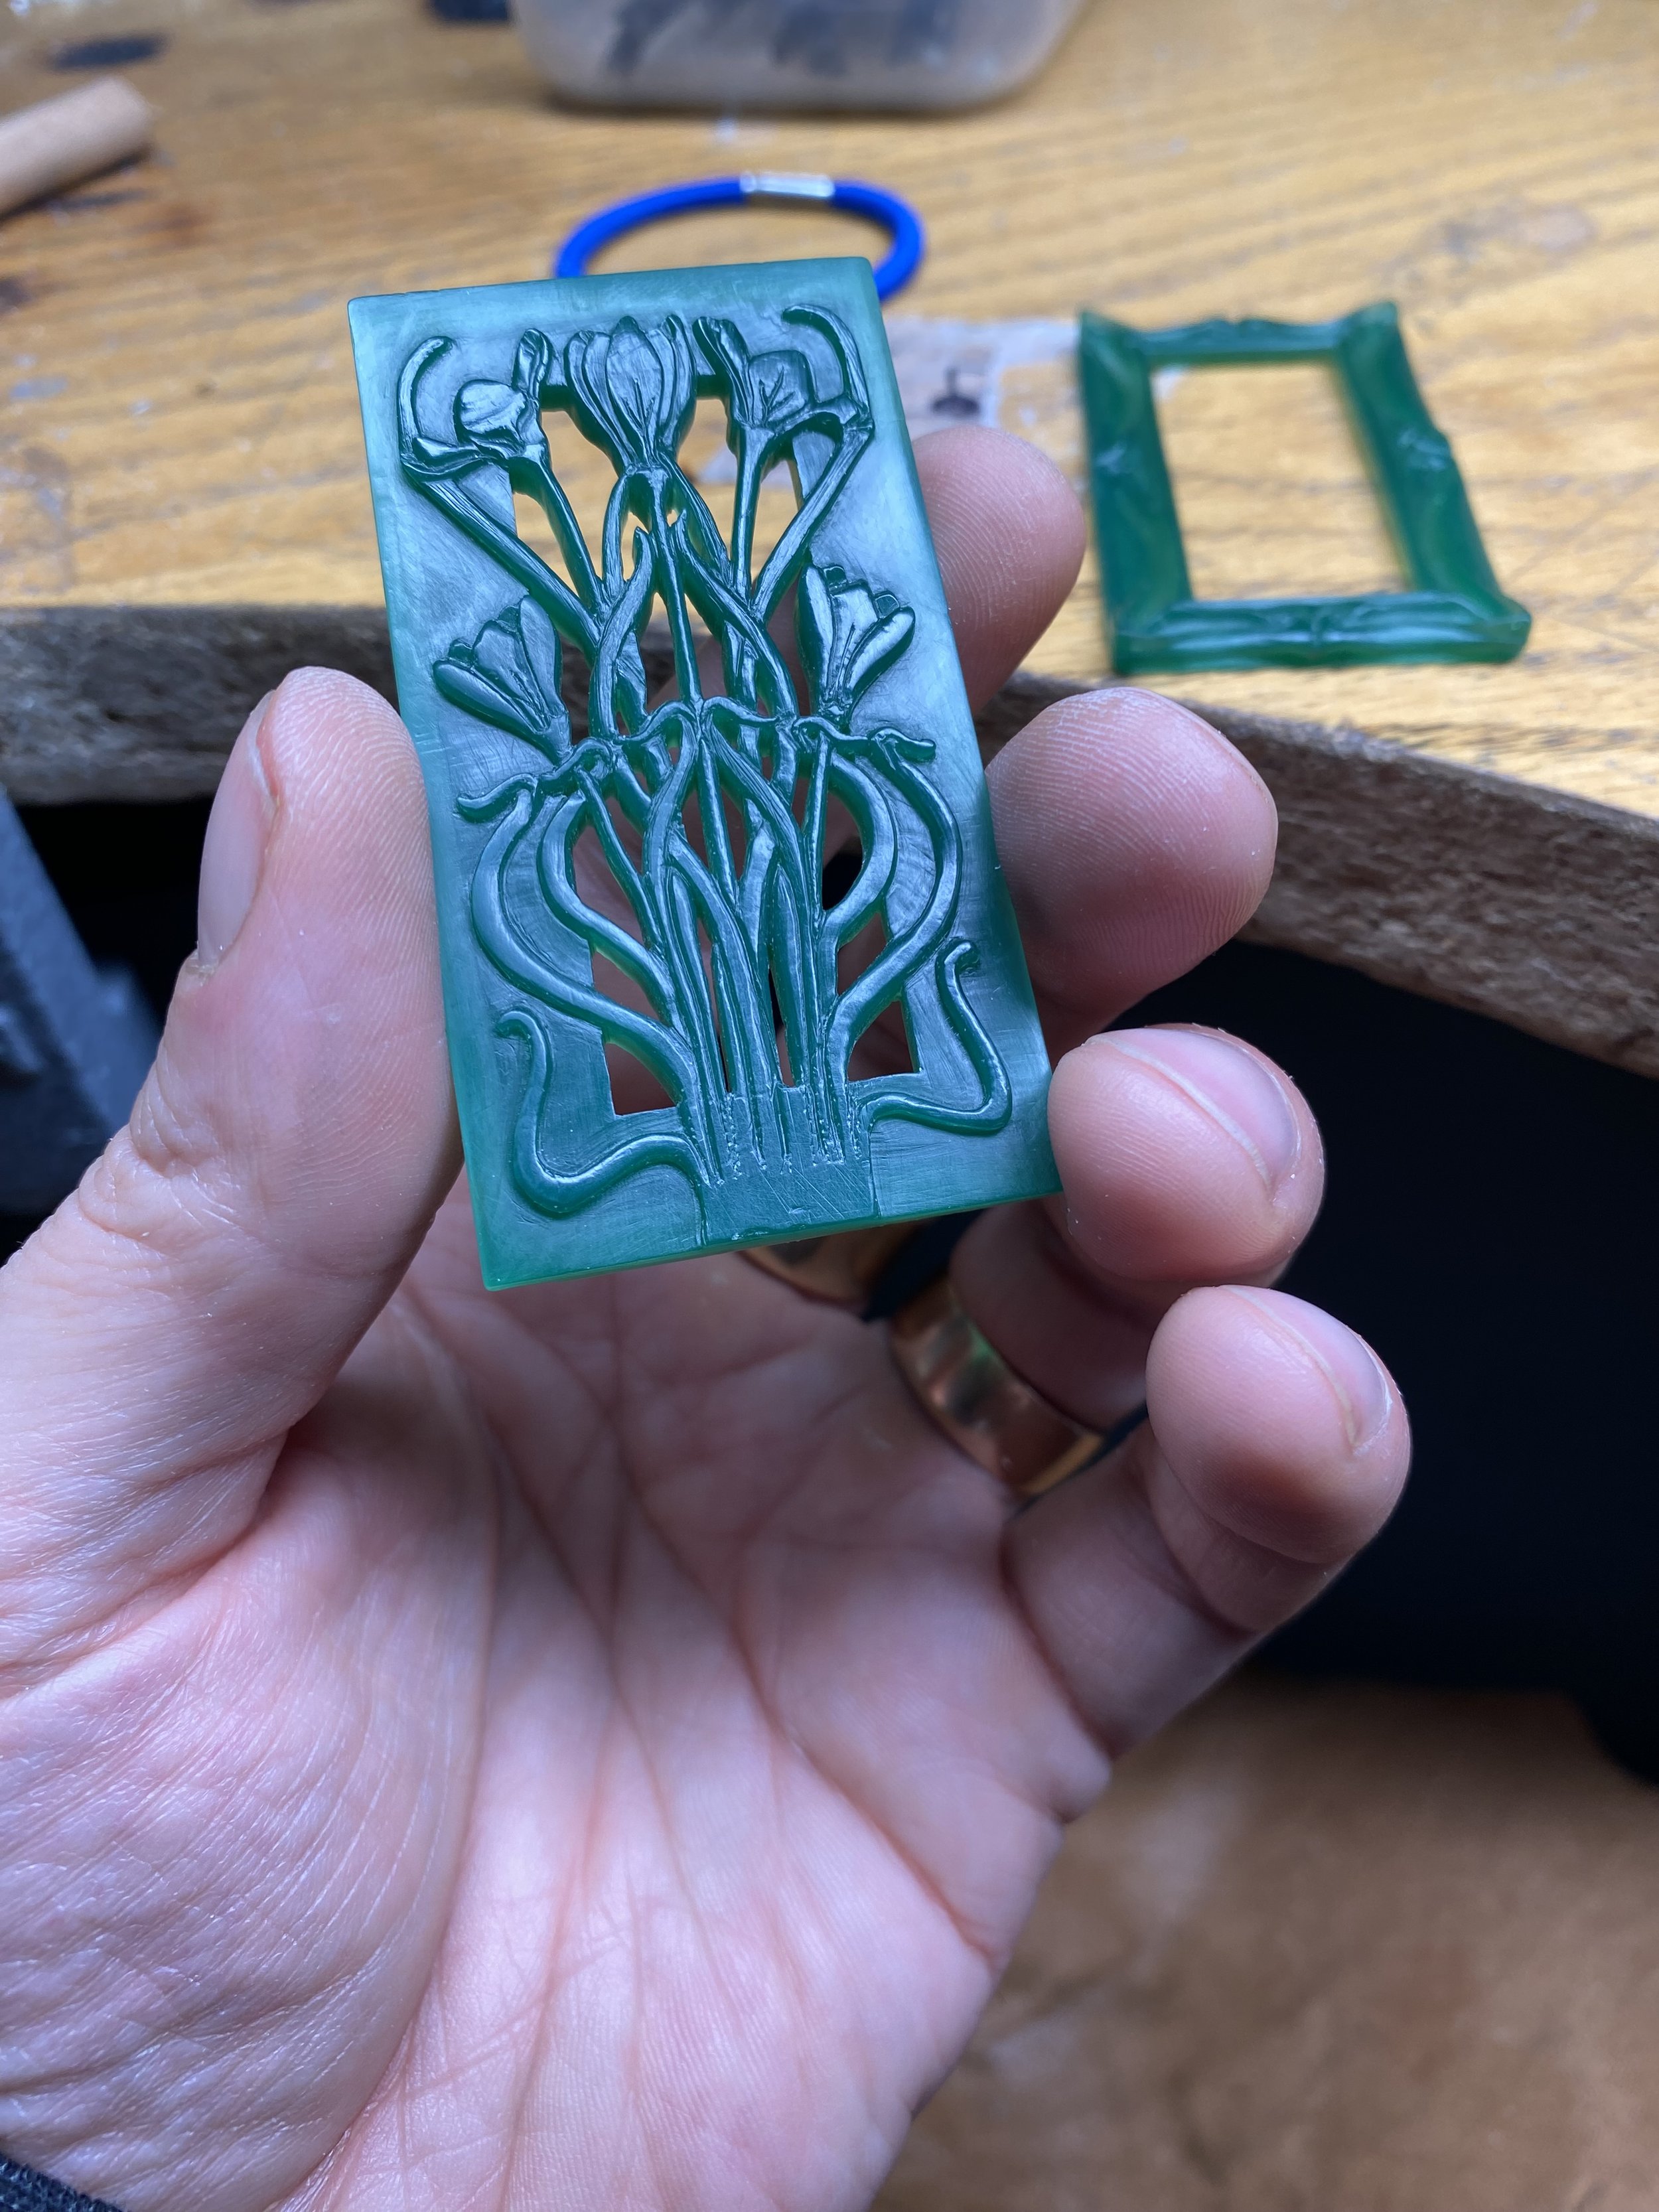
Carving deeper to give the flowers more presence. The scrolled frame in the background to use as a scale due to this possibly being a two-part piece!
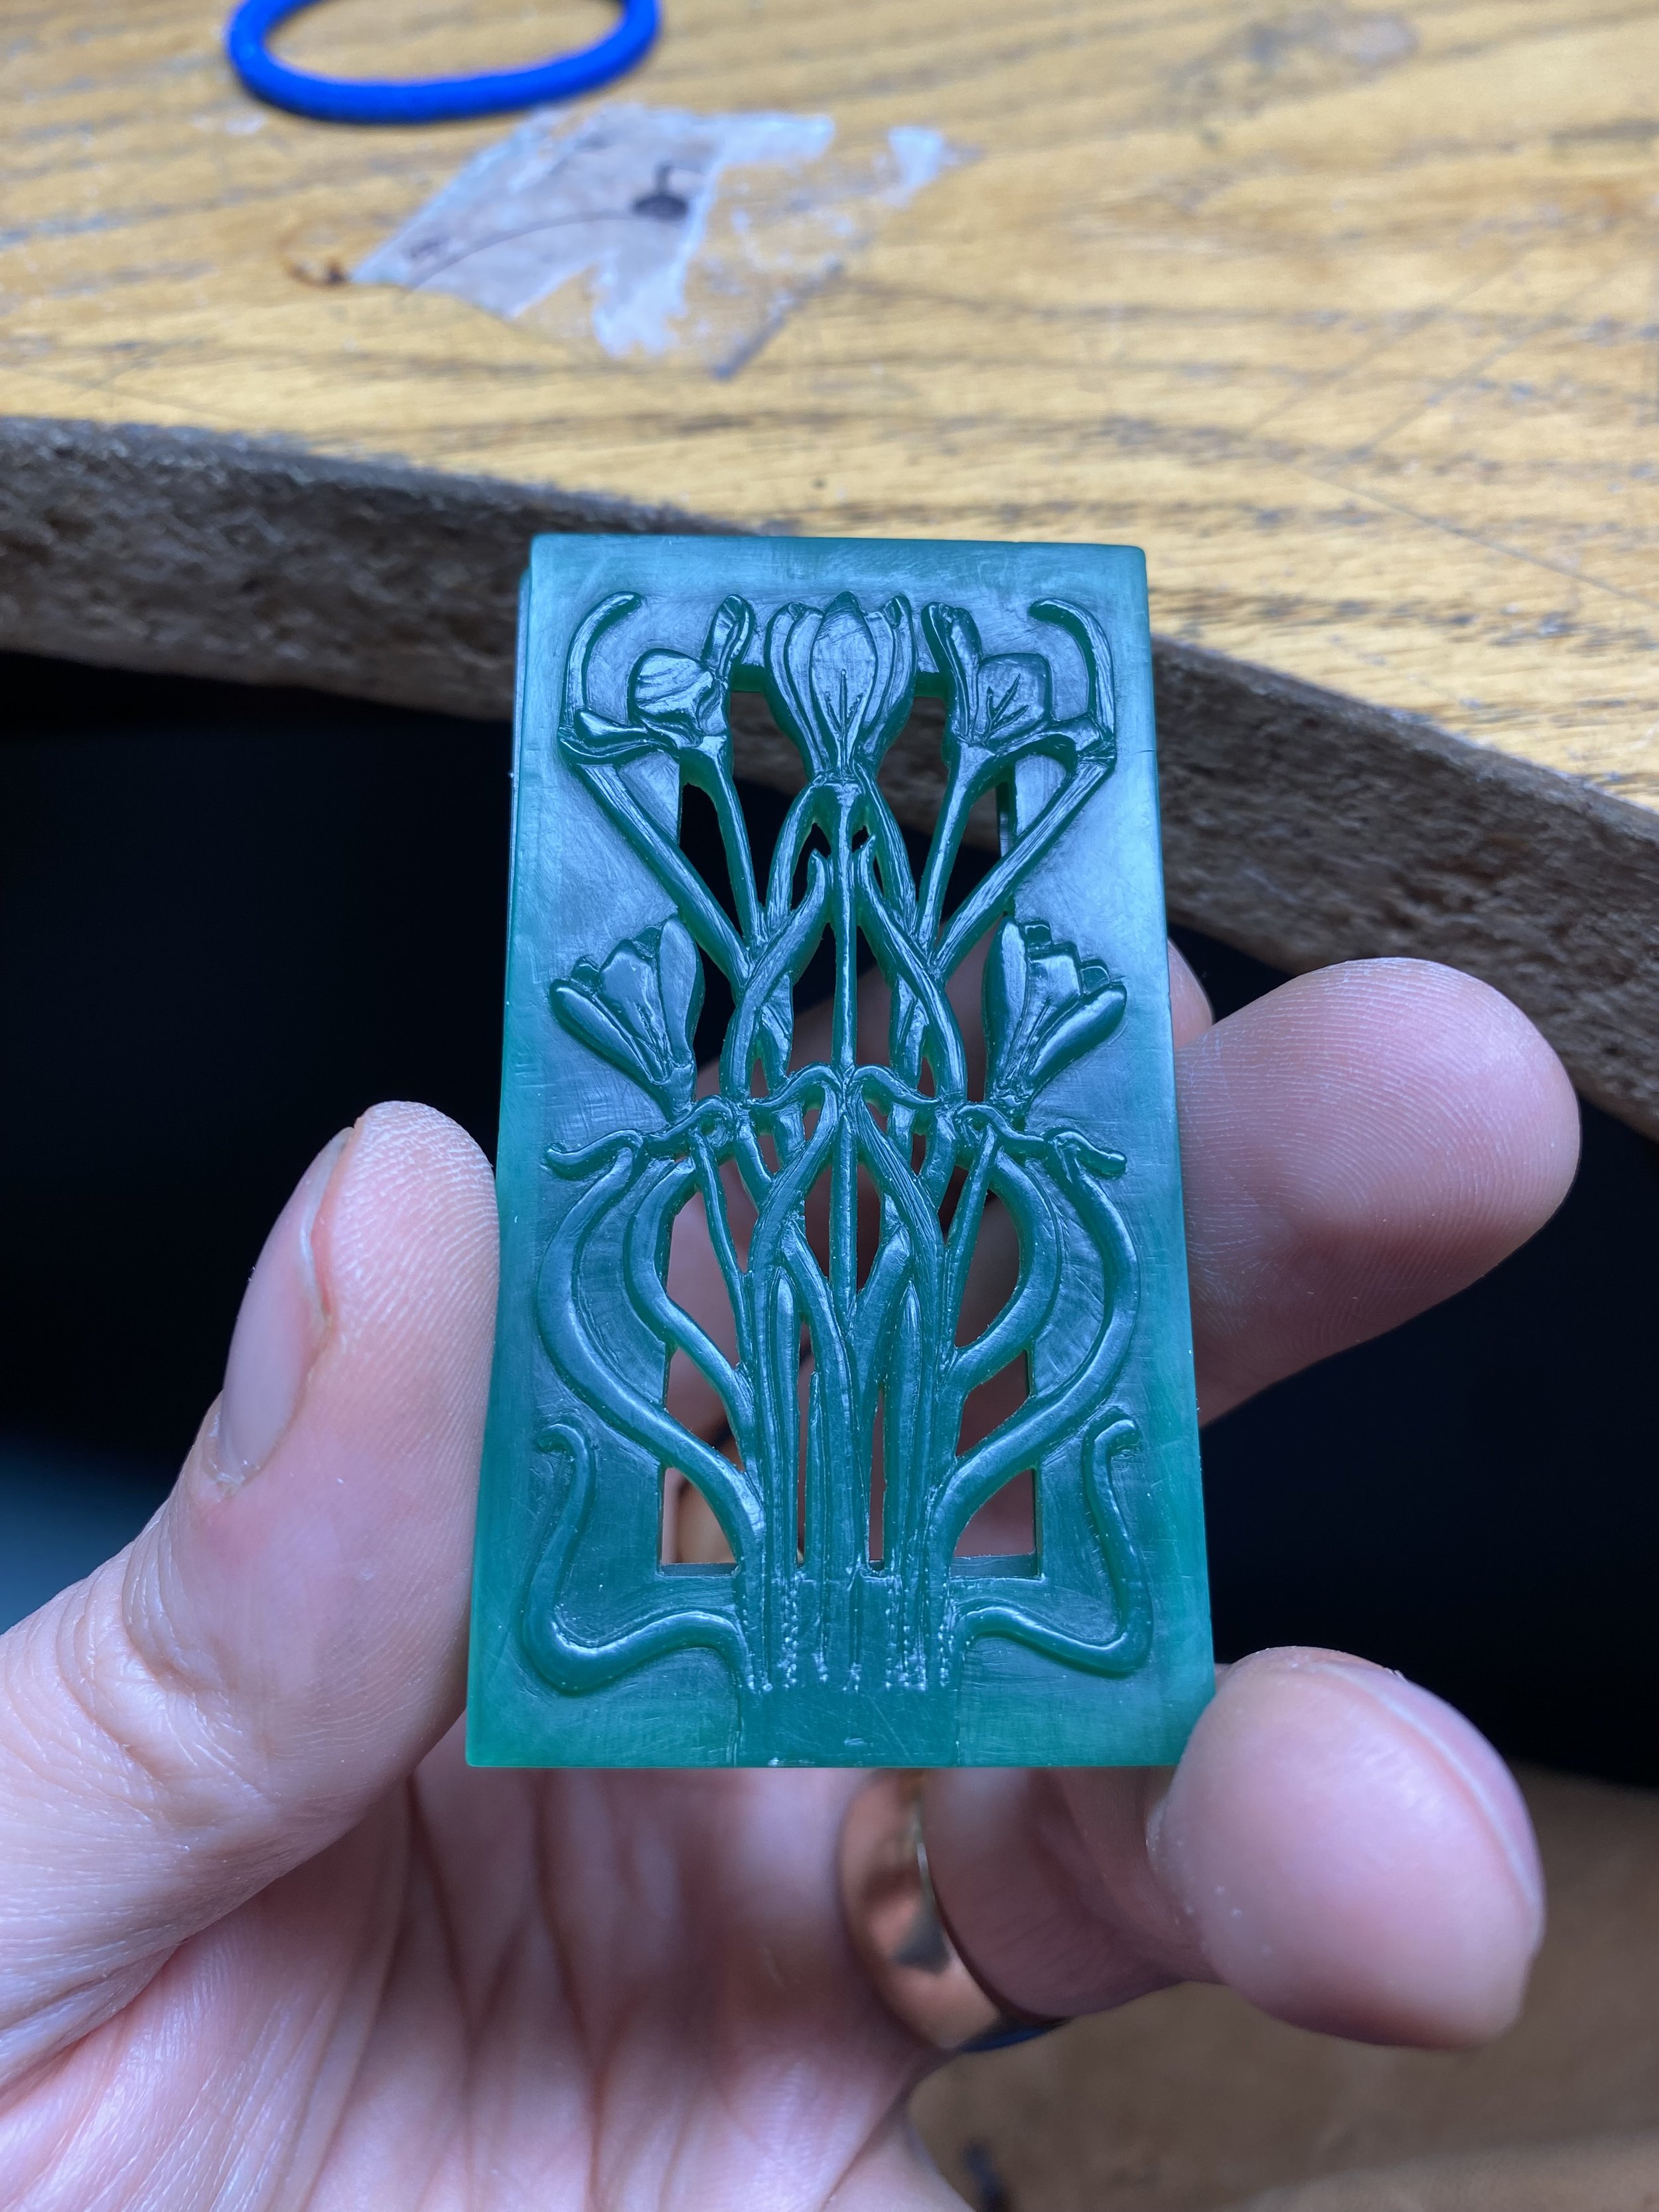
Further definition and cleaning of the boarders.
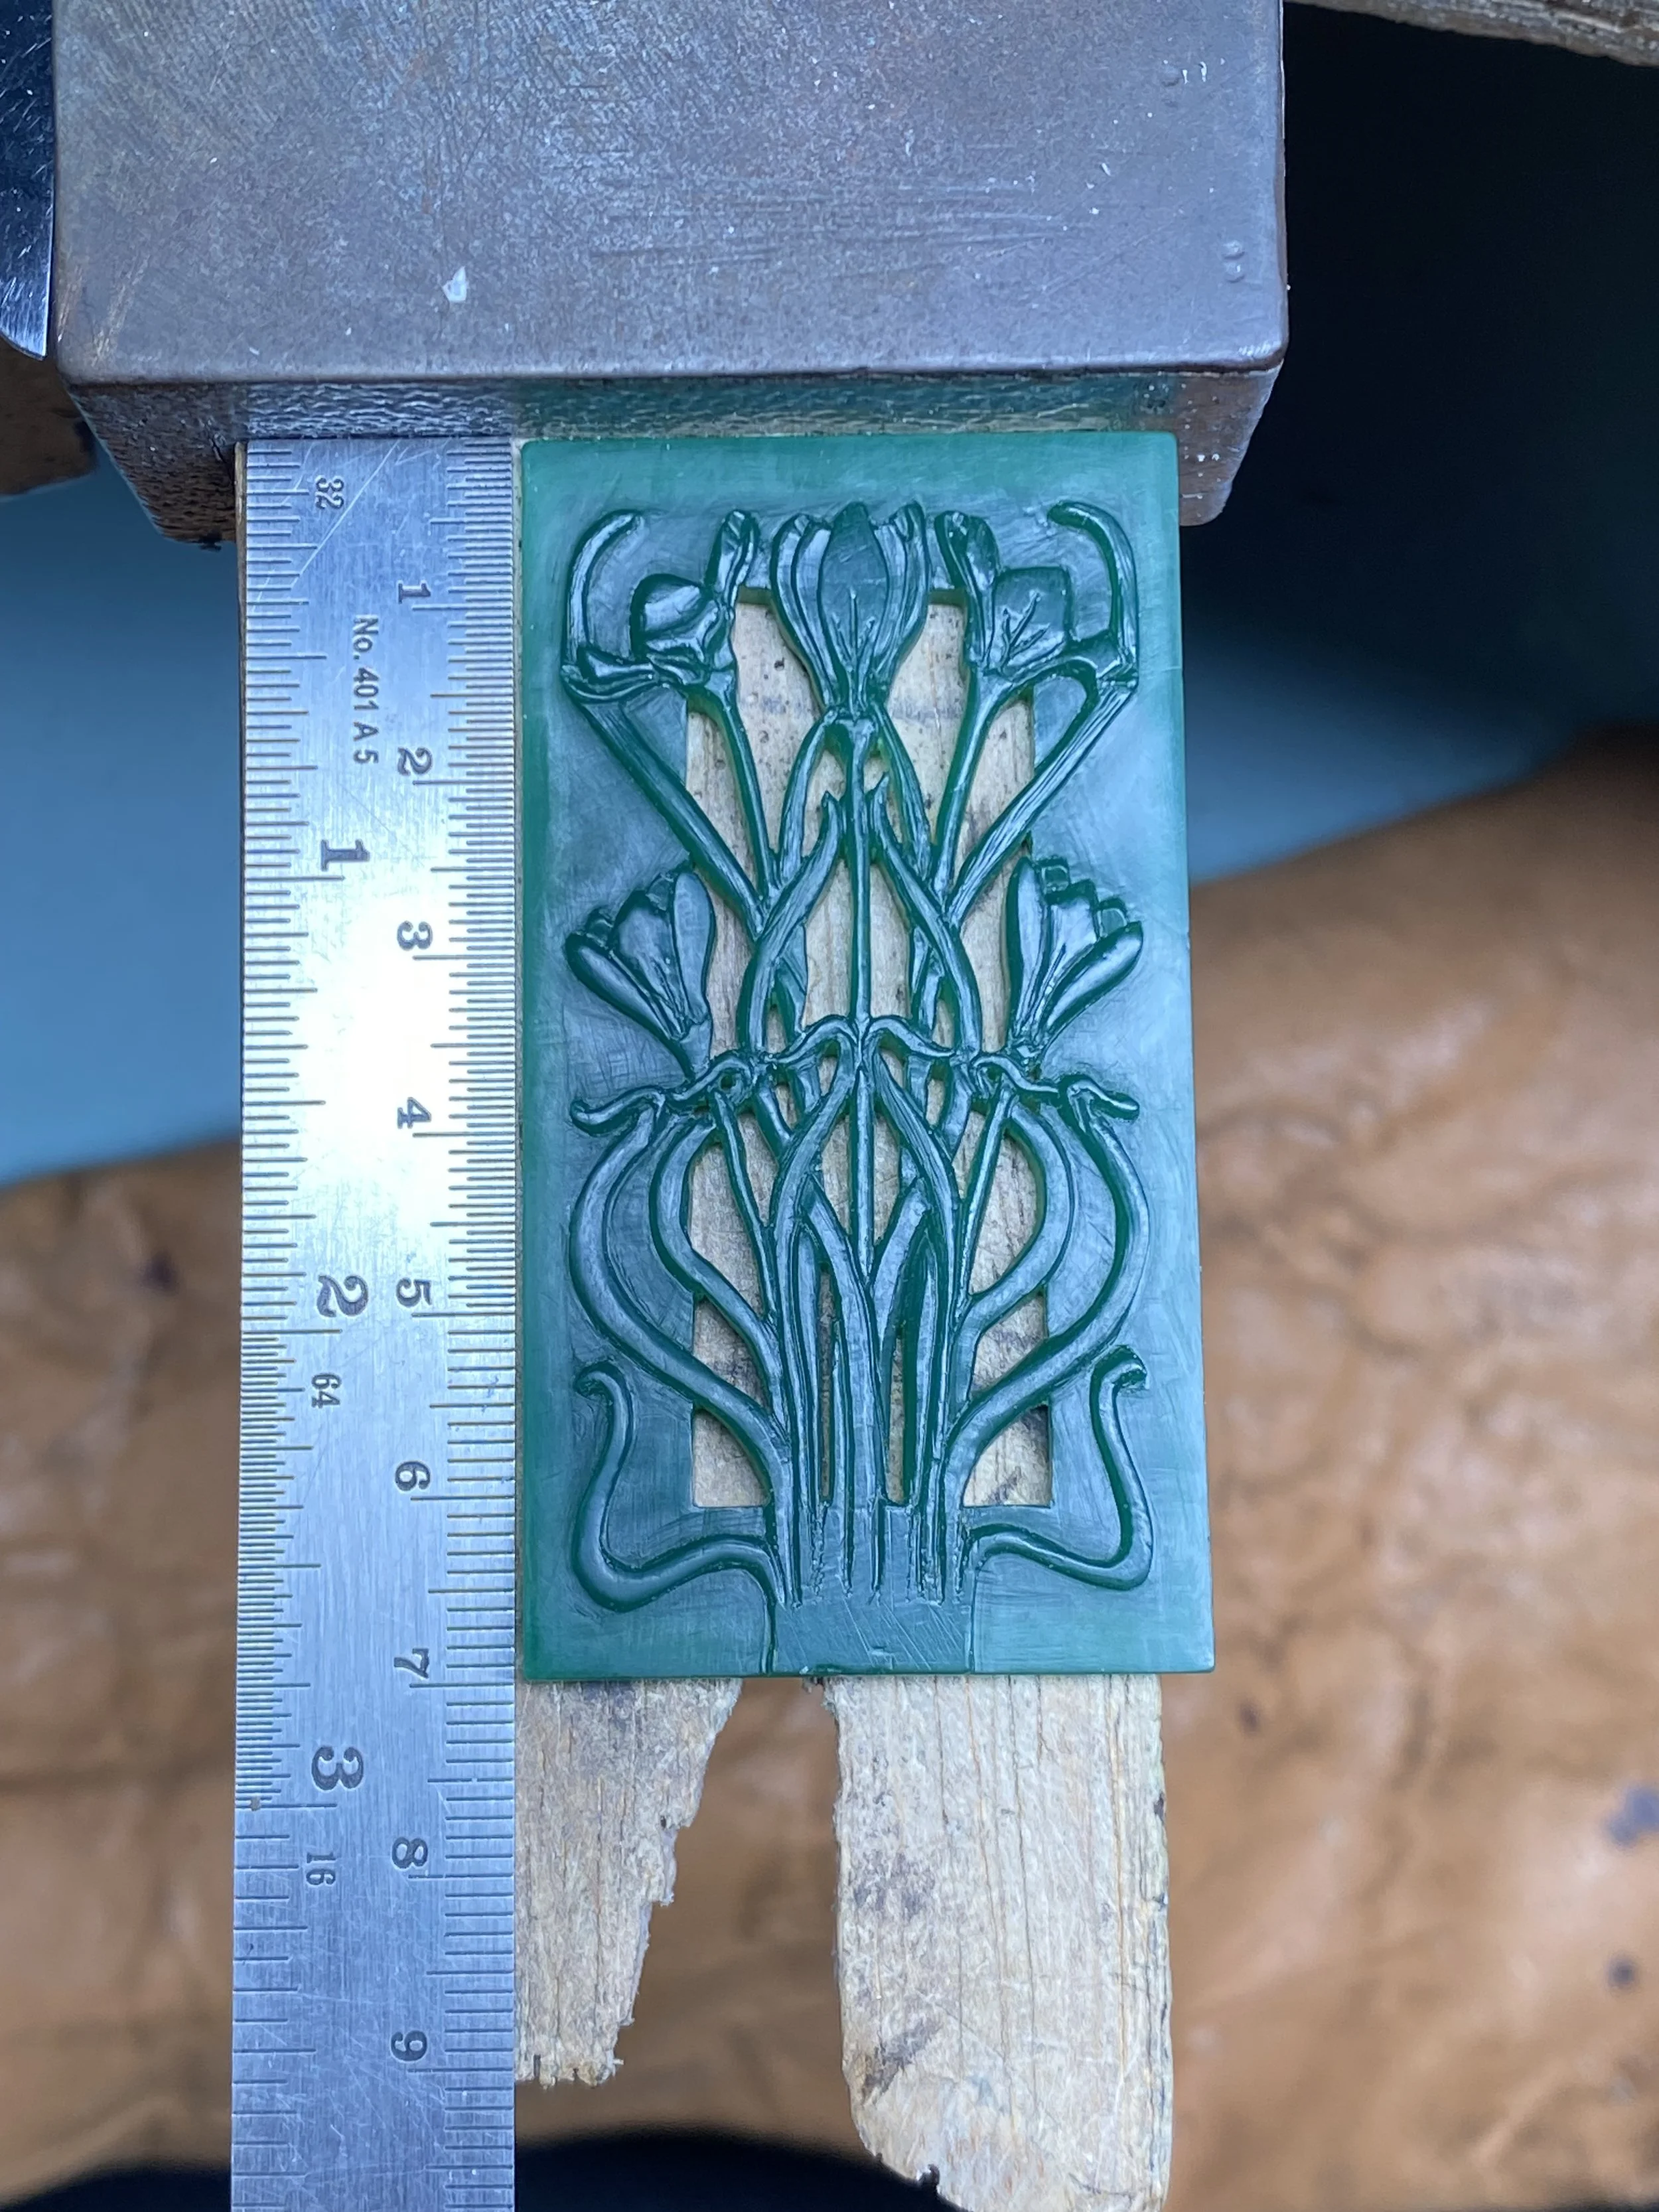
A rather large brooch at around 7cm! A real statement piece!
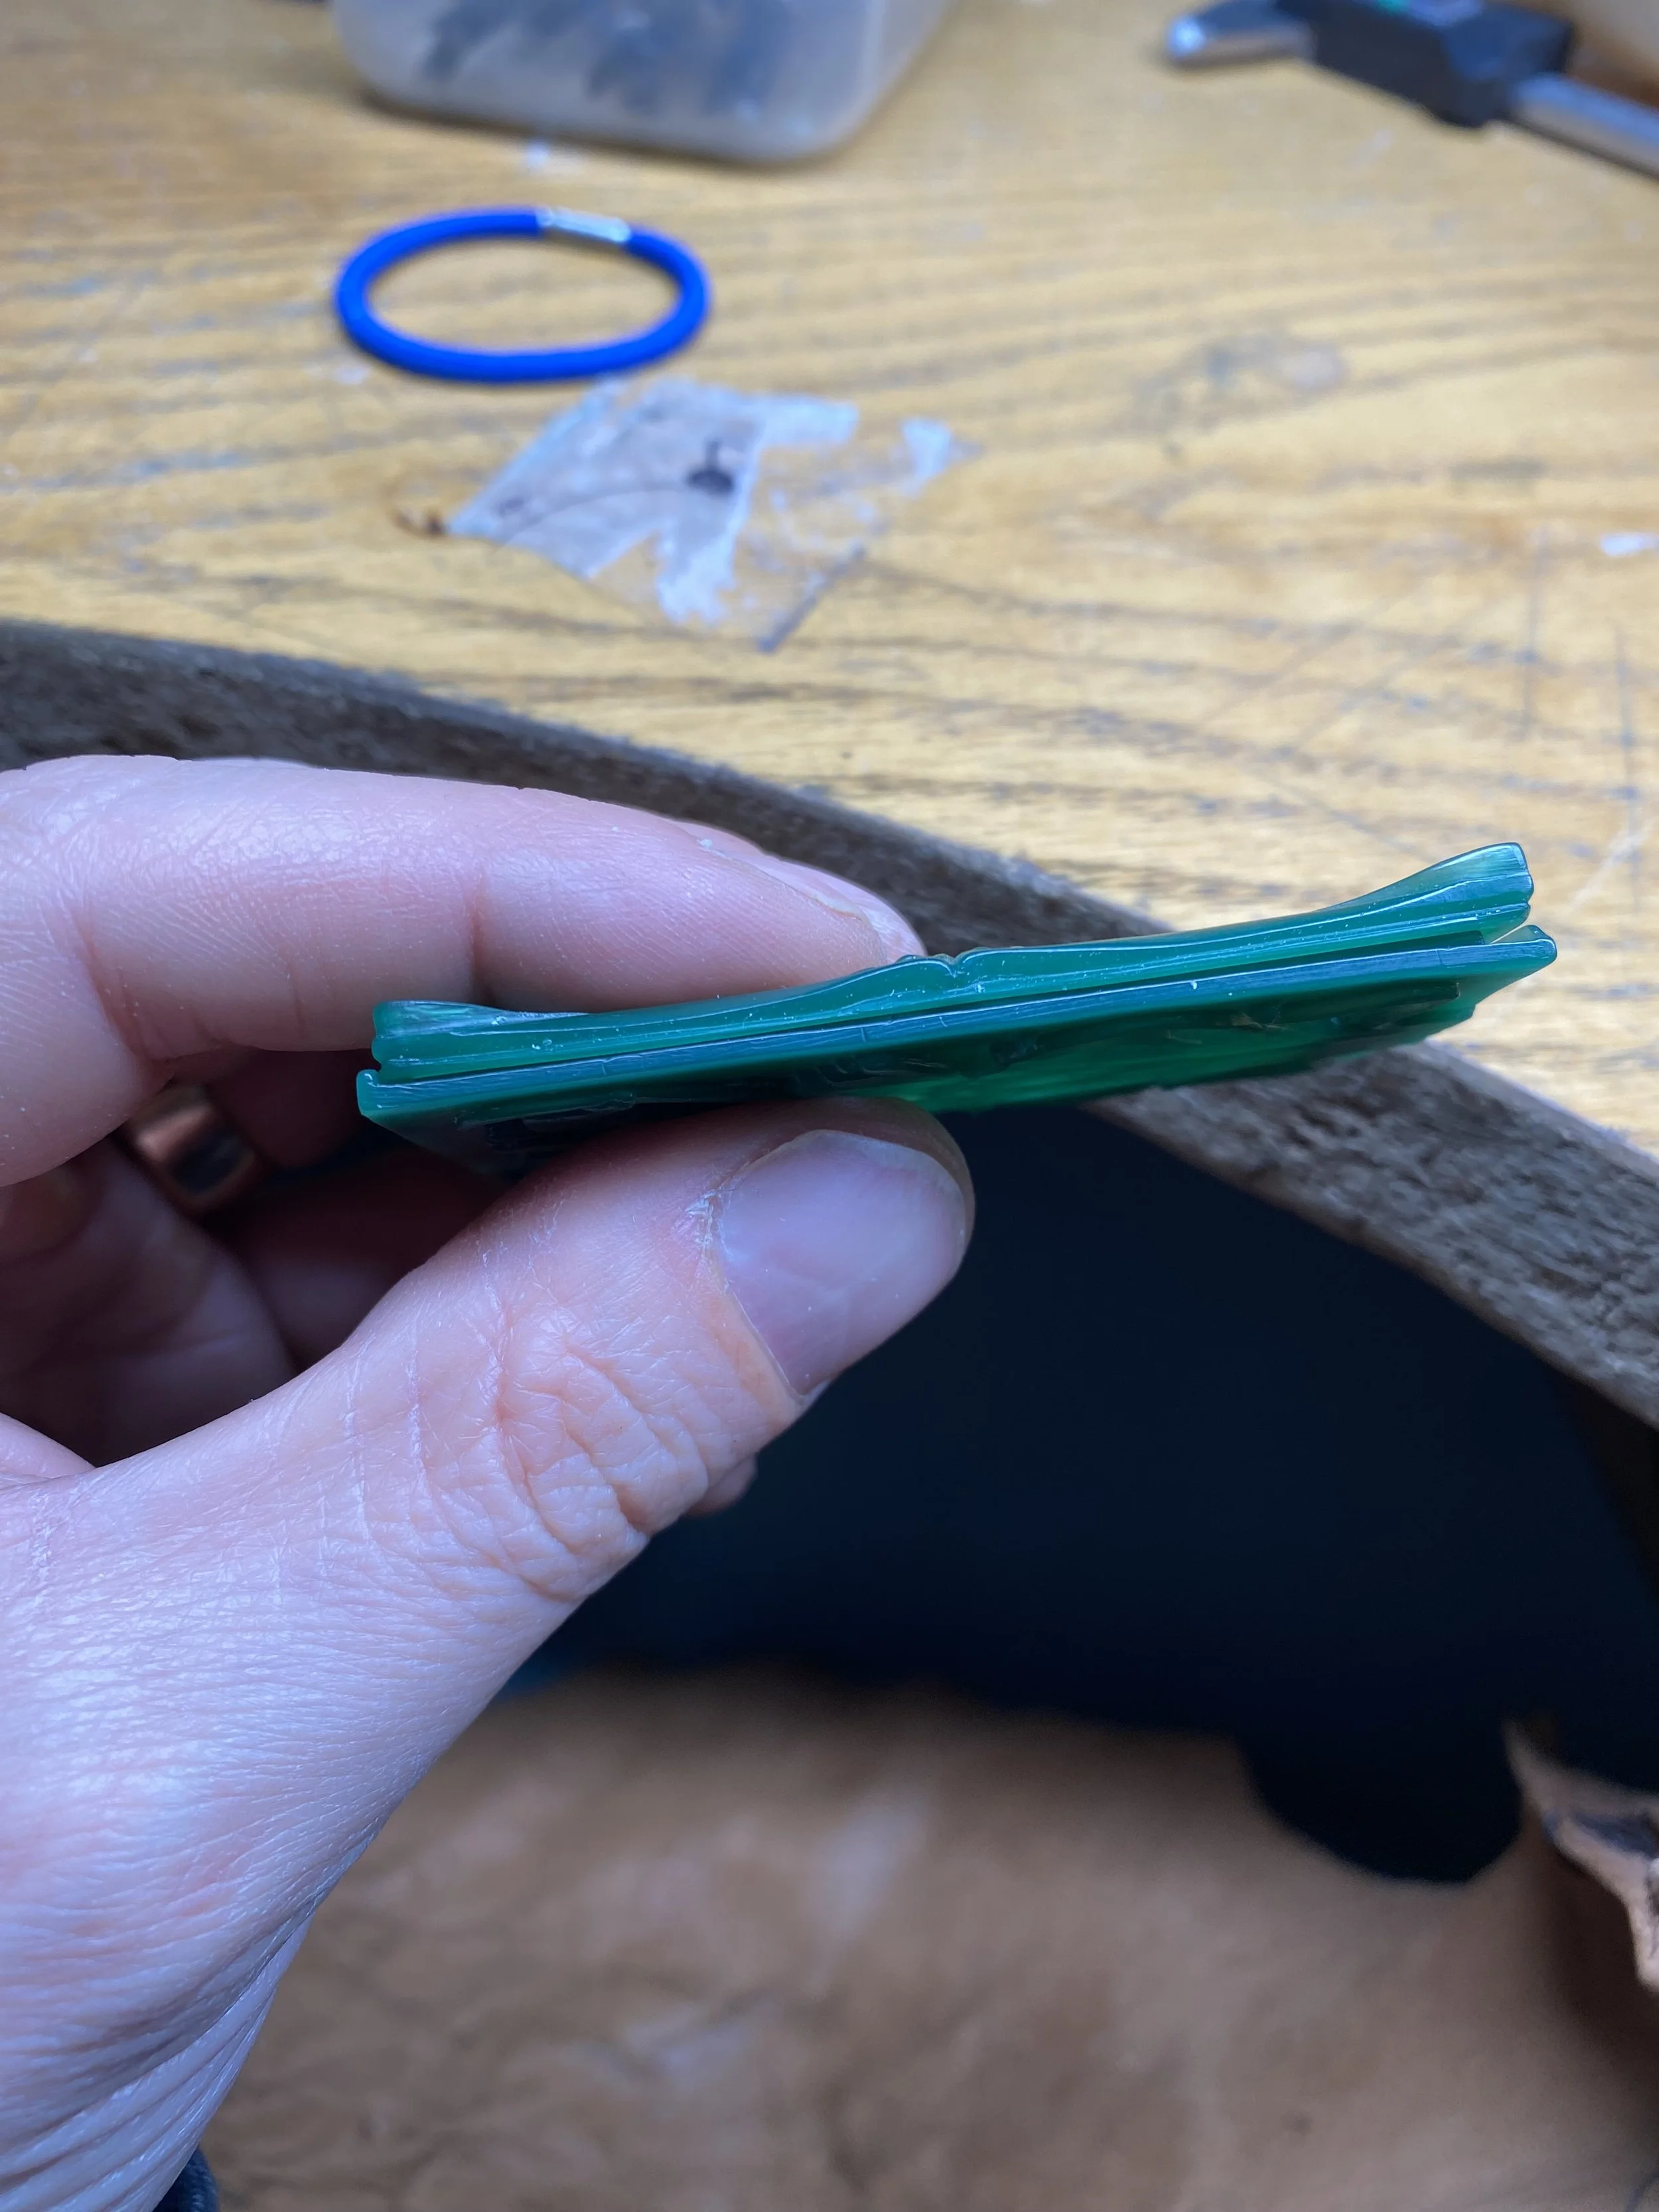
Carved profile shown of the scrolled frame, coupled with the recesses of the two frames allowing them to slot together.
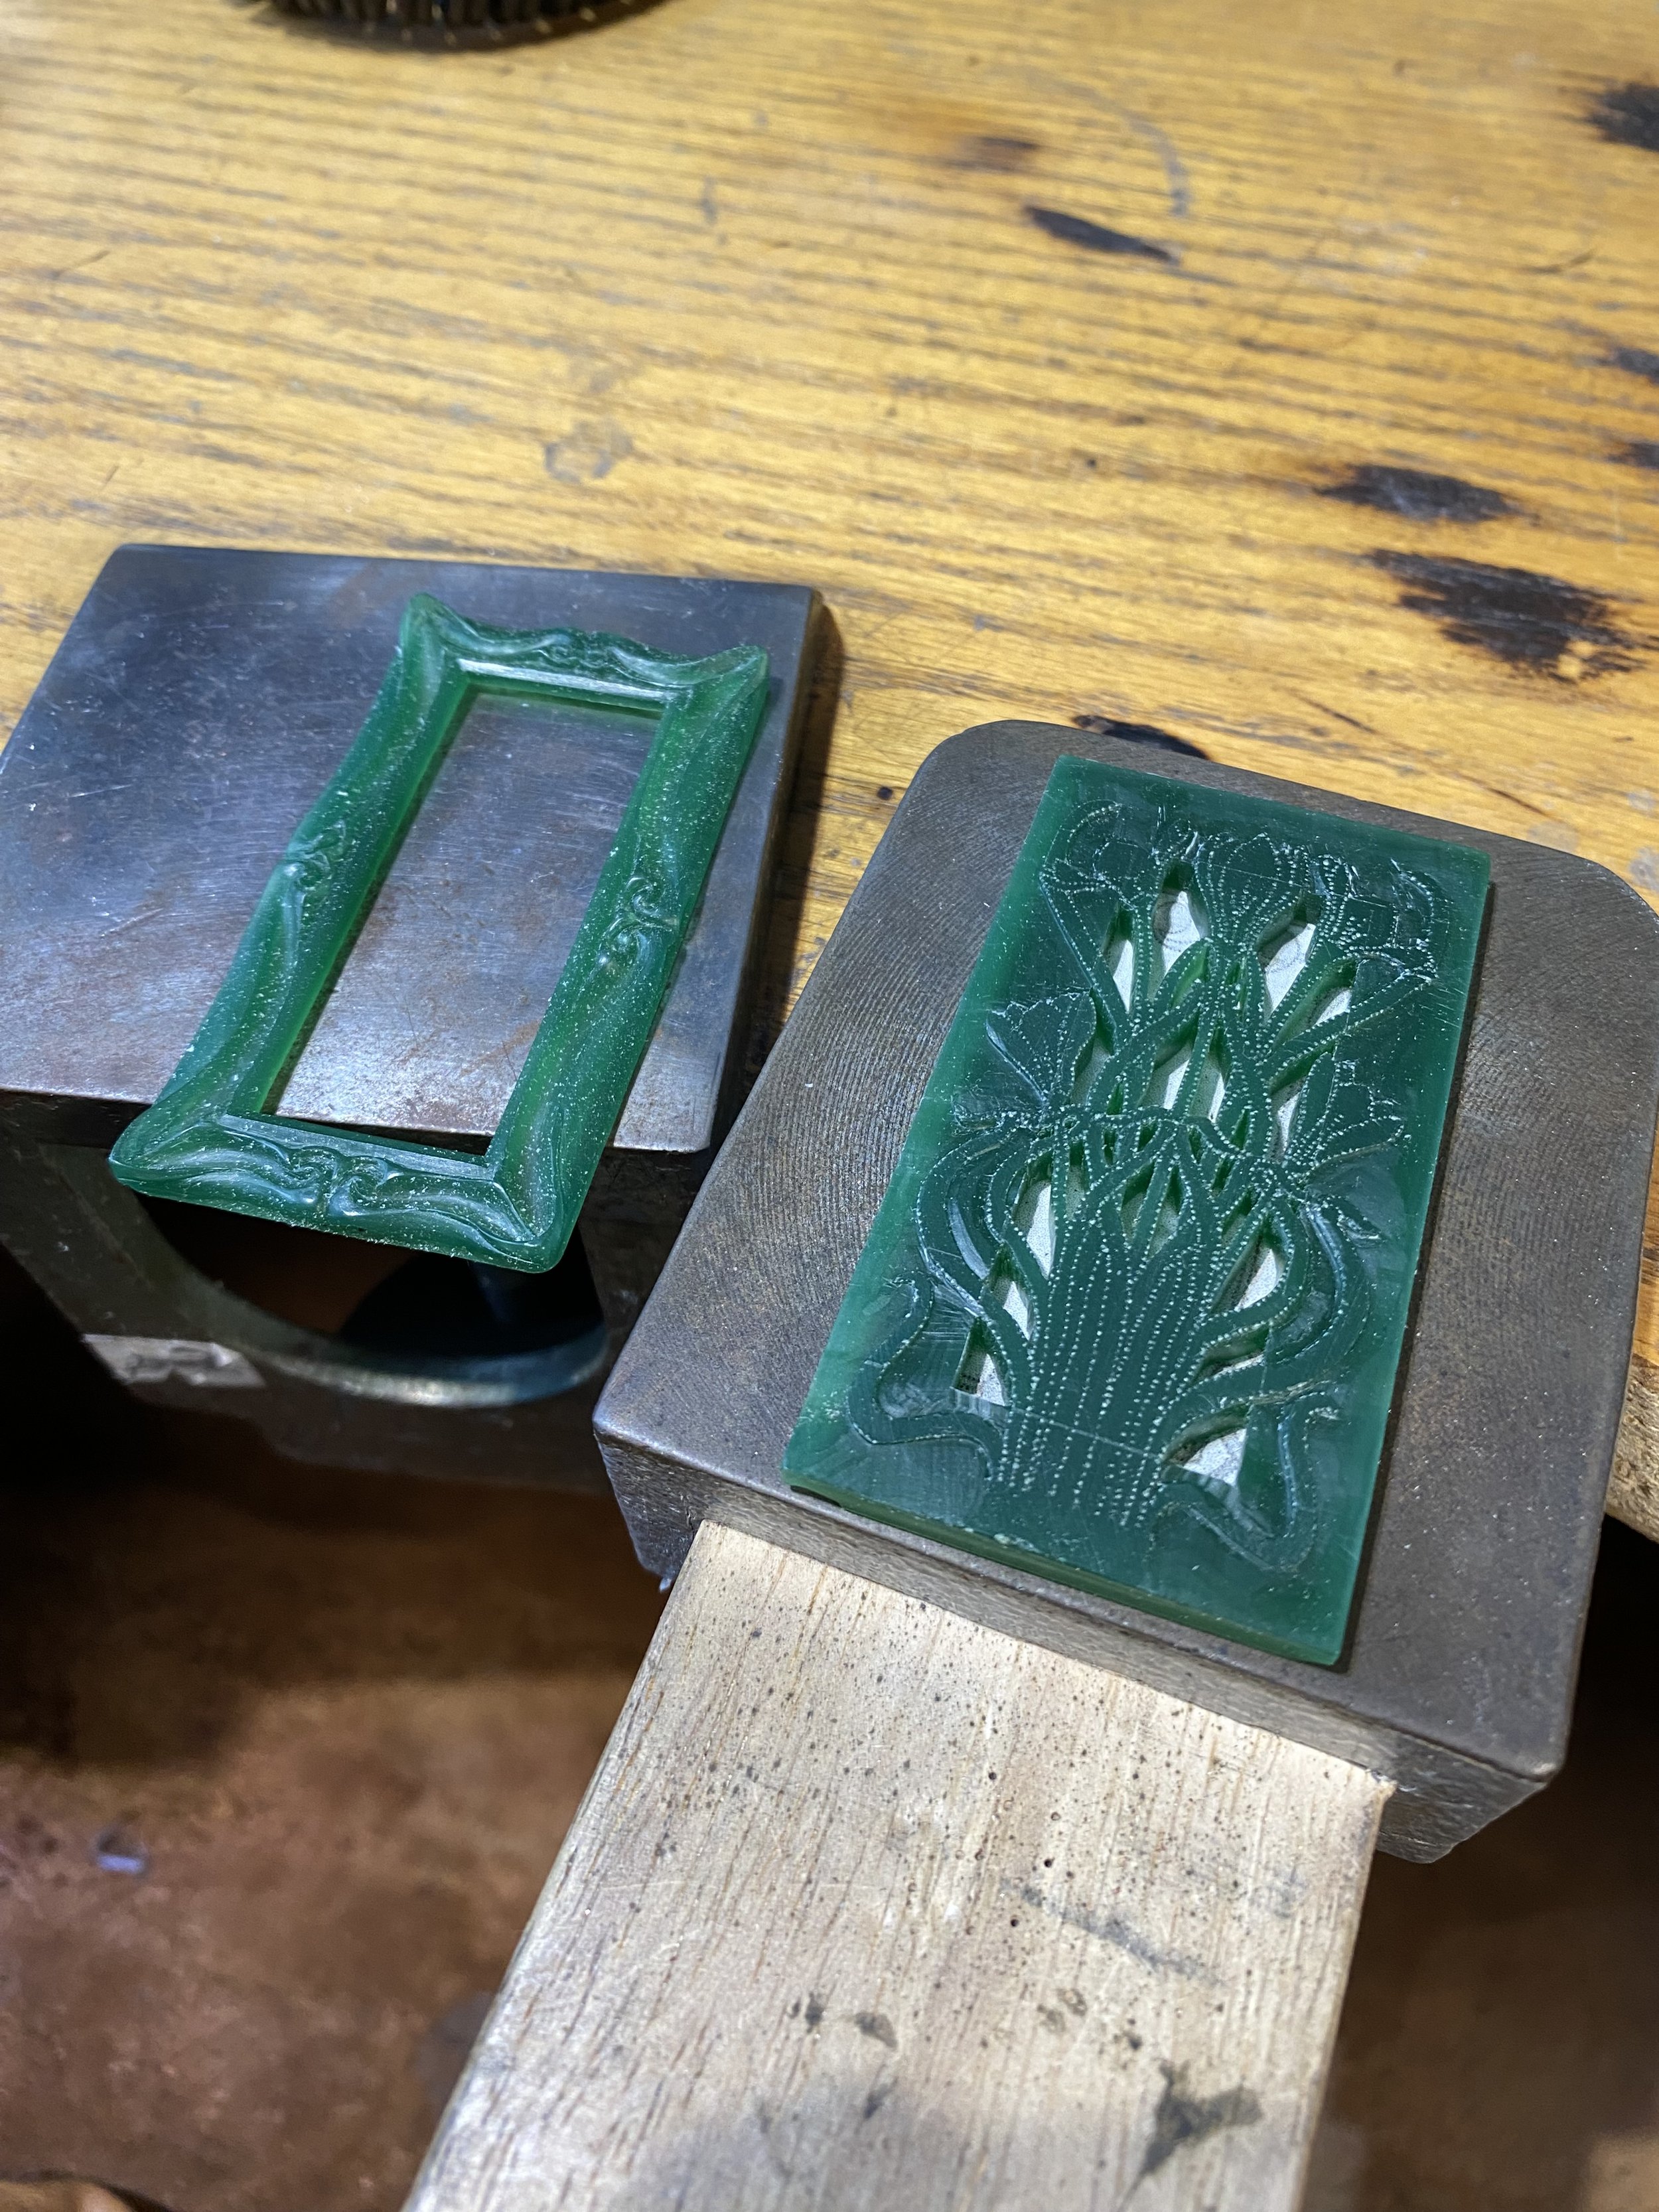
Both of the carvings side-by-side. I placed a piece of paper behind the flower frame carving to show the centre cut-outs.
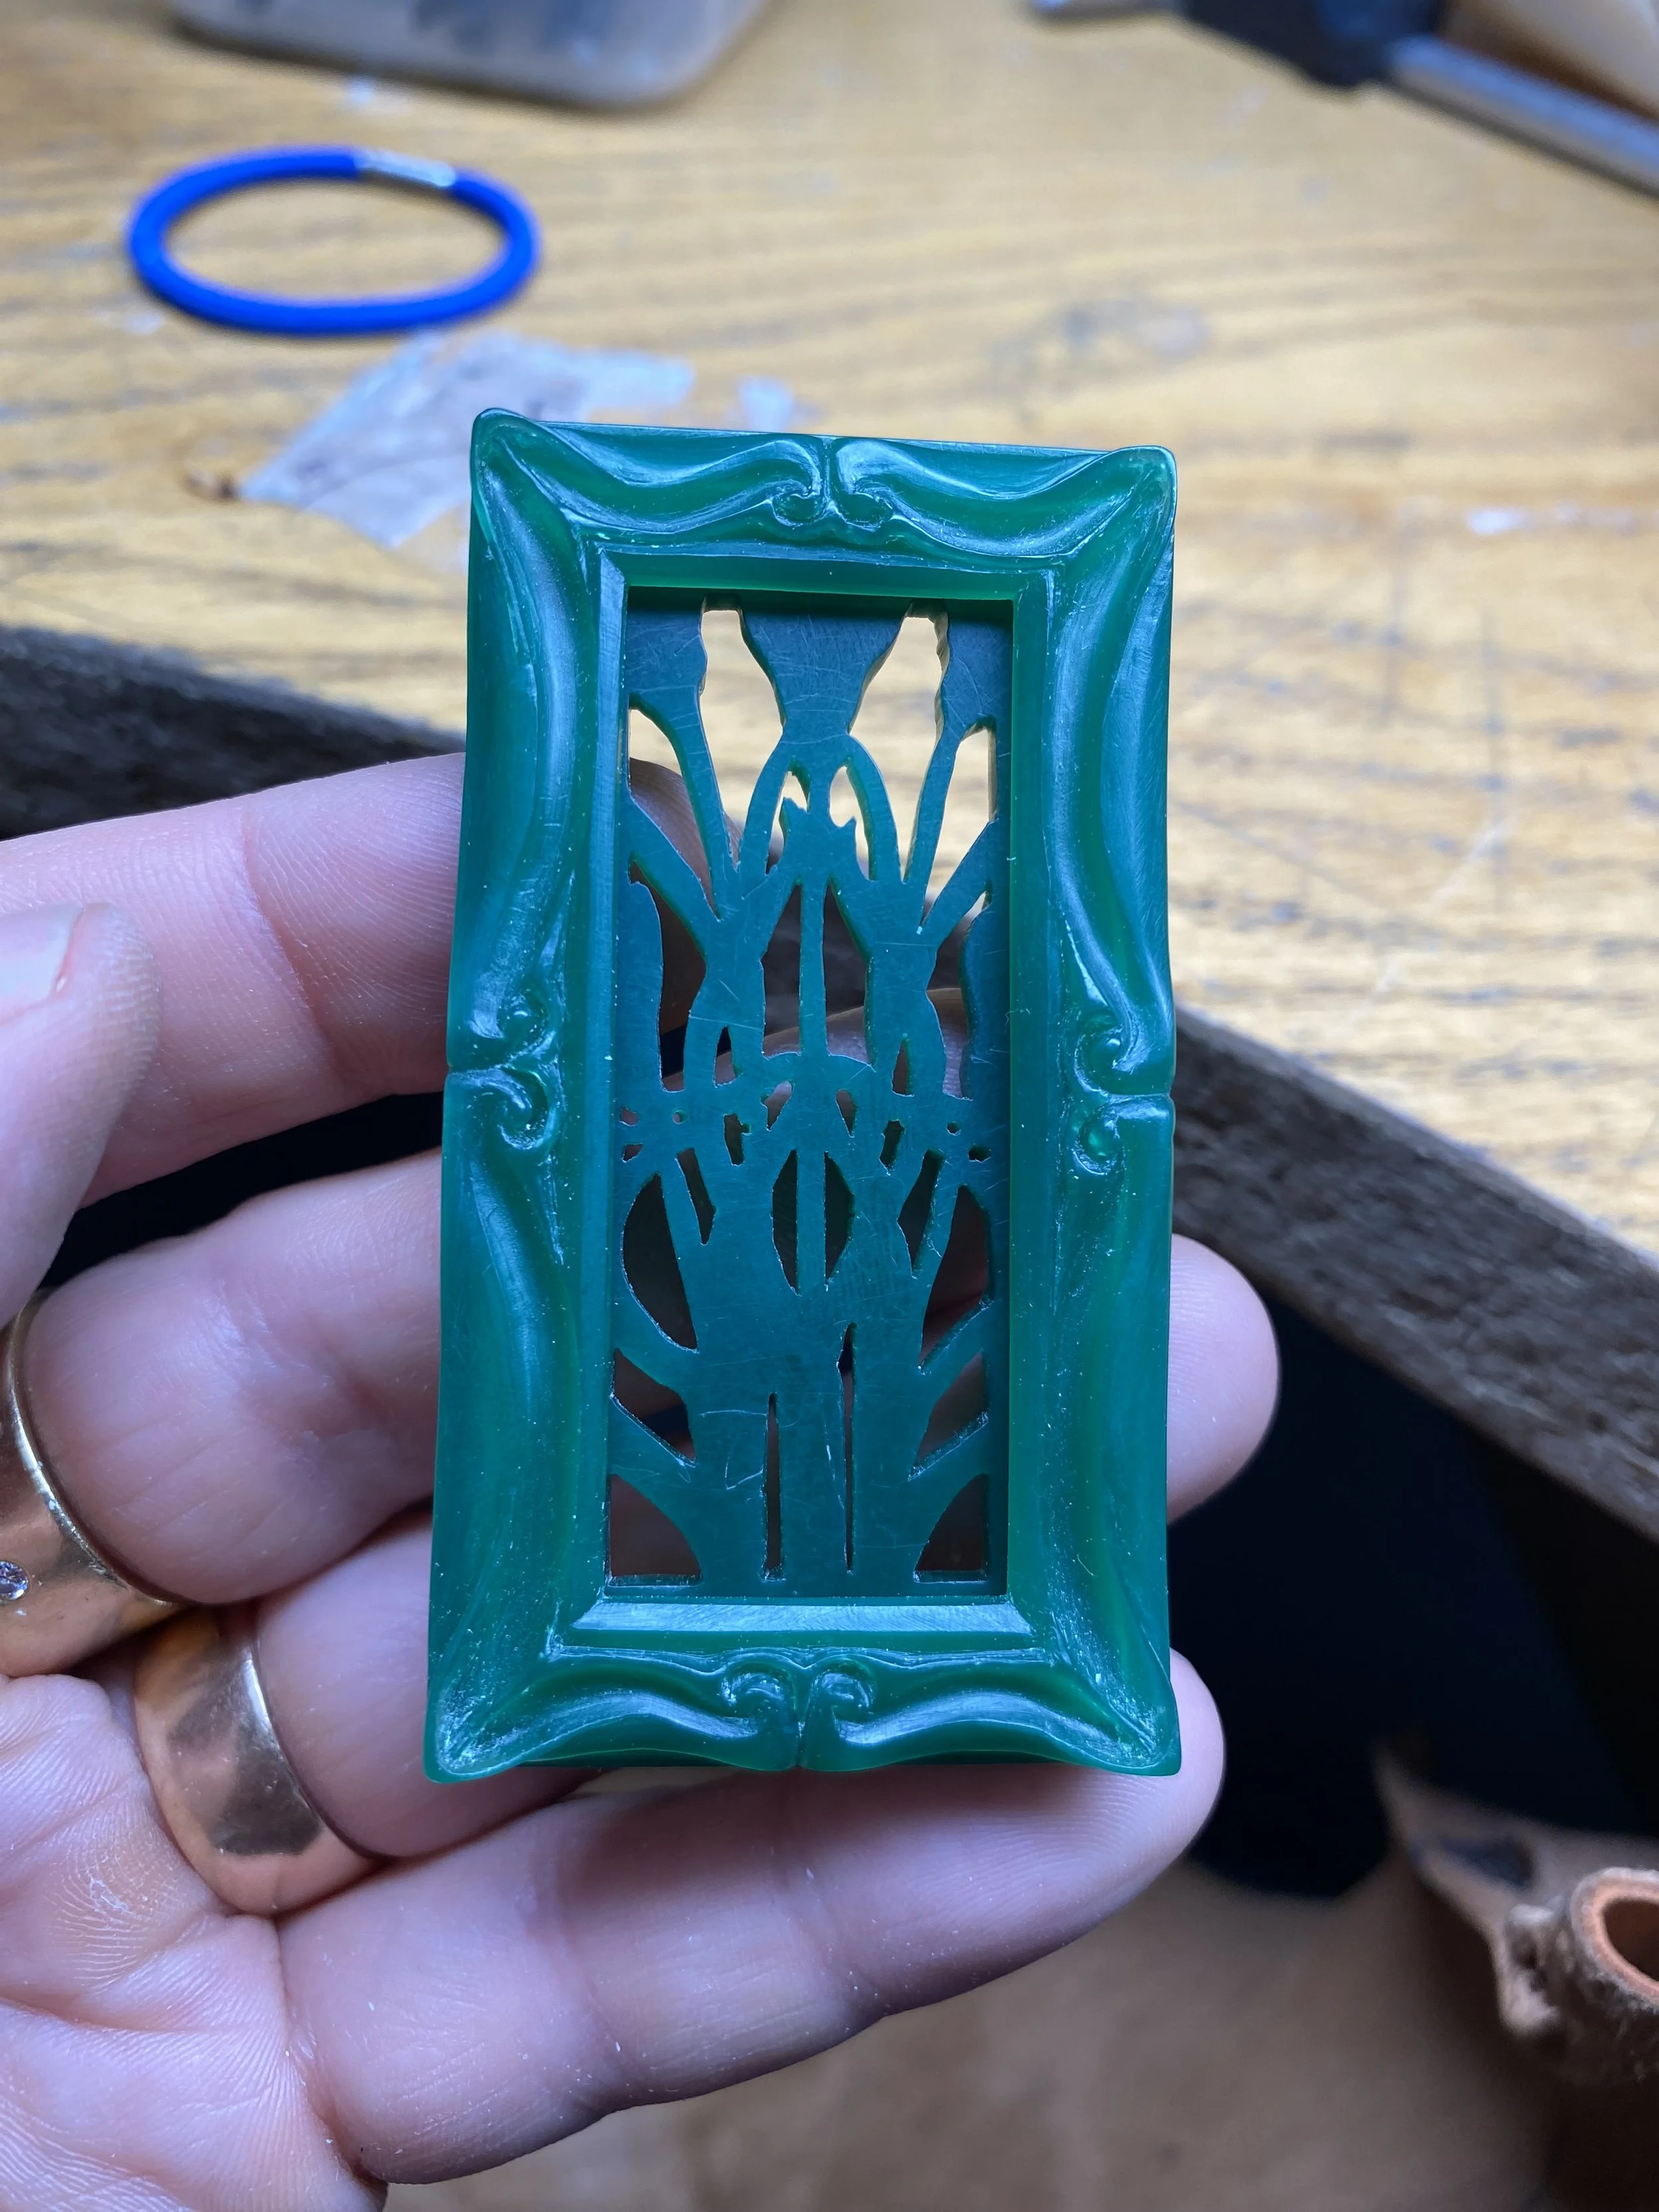
Both of the carvings shown back-to-back. You wont be able to see the back of the flower frame as the insert will cover this.
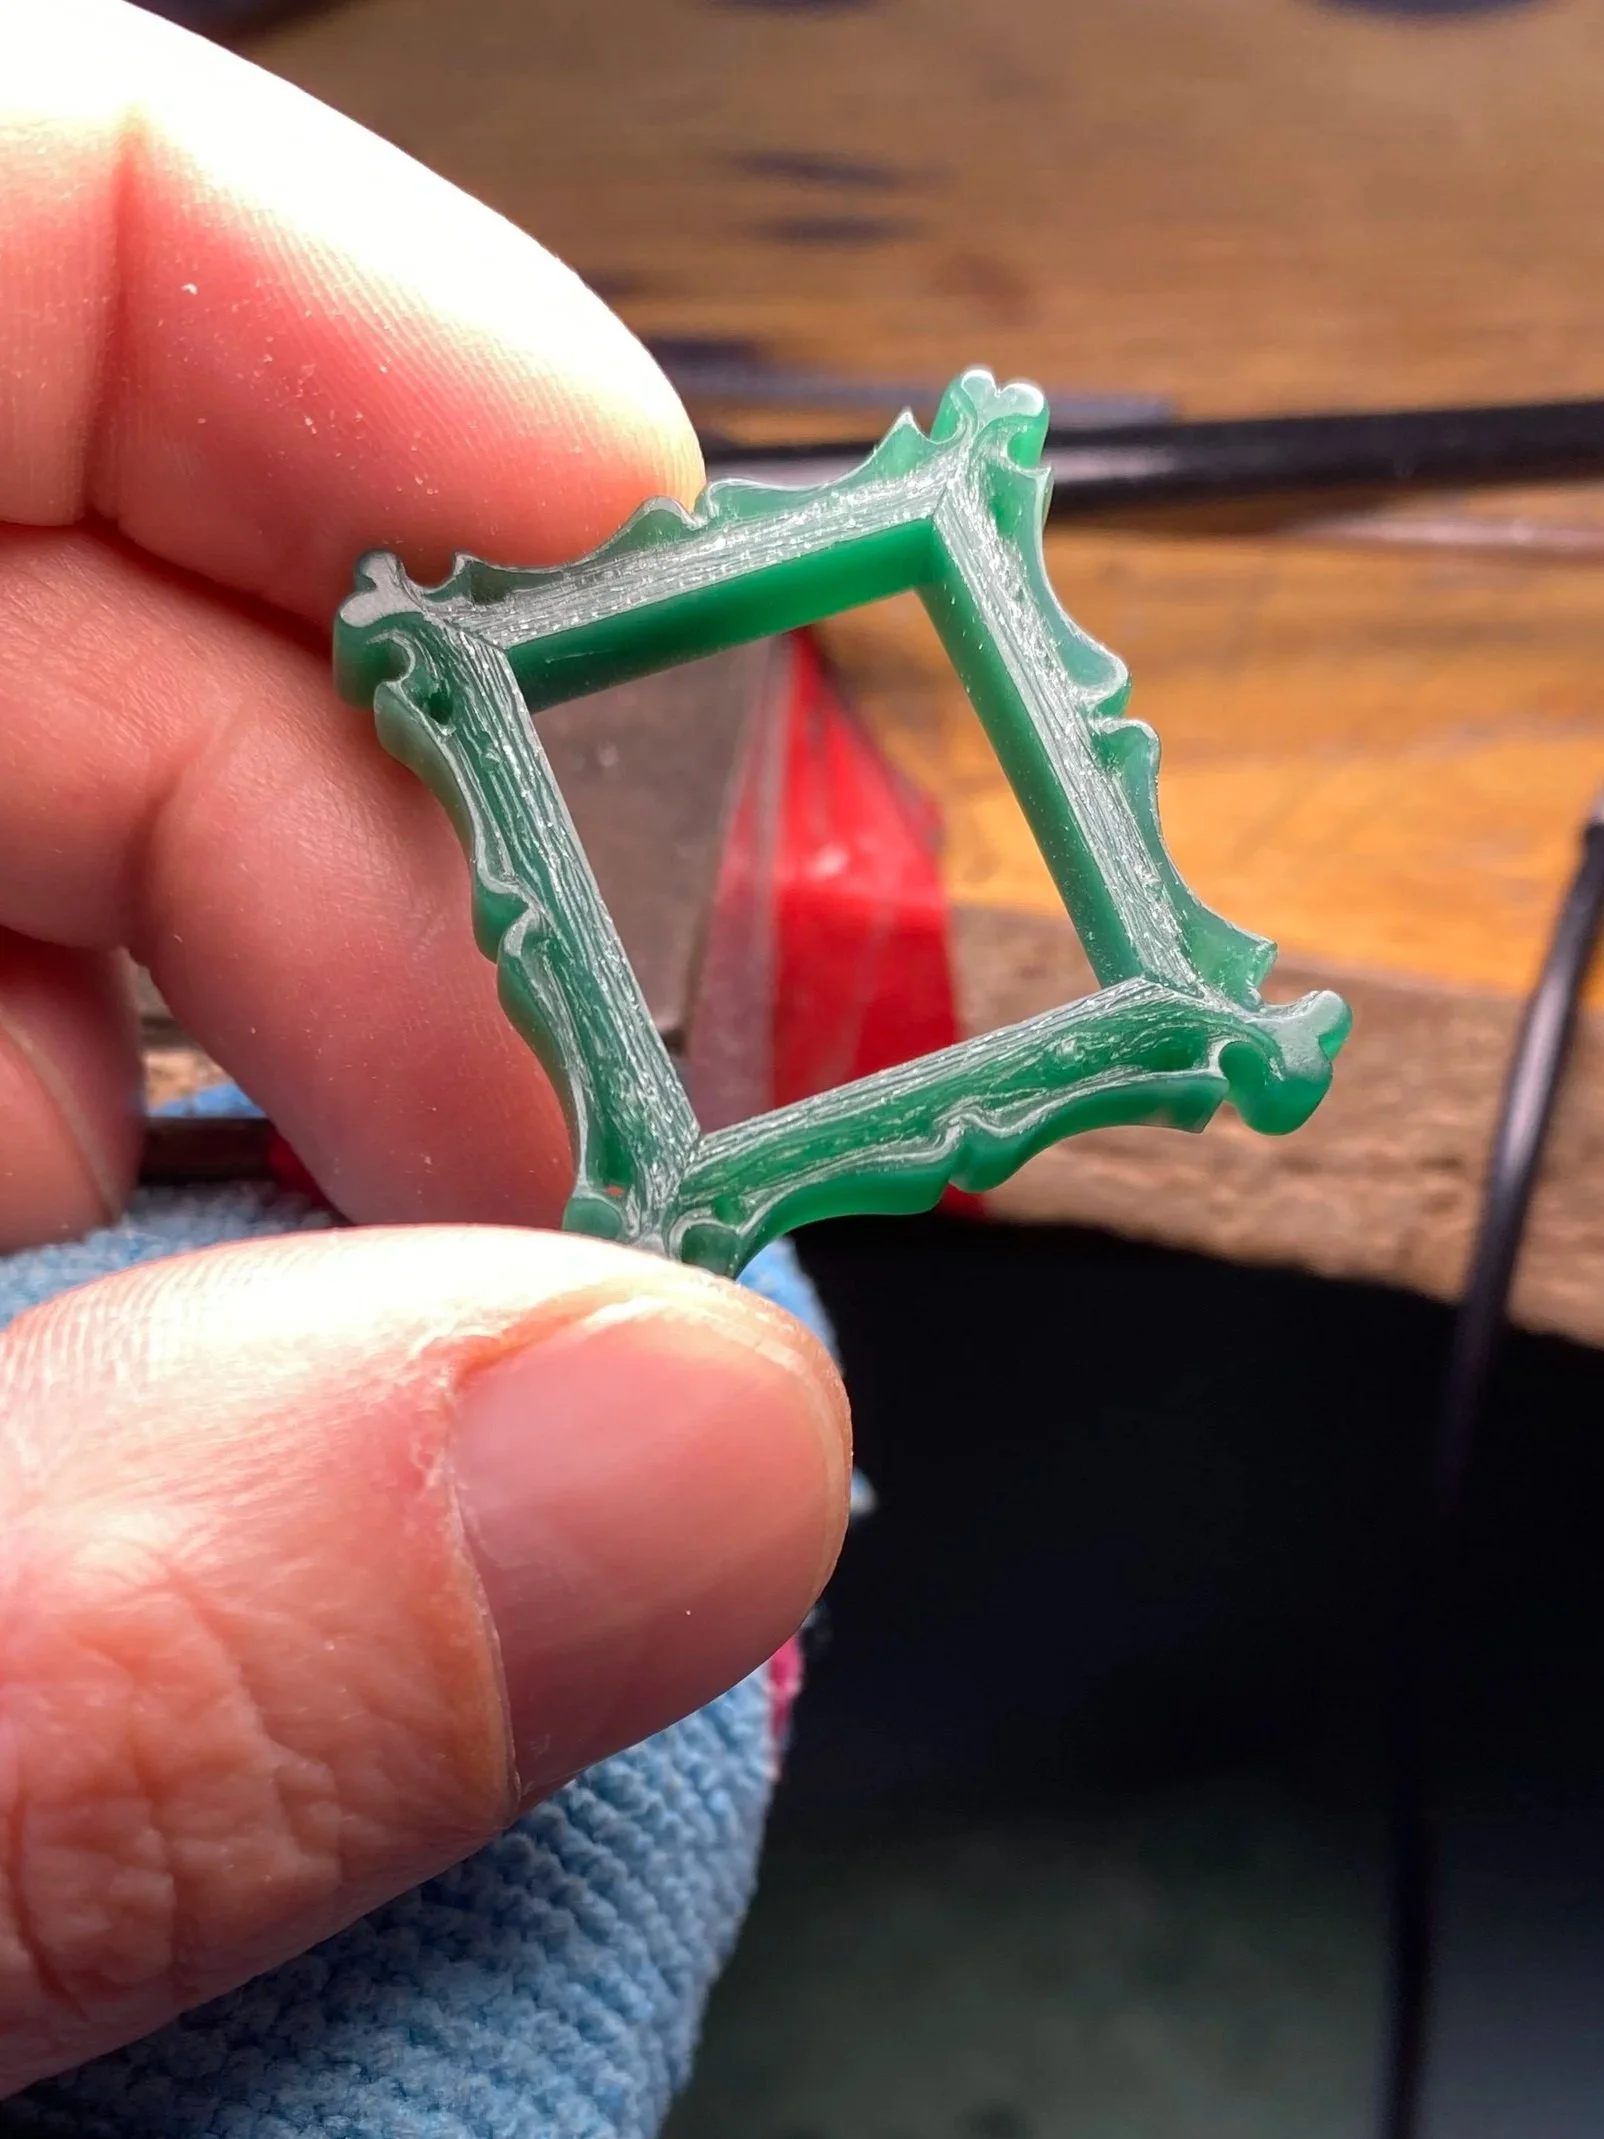
Next!! I wanted to carve the type of picture frame you would find in a log cabin or in an old cottage. With hearts to each corner, a wooden texture centre and paper scrolls on the sides. I have a vivid imagination!
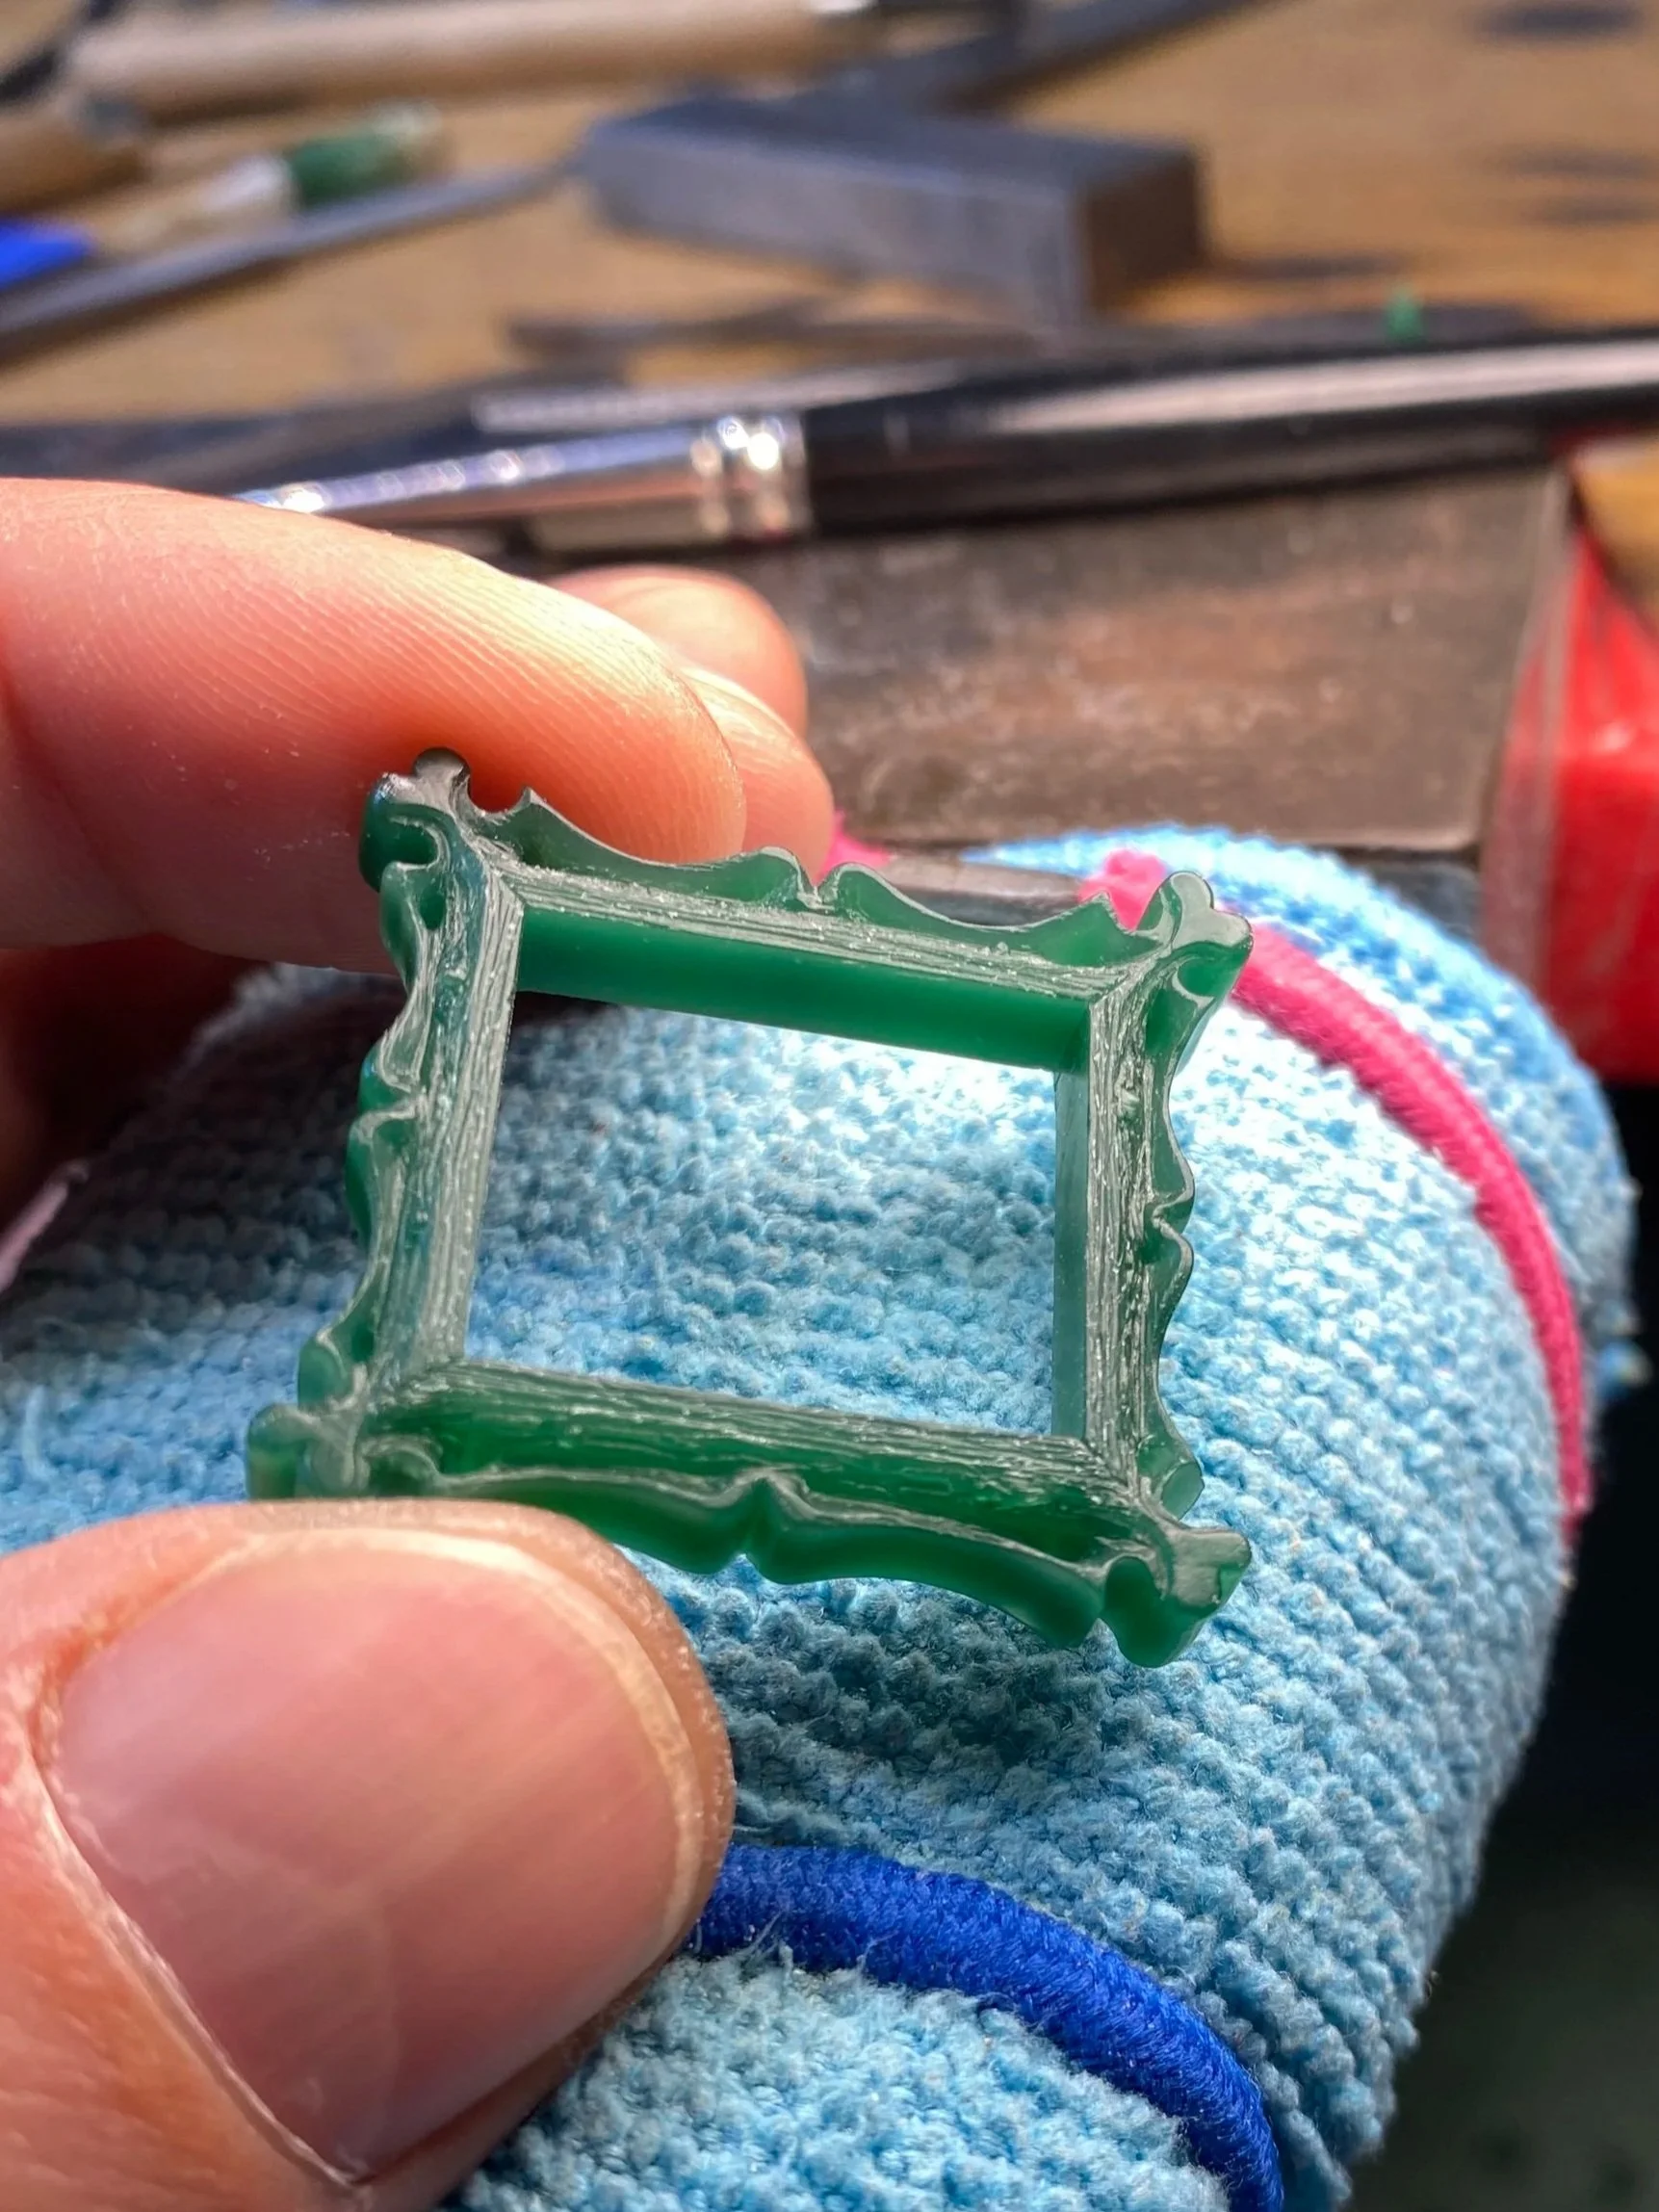
Here you can see the additional knots in the wood effect and the recesses around each of the hearts.
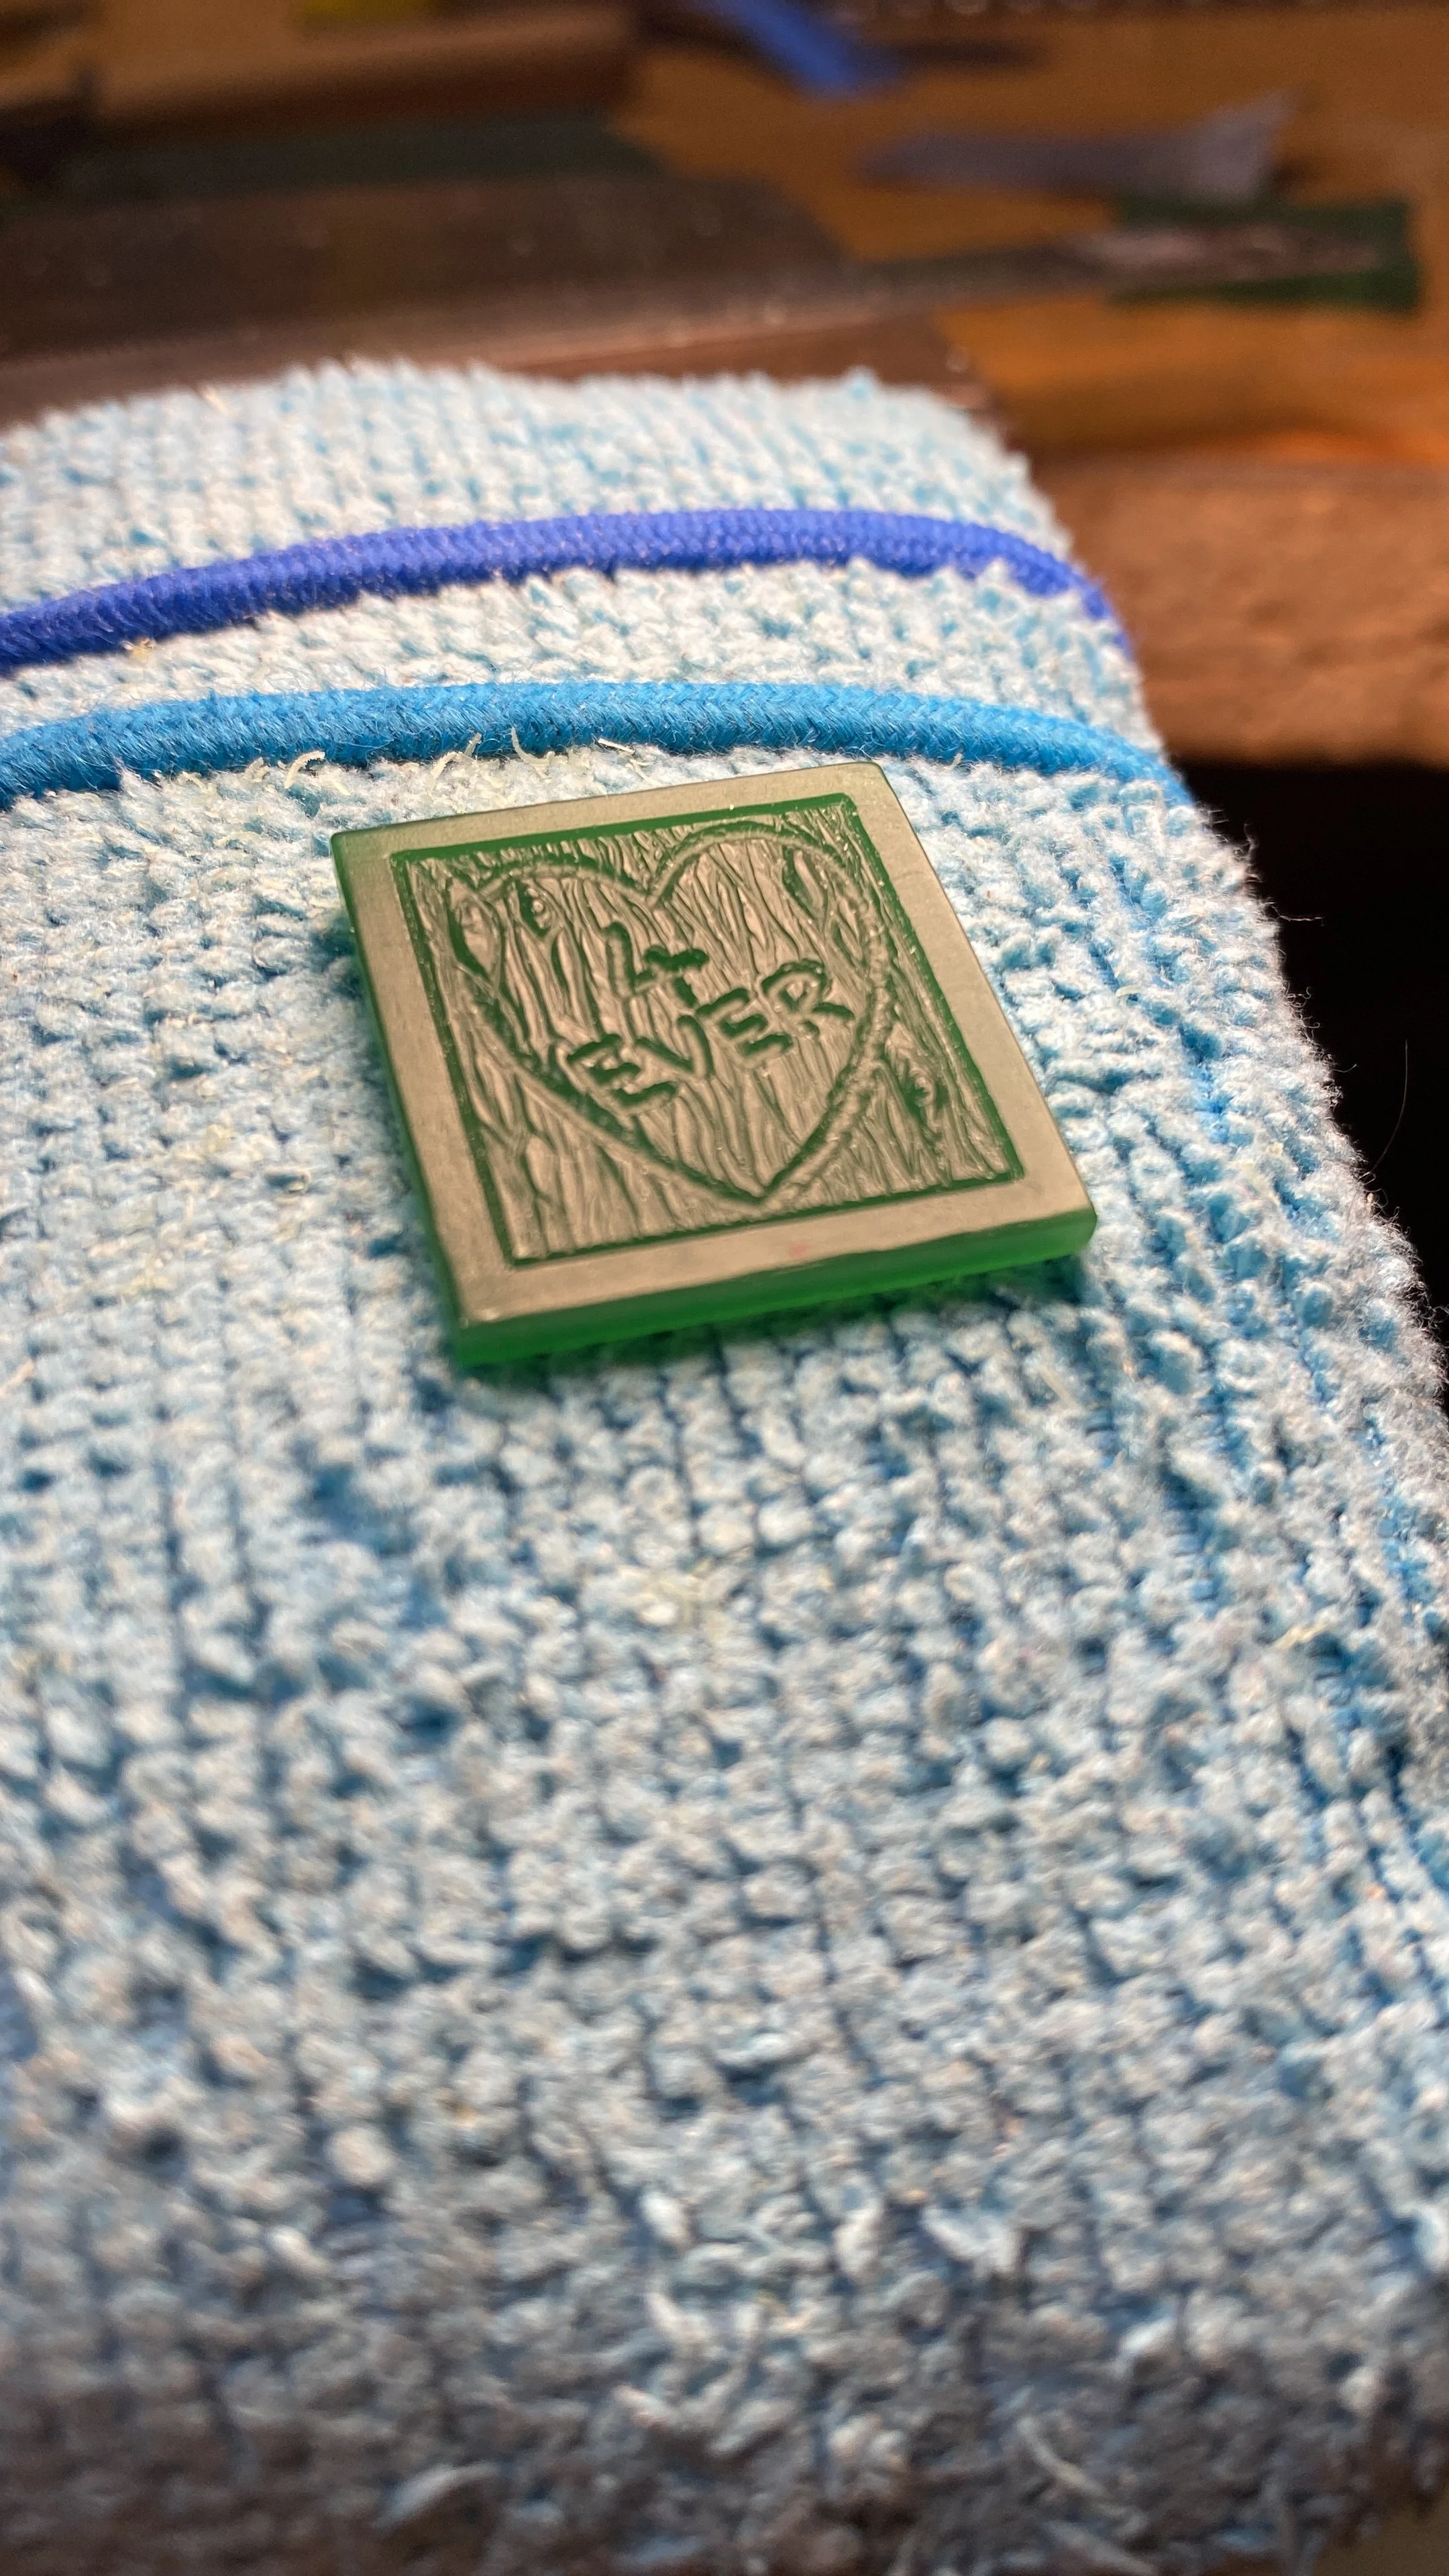
An additional design for the the backplate; plain boarder with a 'wooden' insert which has a carving like you would find on a tree, a heart shape carving with '4 EVER' written inside.
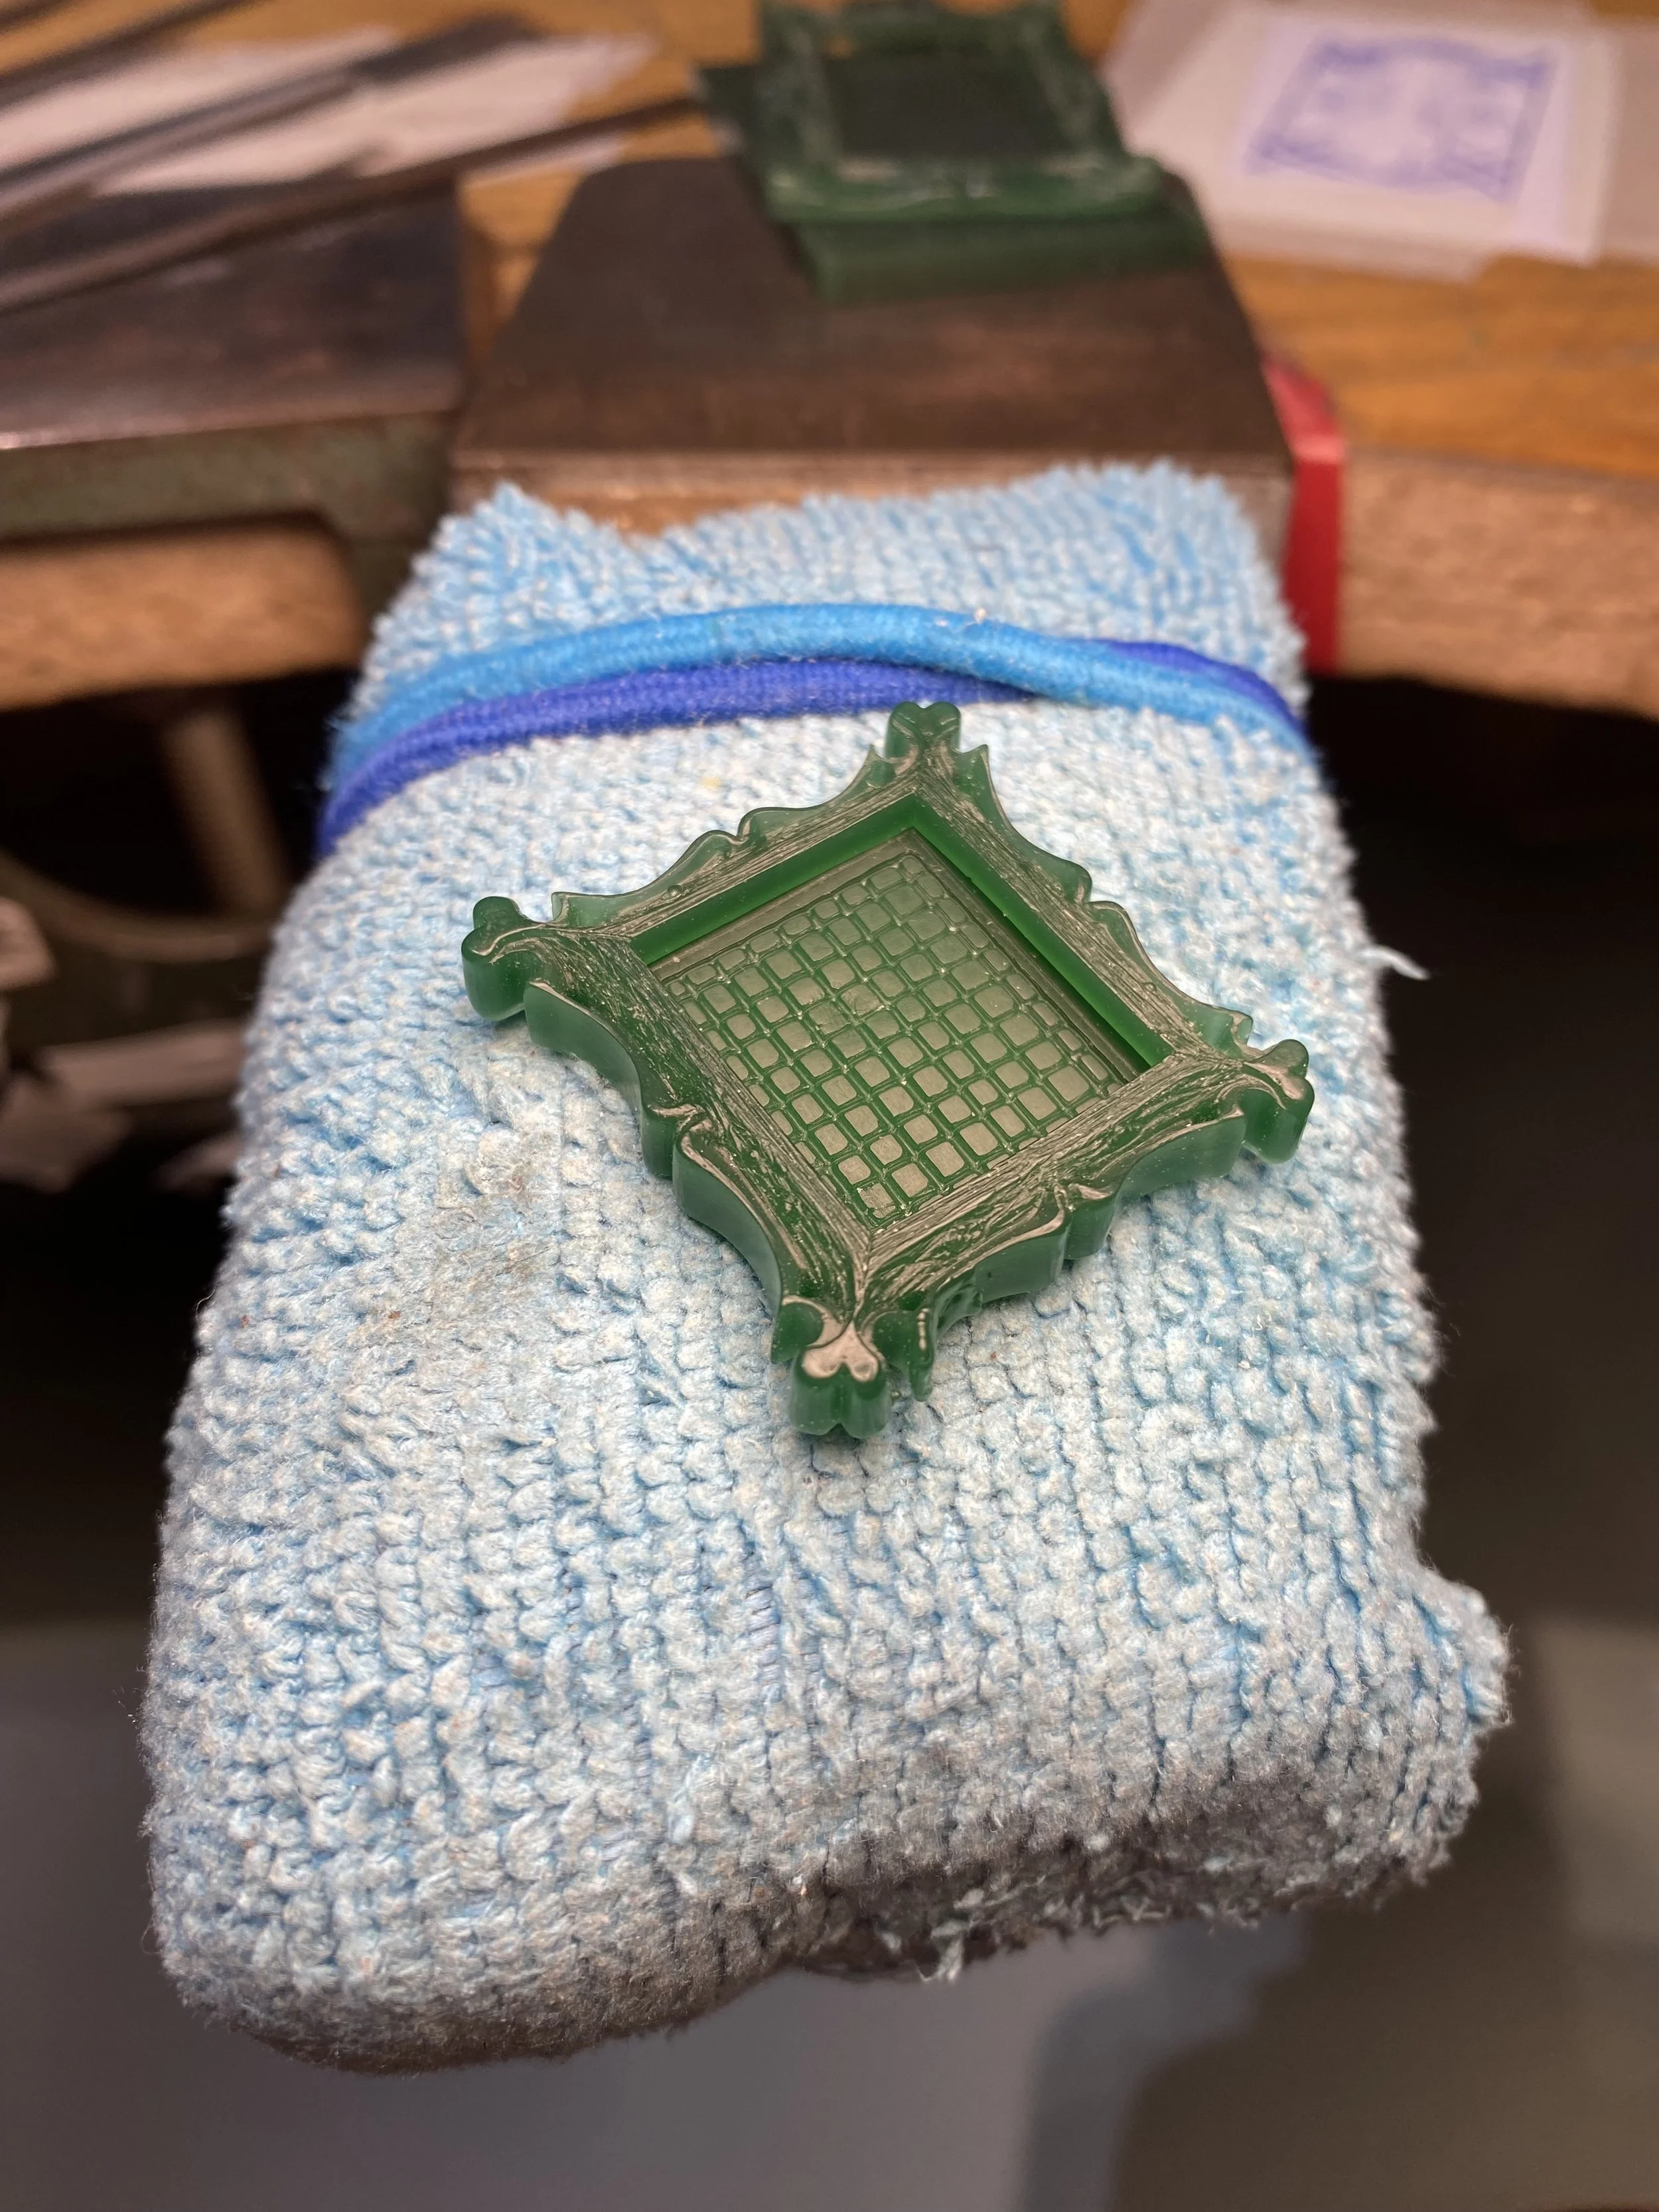
I gave additional grip to this backplate to stop the insert from moving once I get it installed.
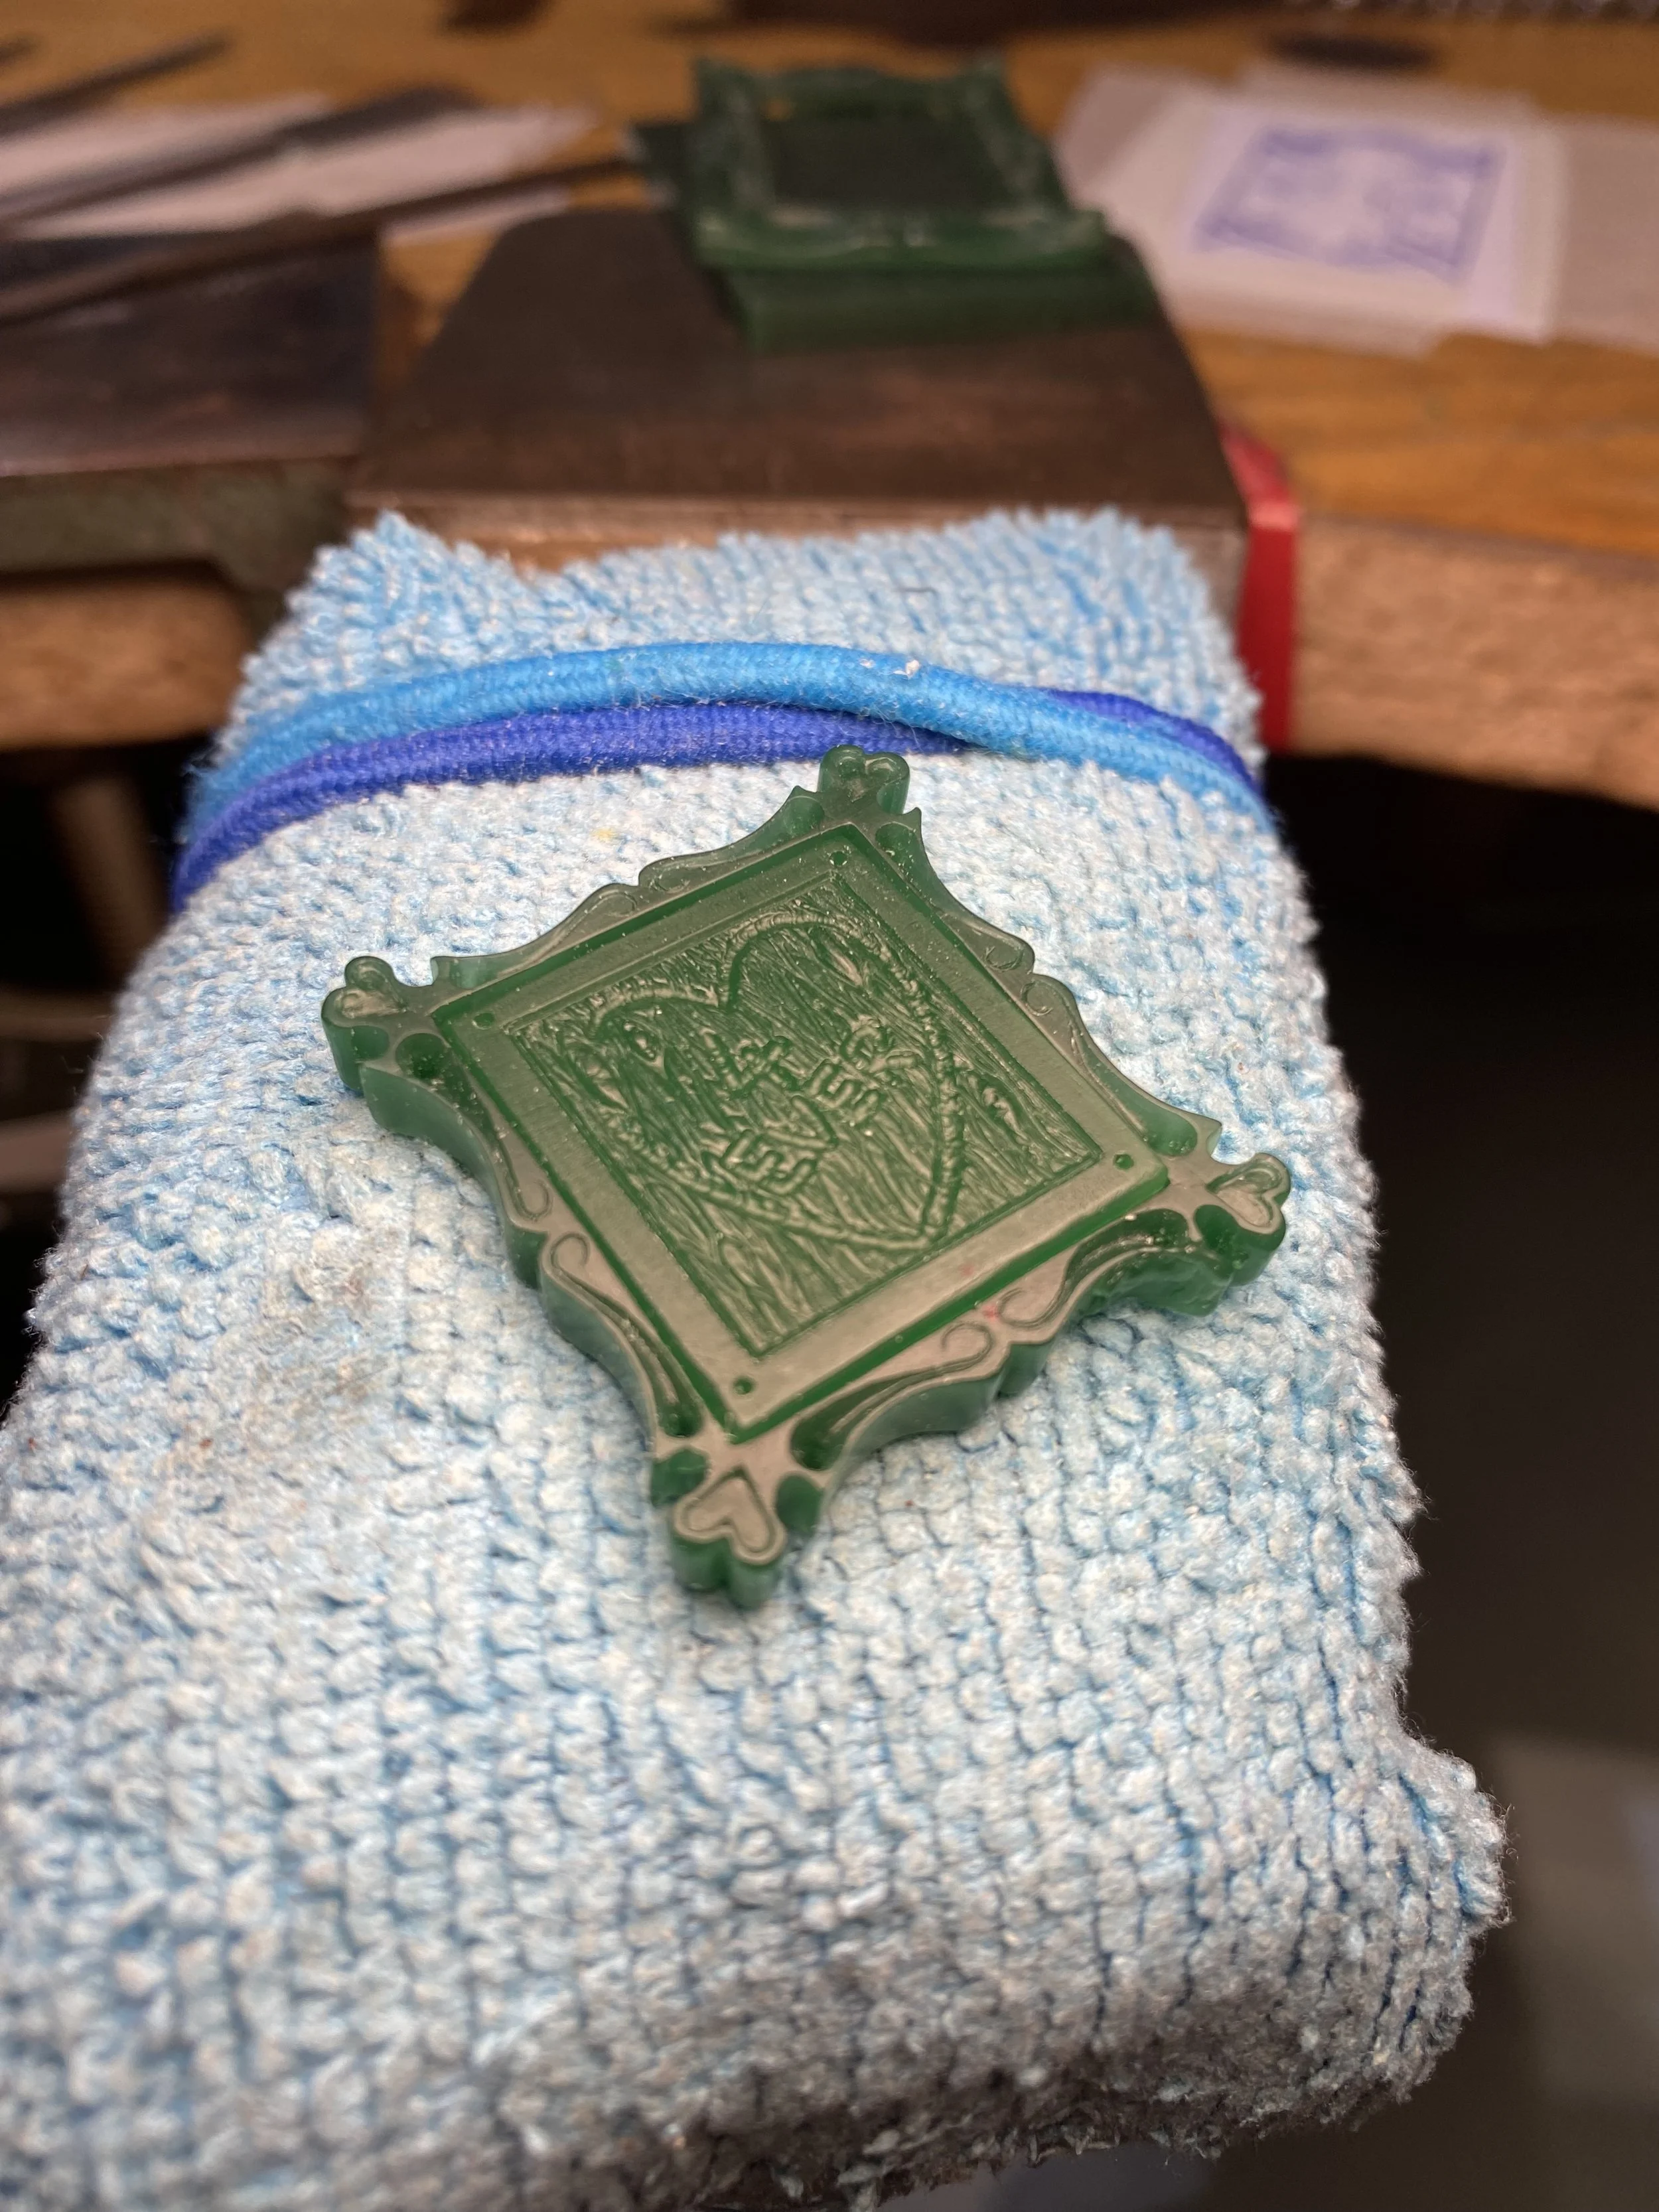
A look at the back with the backplate in situ. Note the recesses on the hearts and additional scrollwork.
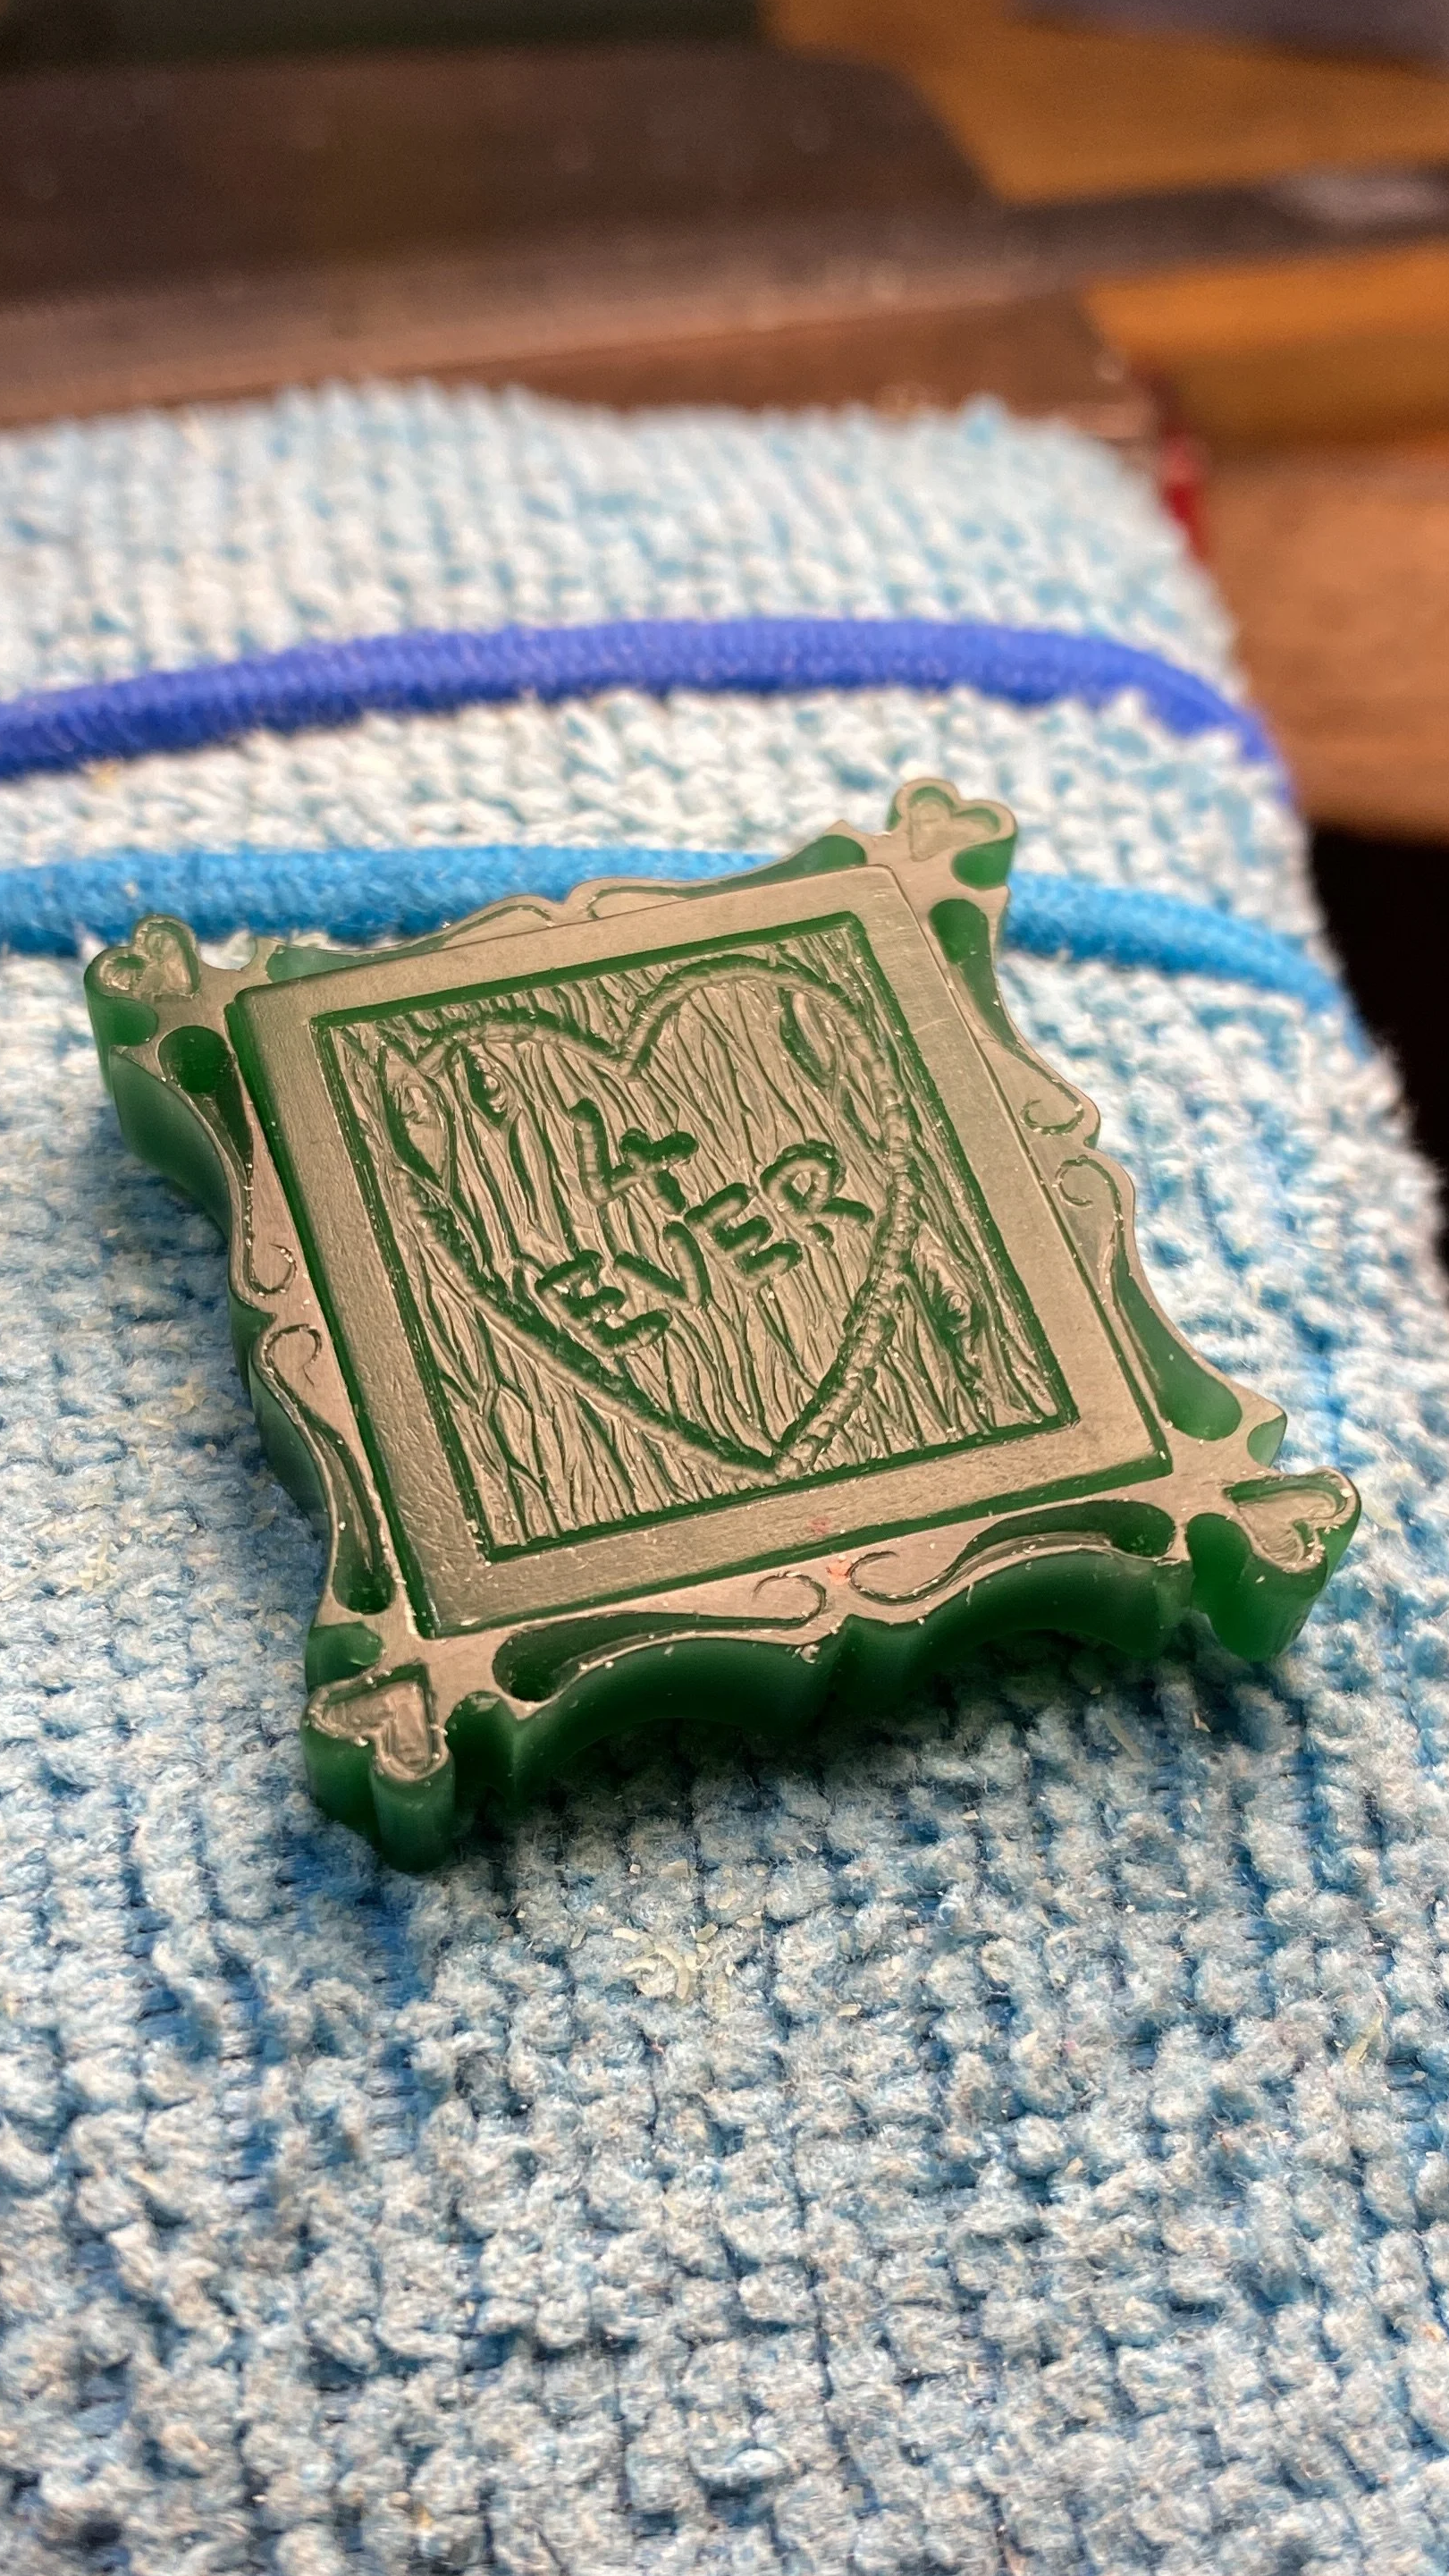
Here you can see the additional detail I have put into the backplate and scroll work. The brooch pin and fittings will be on the plain boarder.
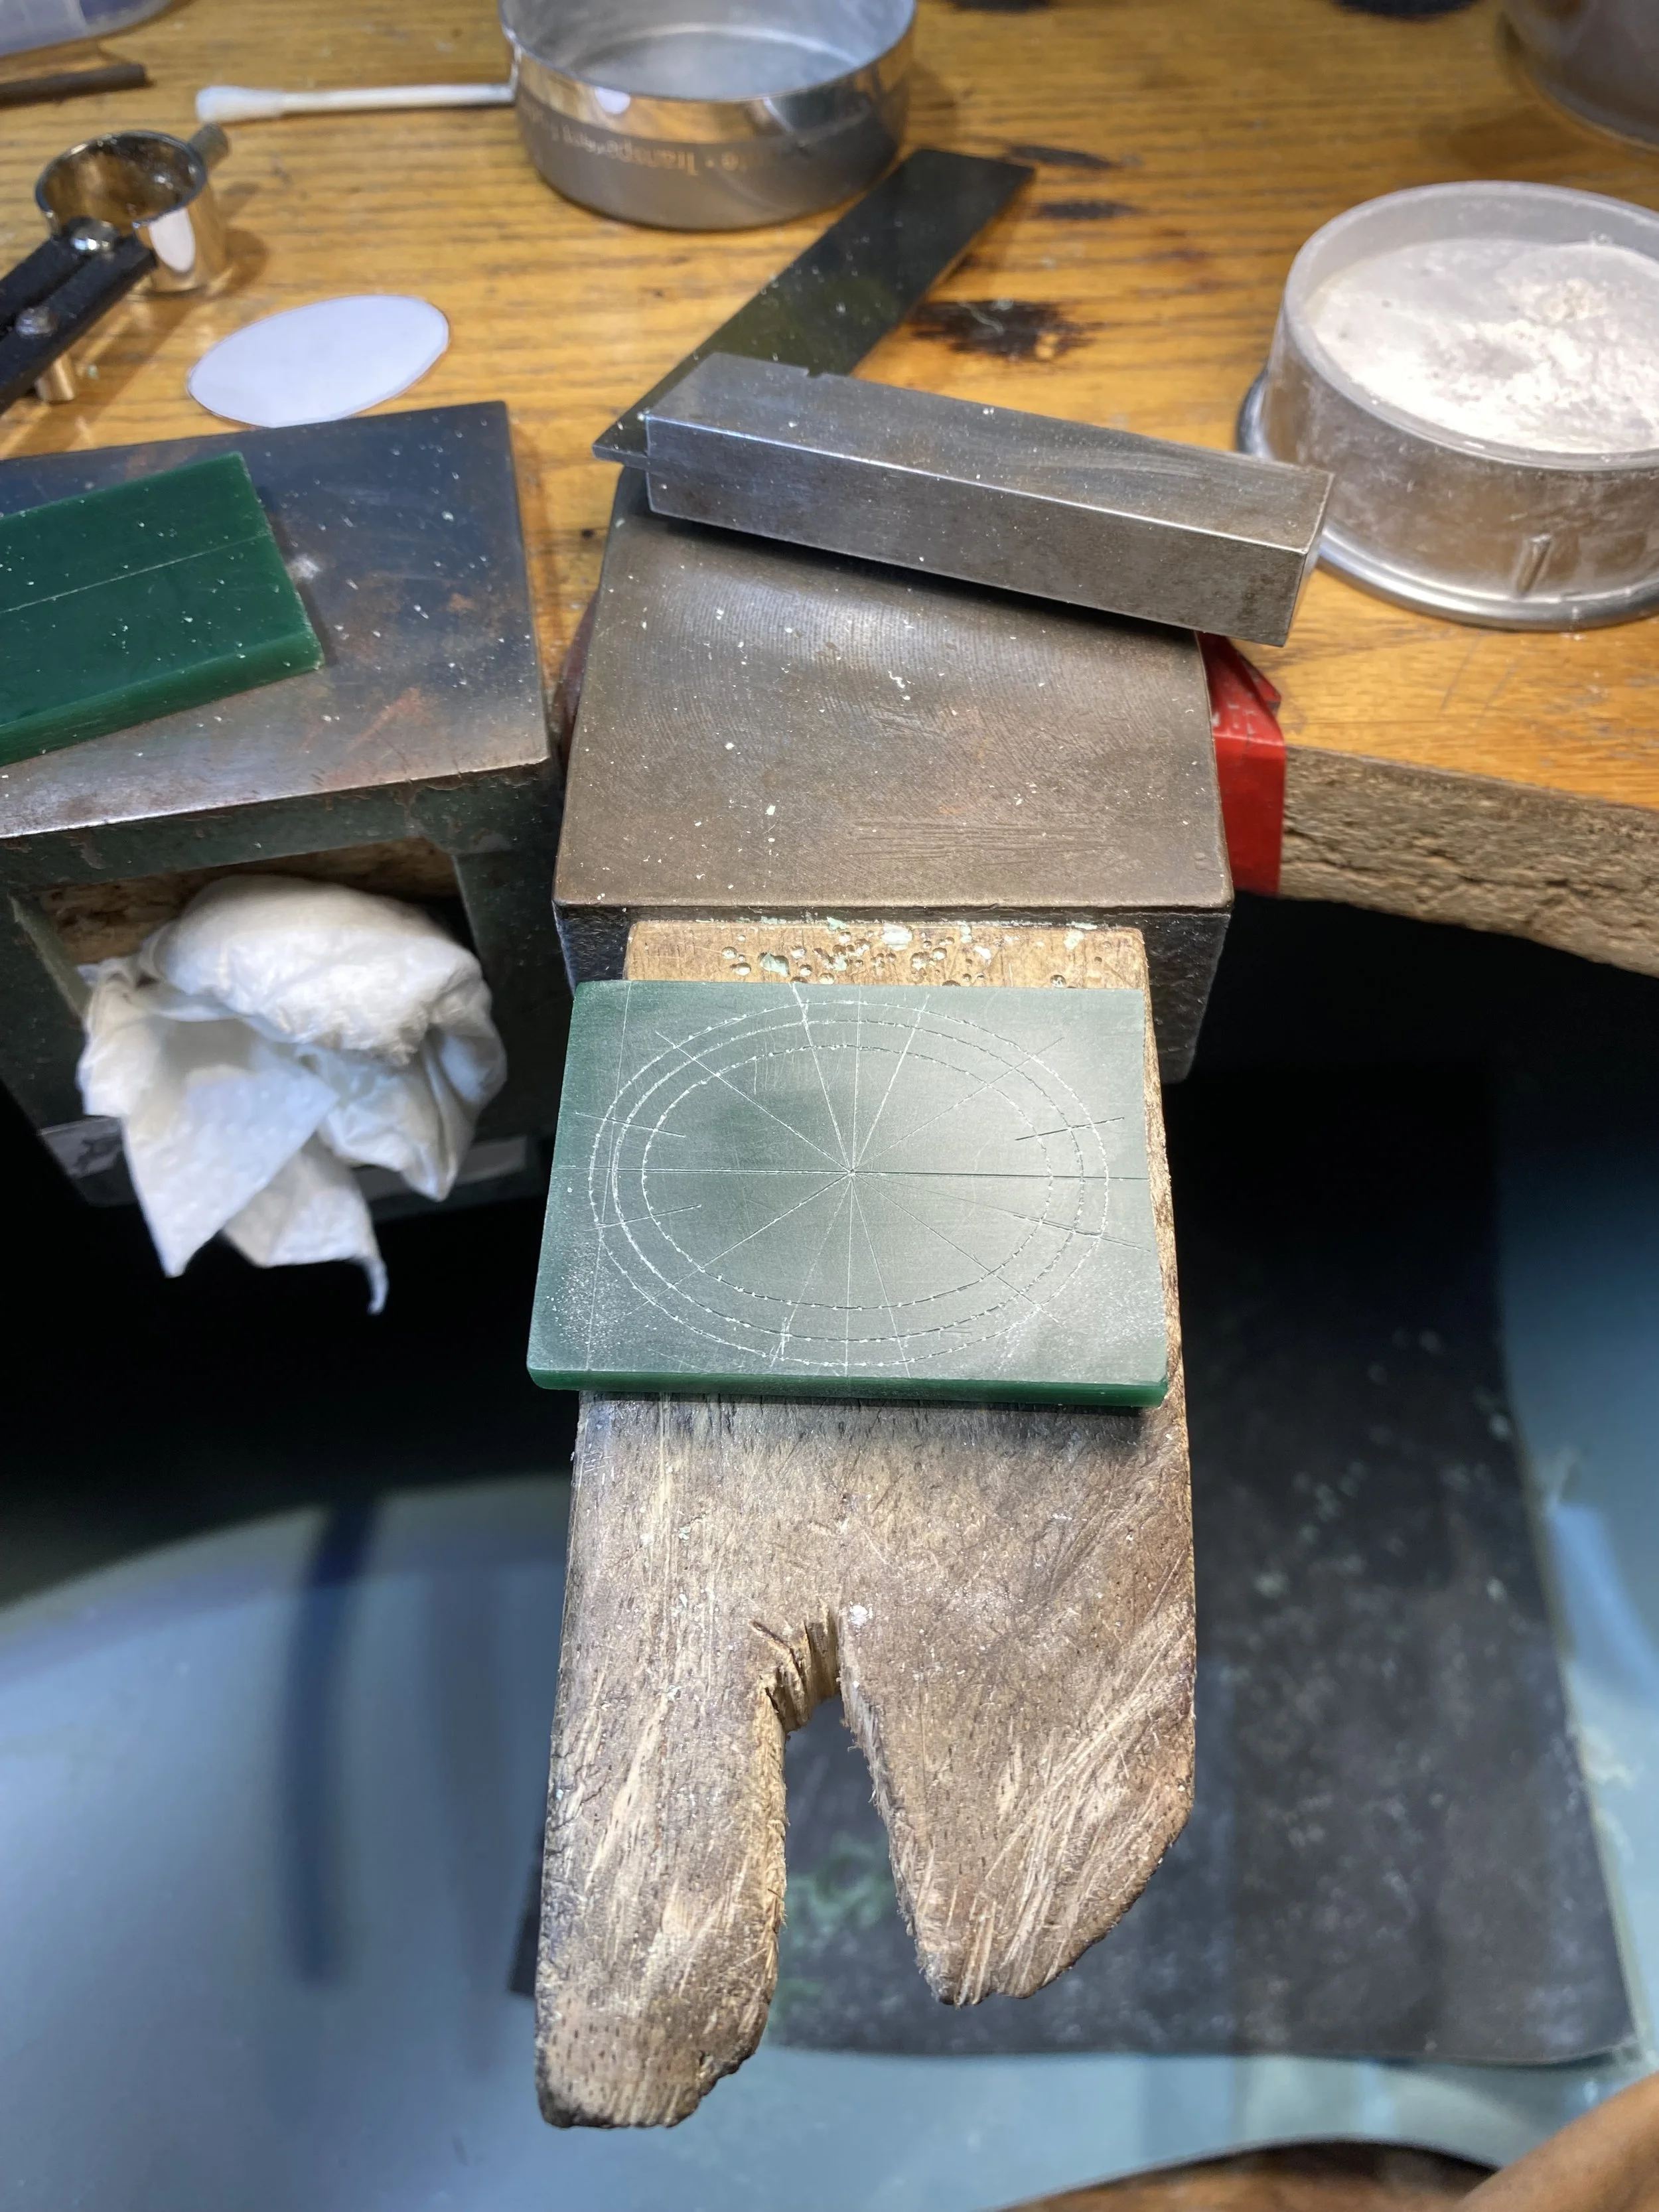
OK... so we have a couple of rectangular frames and now a square-ish one... lets make an oval one!
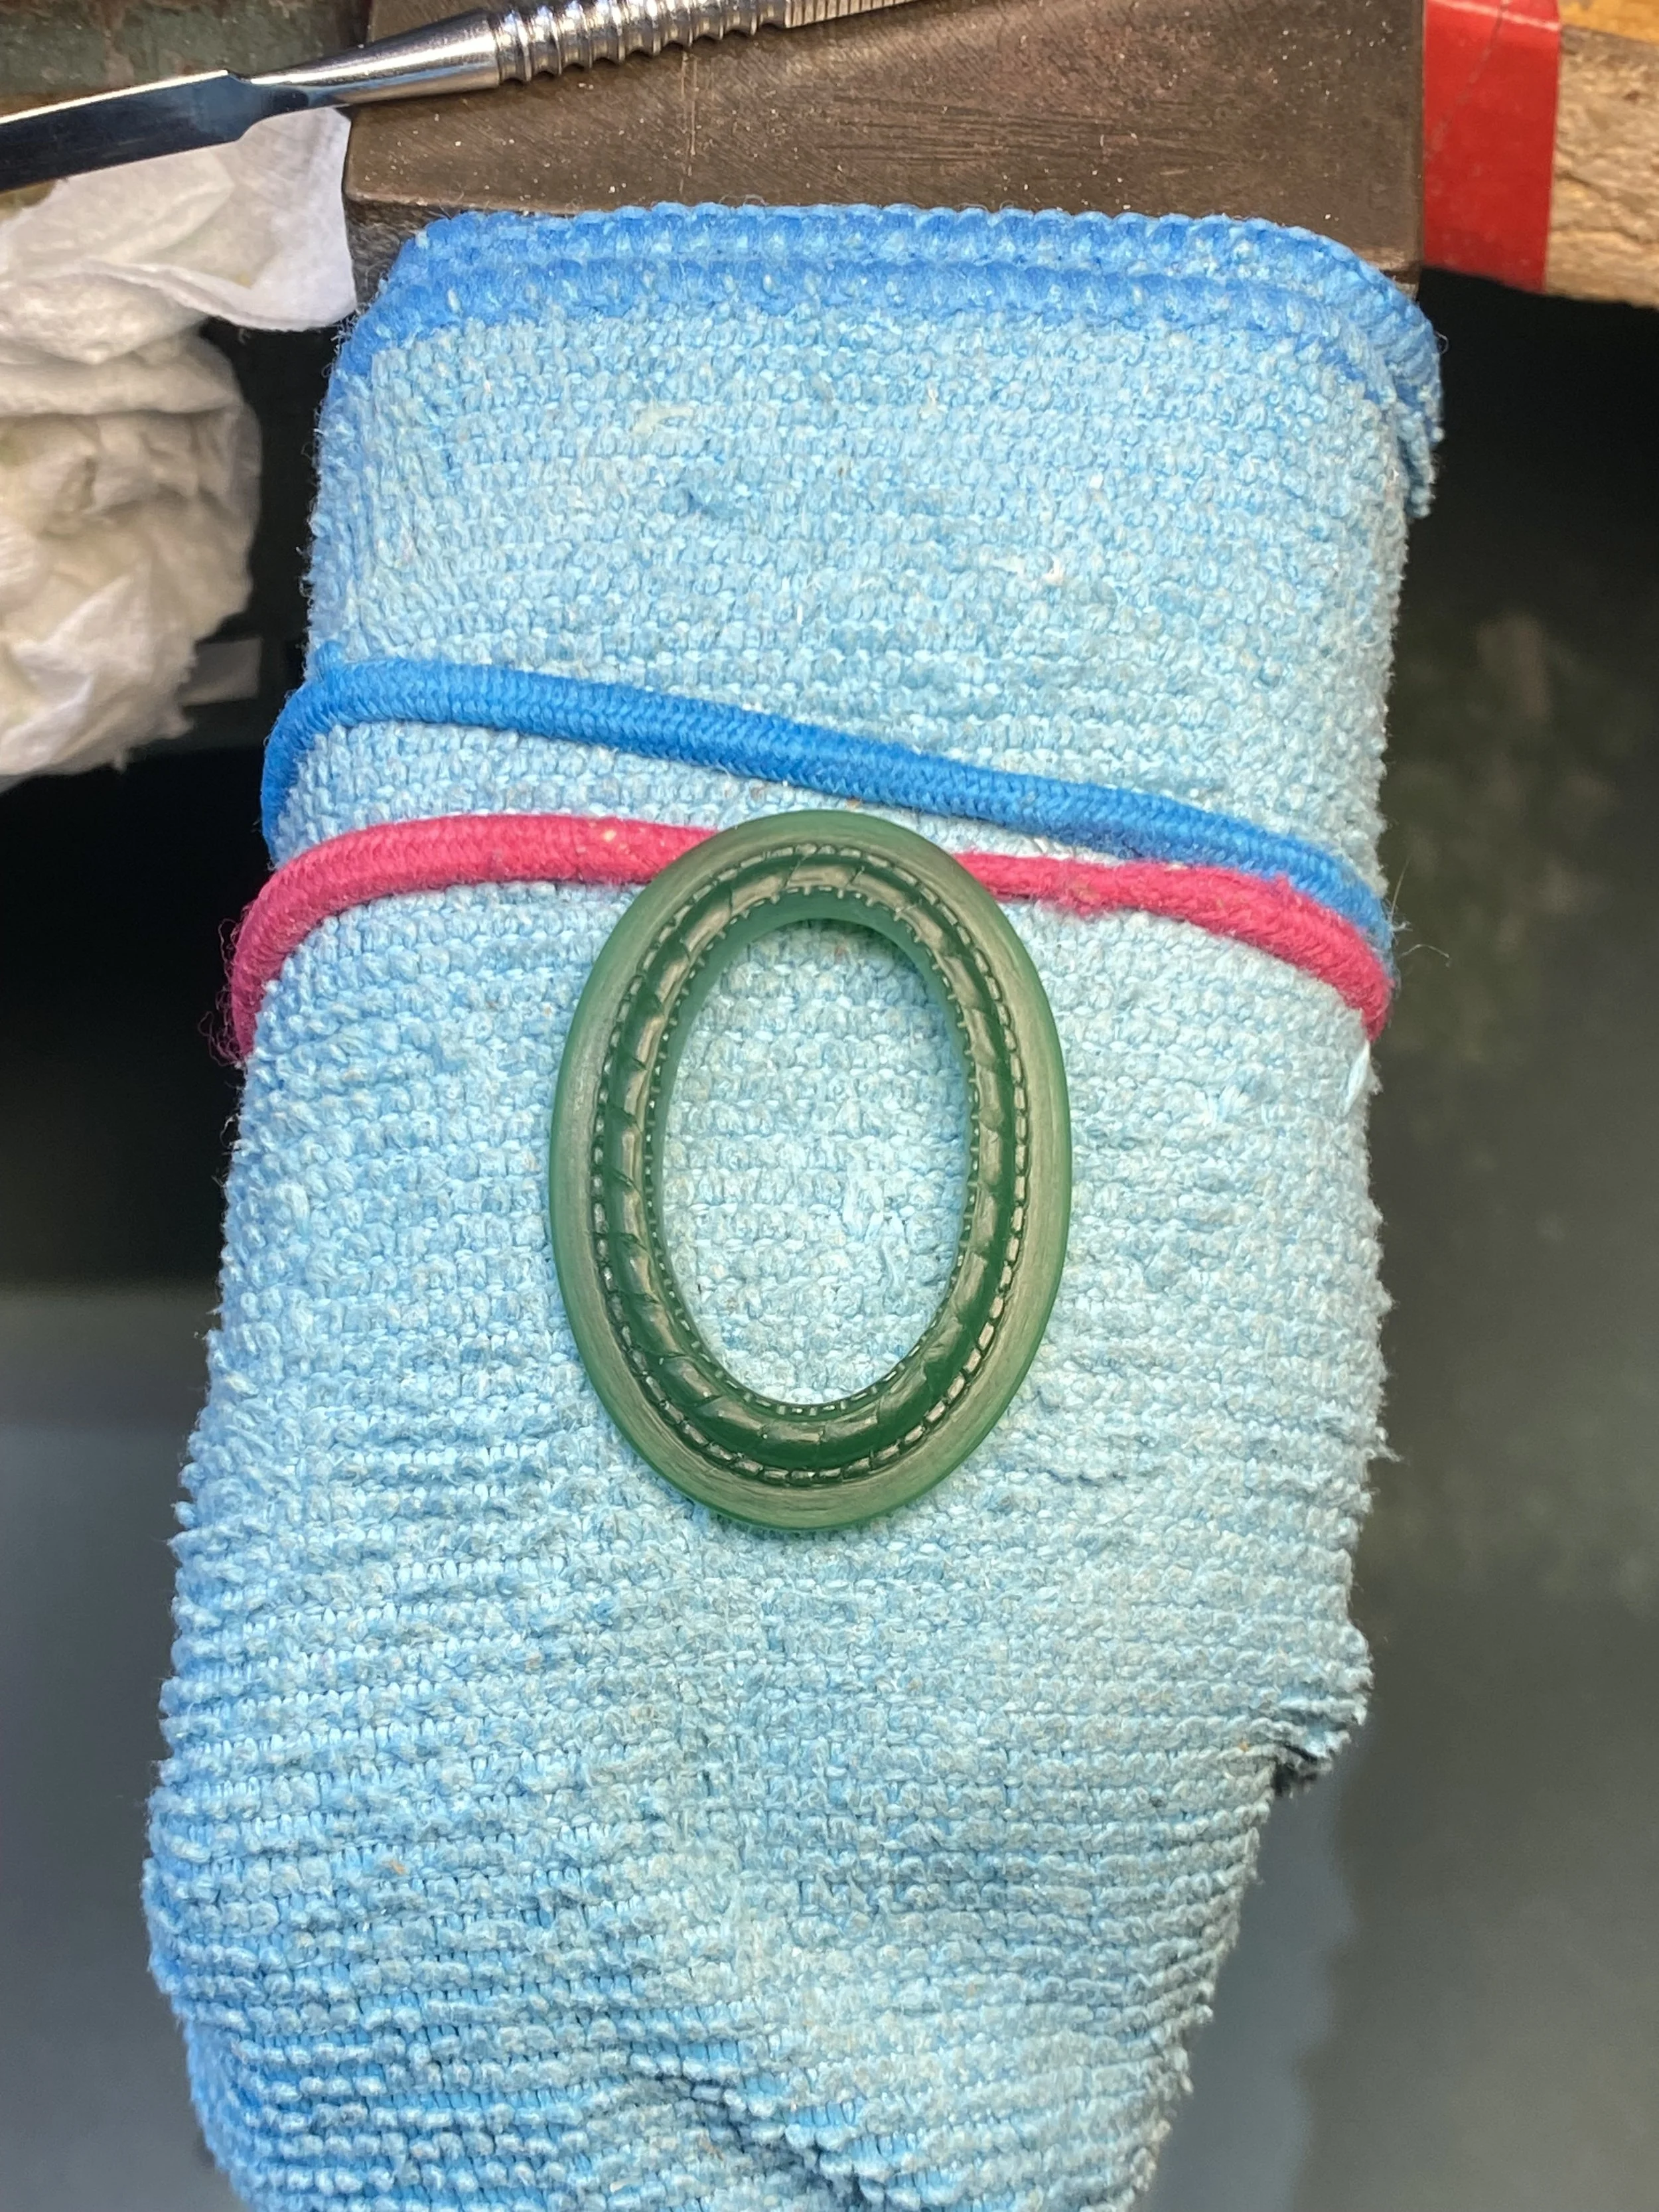
I decided that this one should be rope-themed, with two different gauge ropes running in alternate directions.
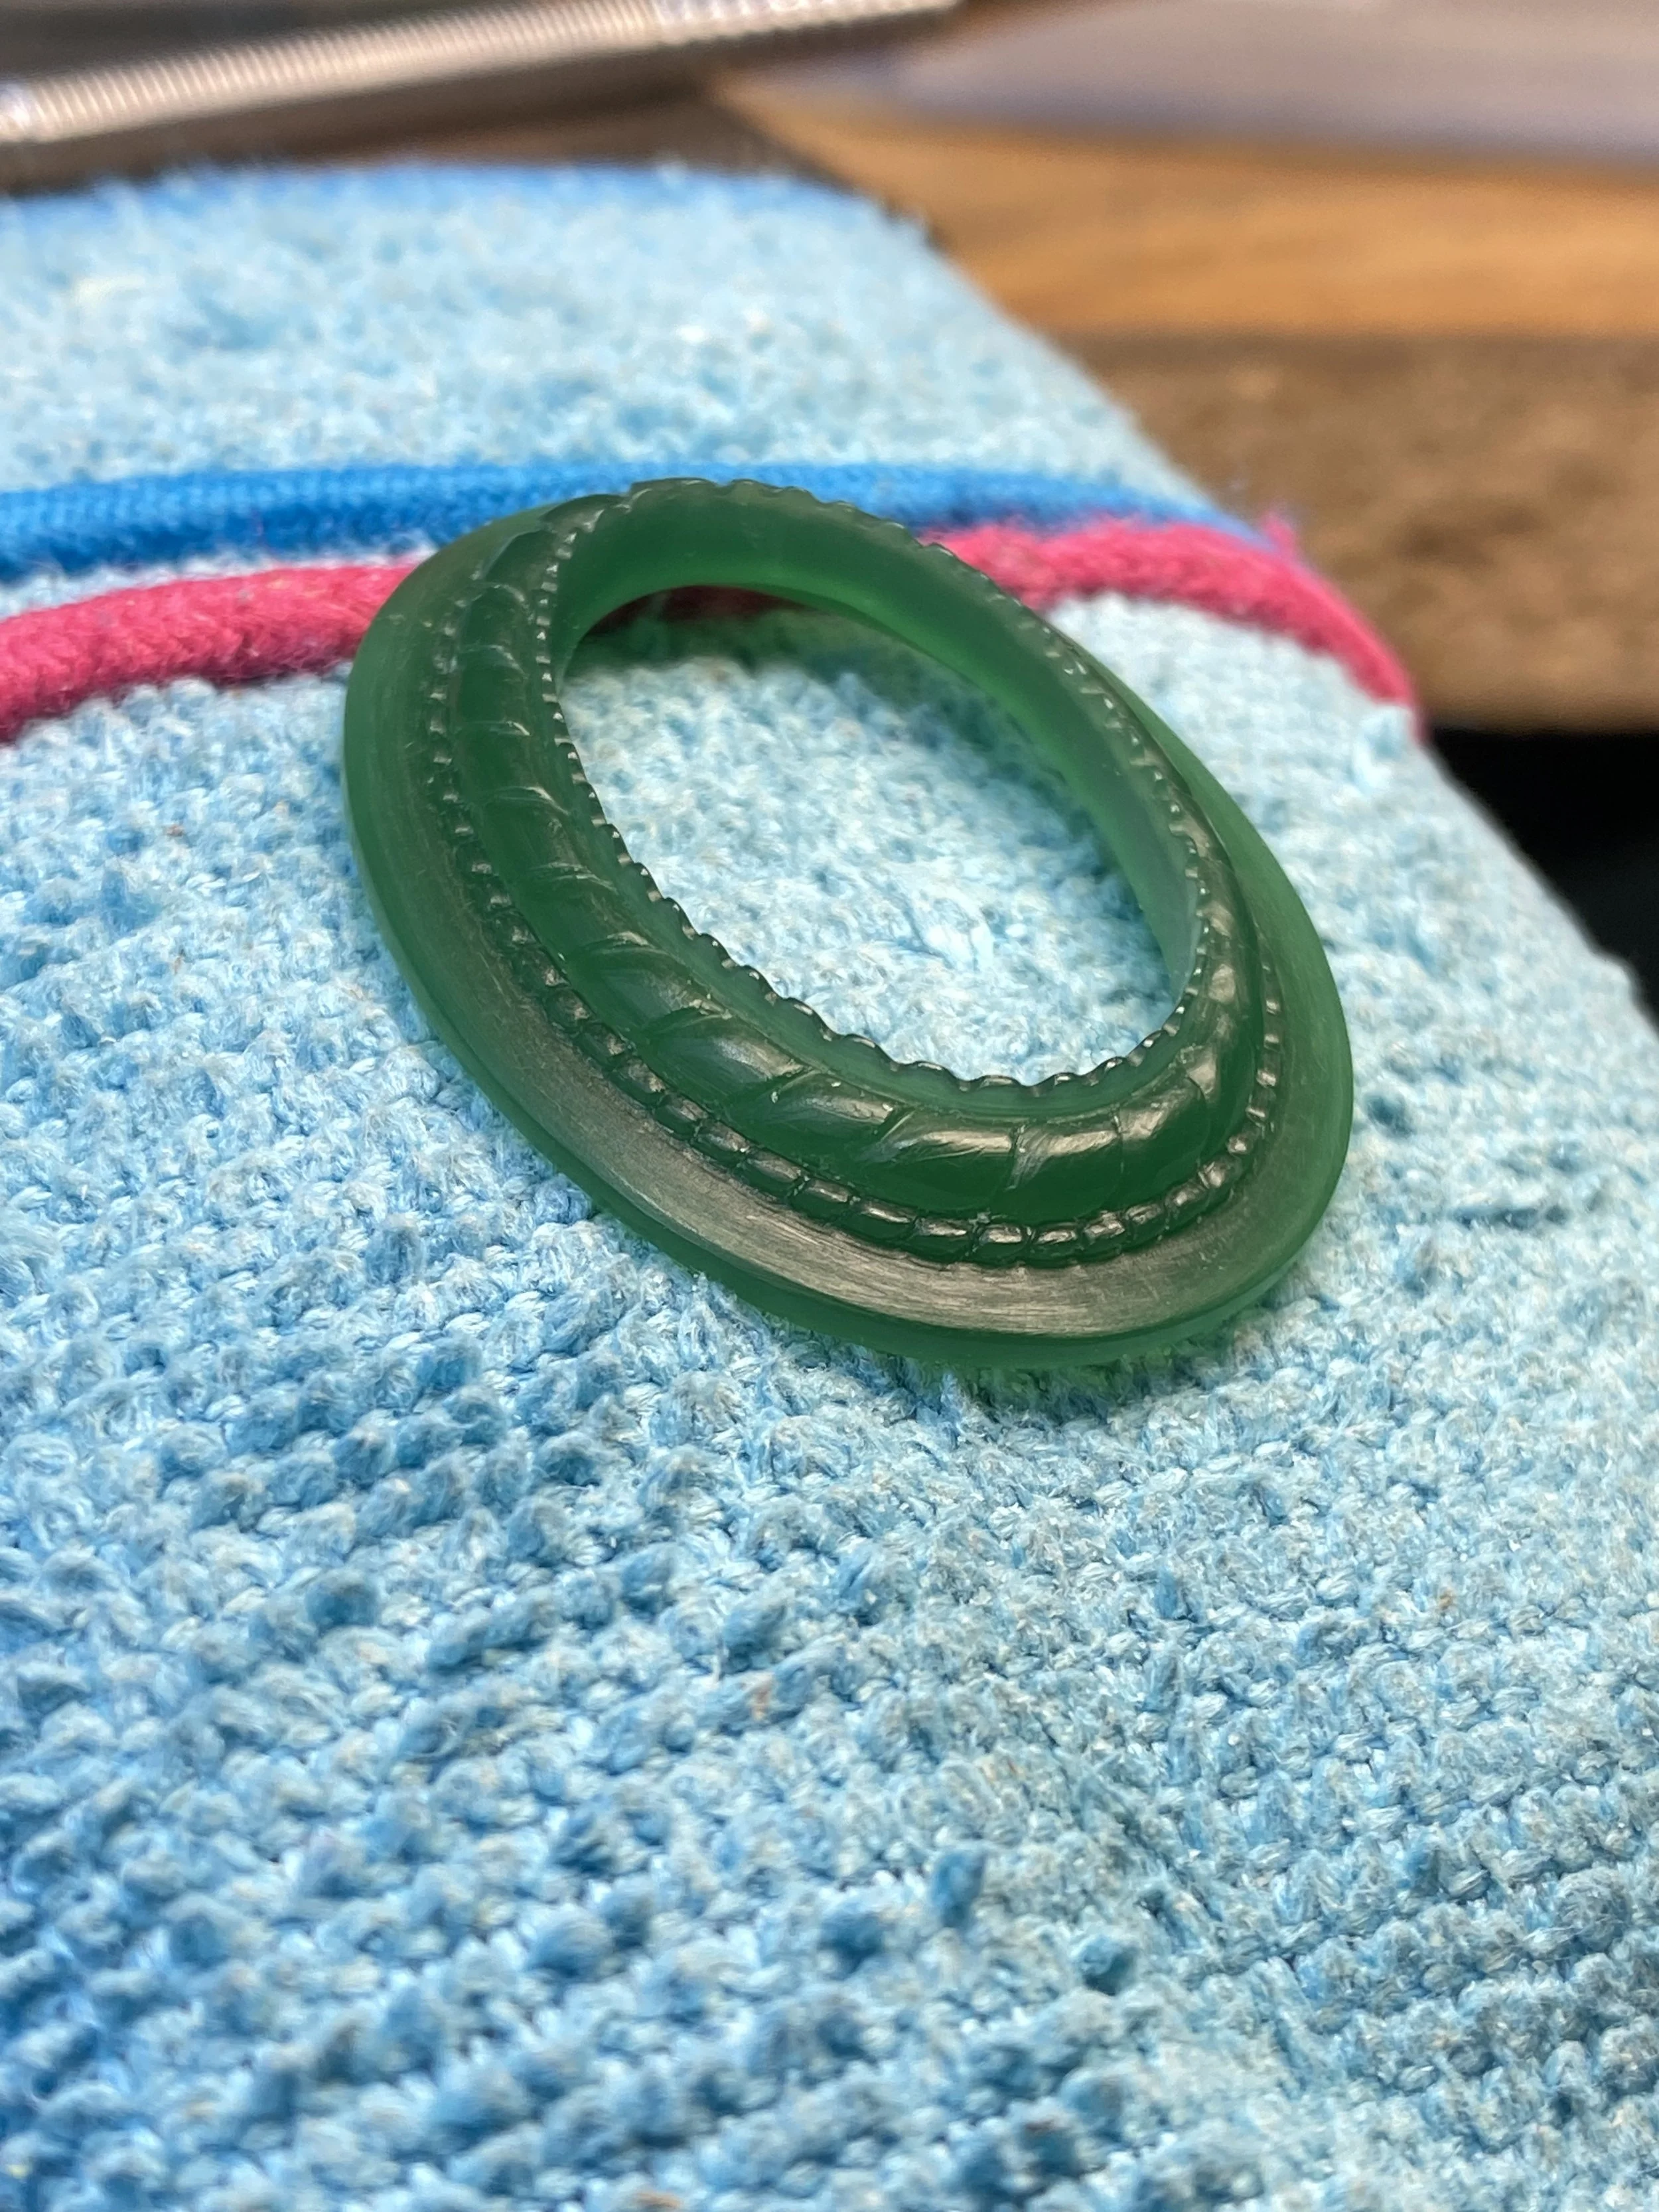
Here you can see the rope in more detail. I have left the edge beveled and included a 'pie-crust' rippled inner edge to the frame.
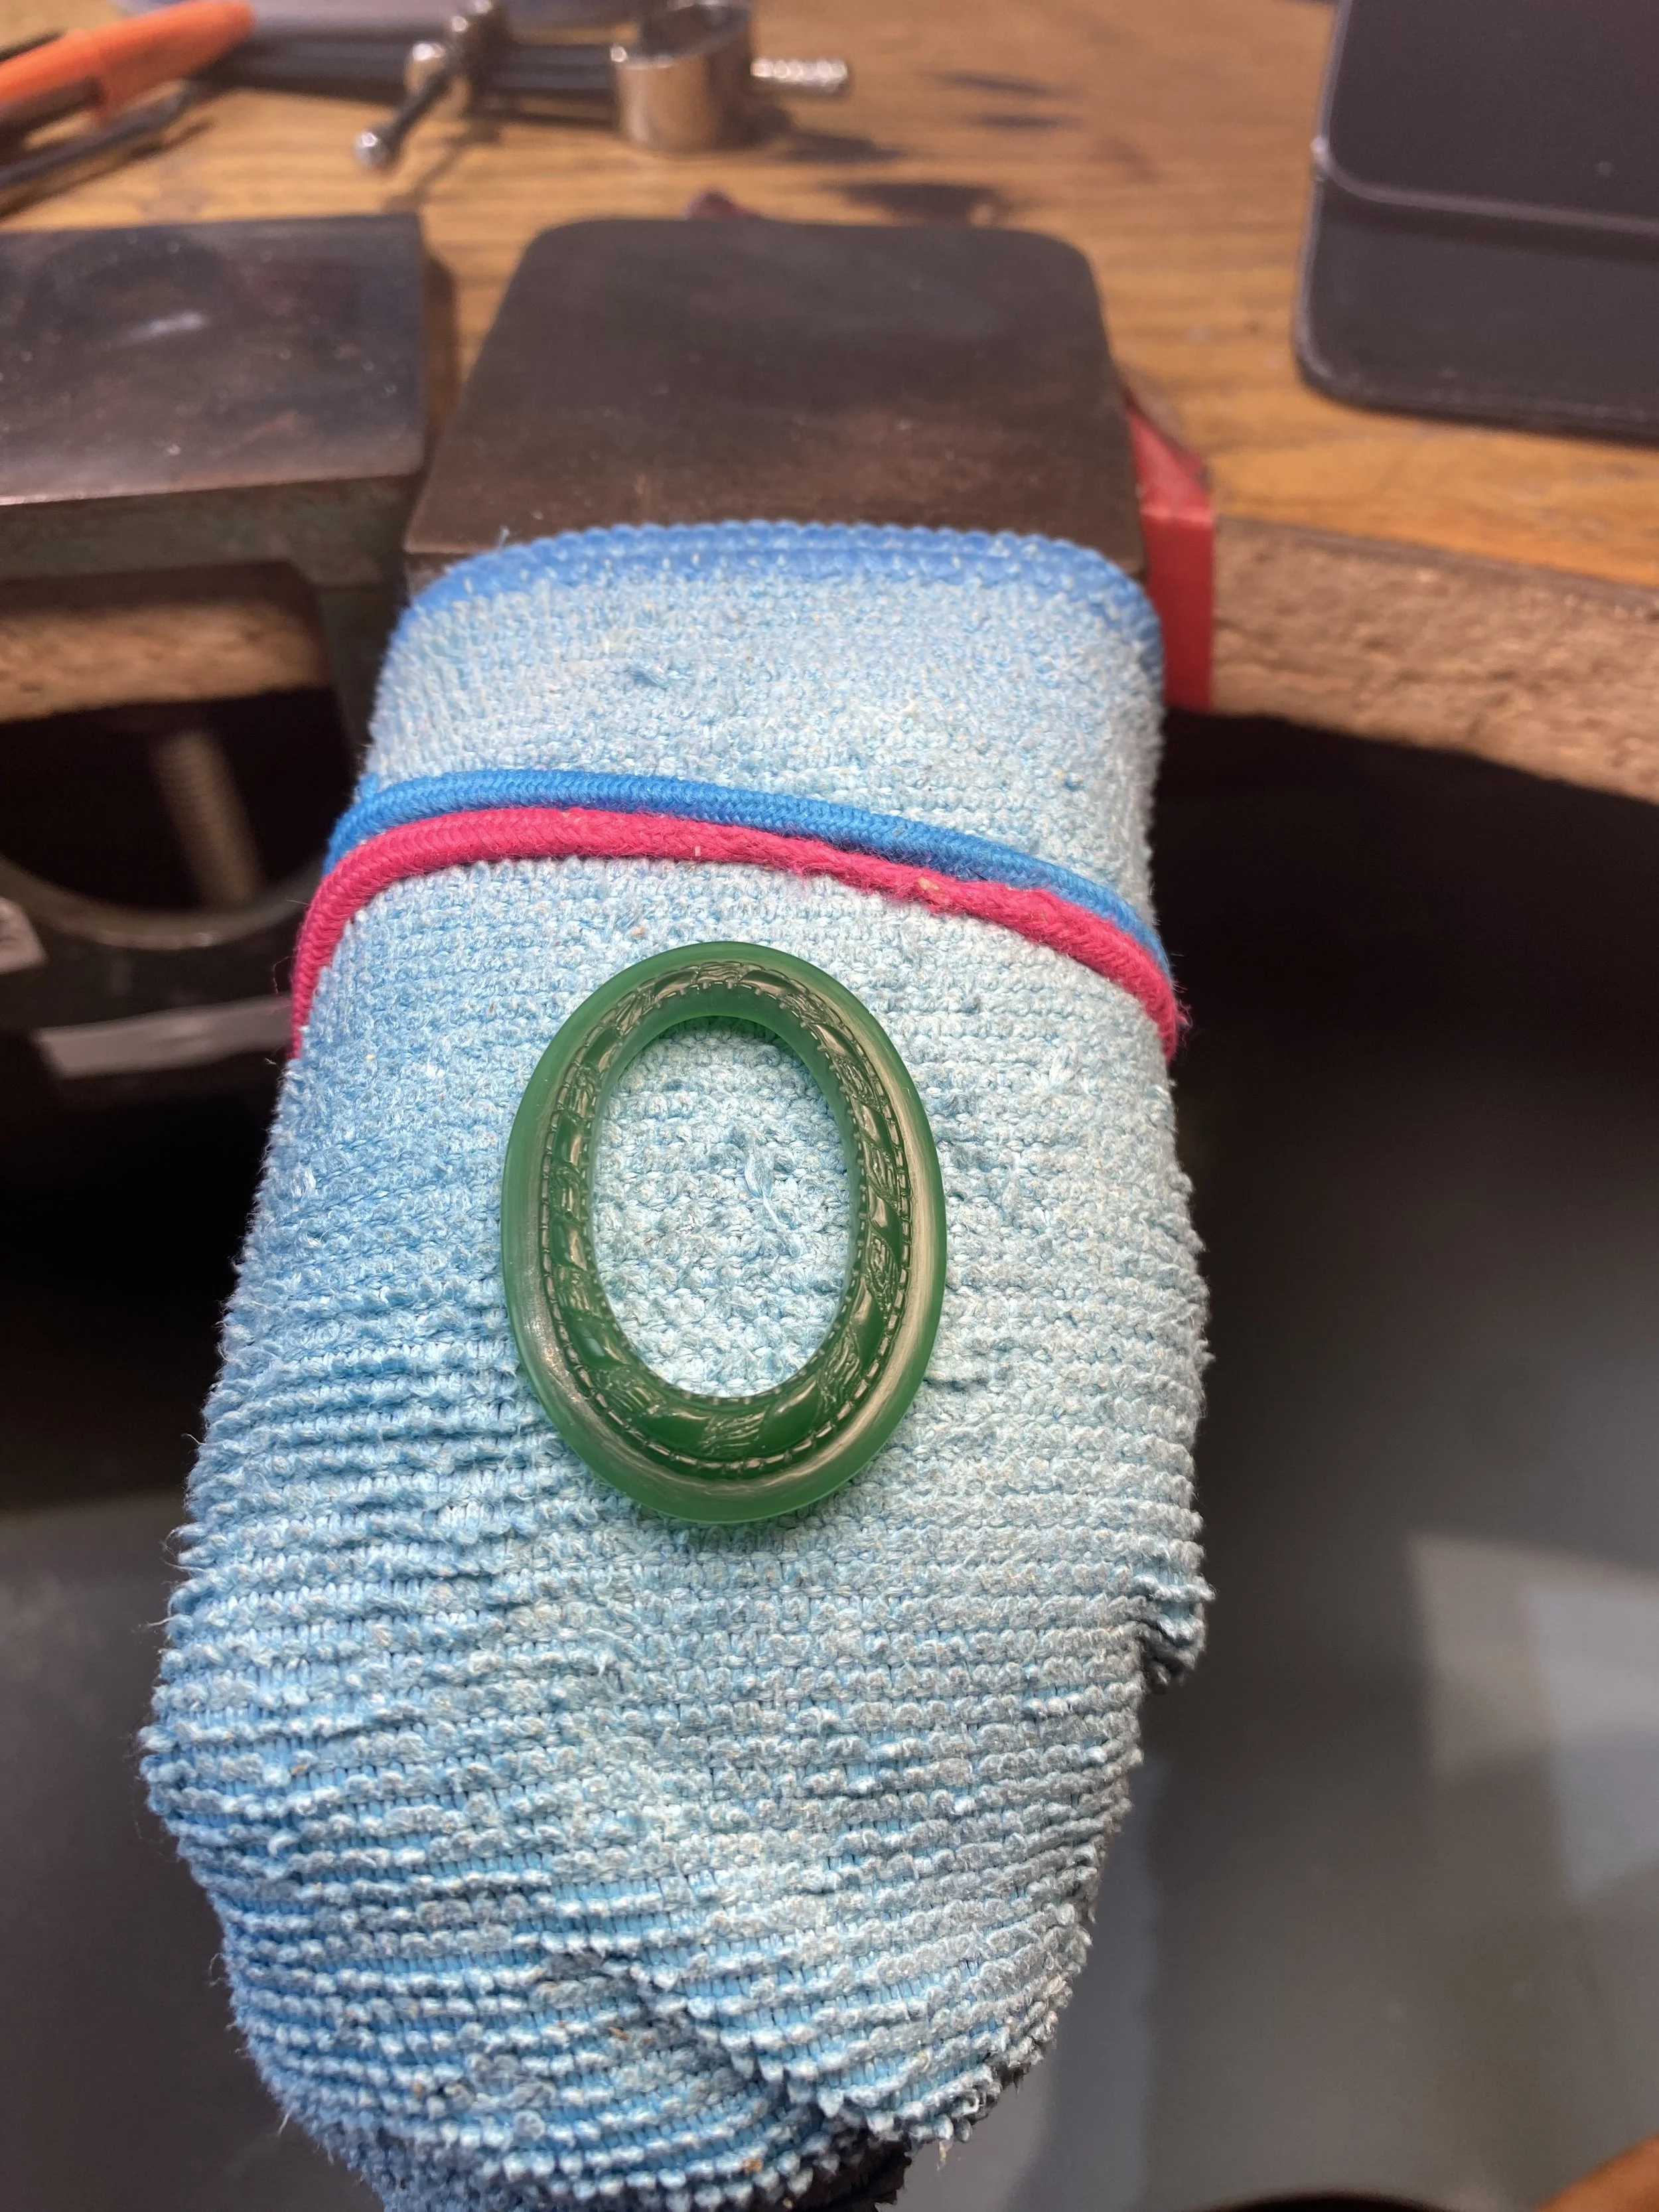
To go the extra mile, I have detailed the thicker rope with alternating 'thread' texture to give the rope more definition. This will look stunning when it's oxidised and polished!
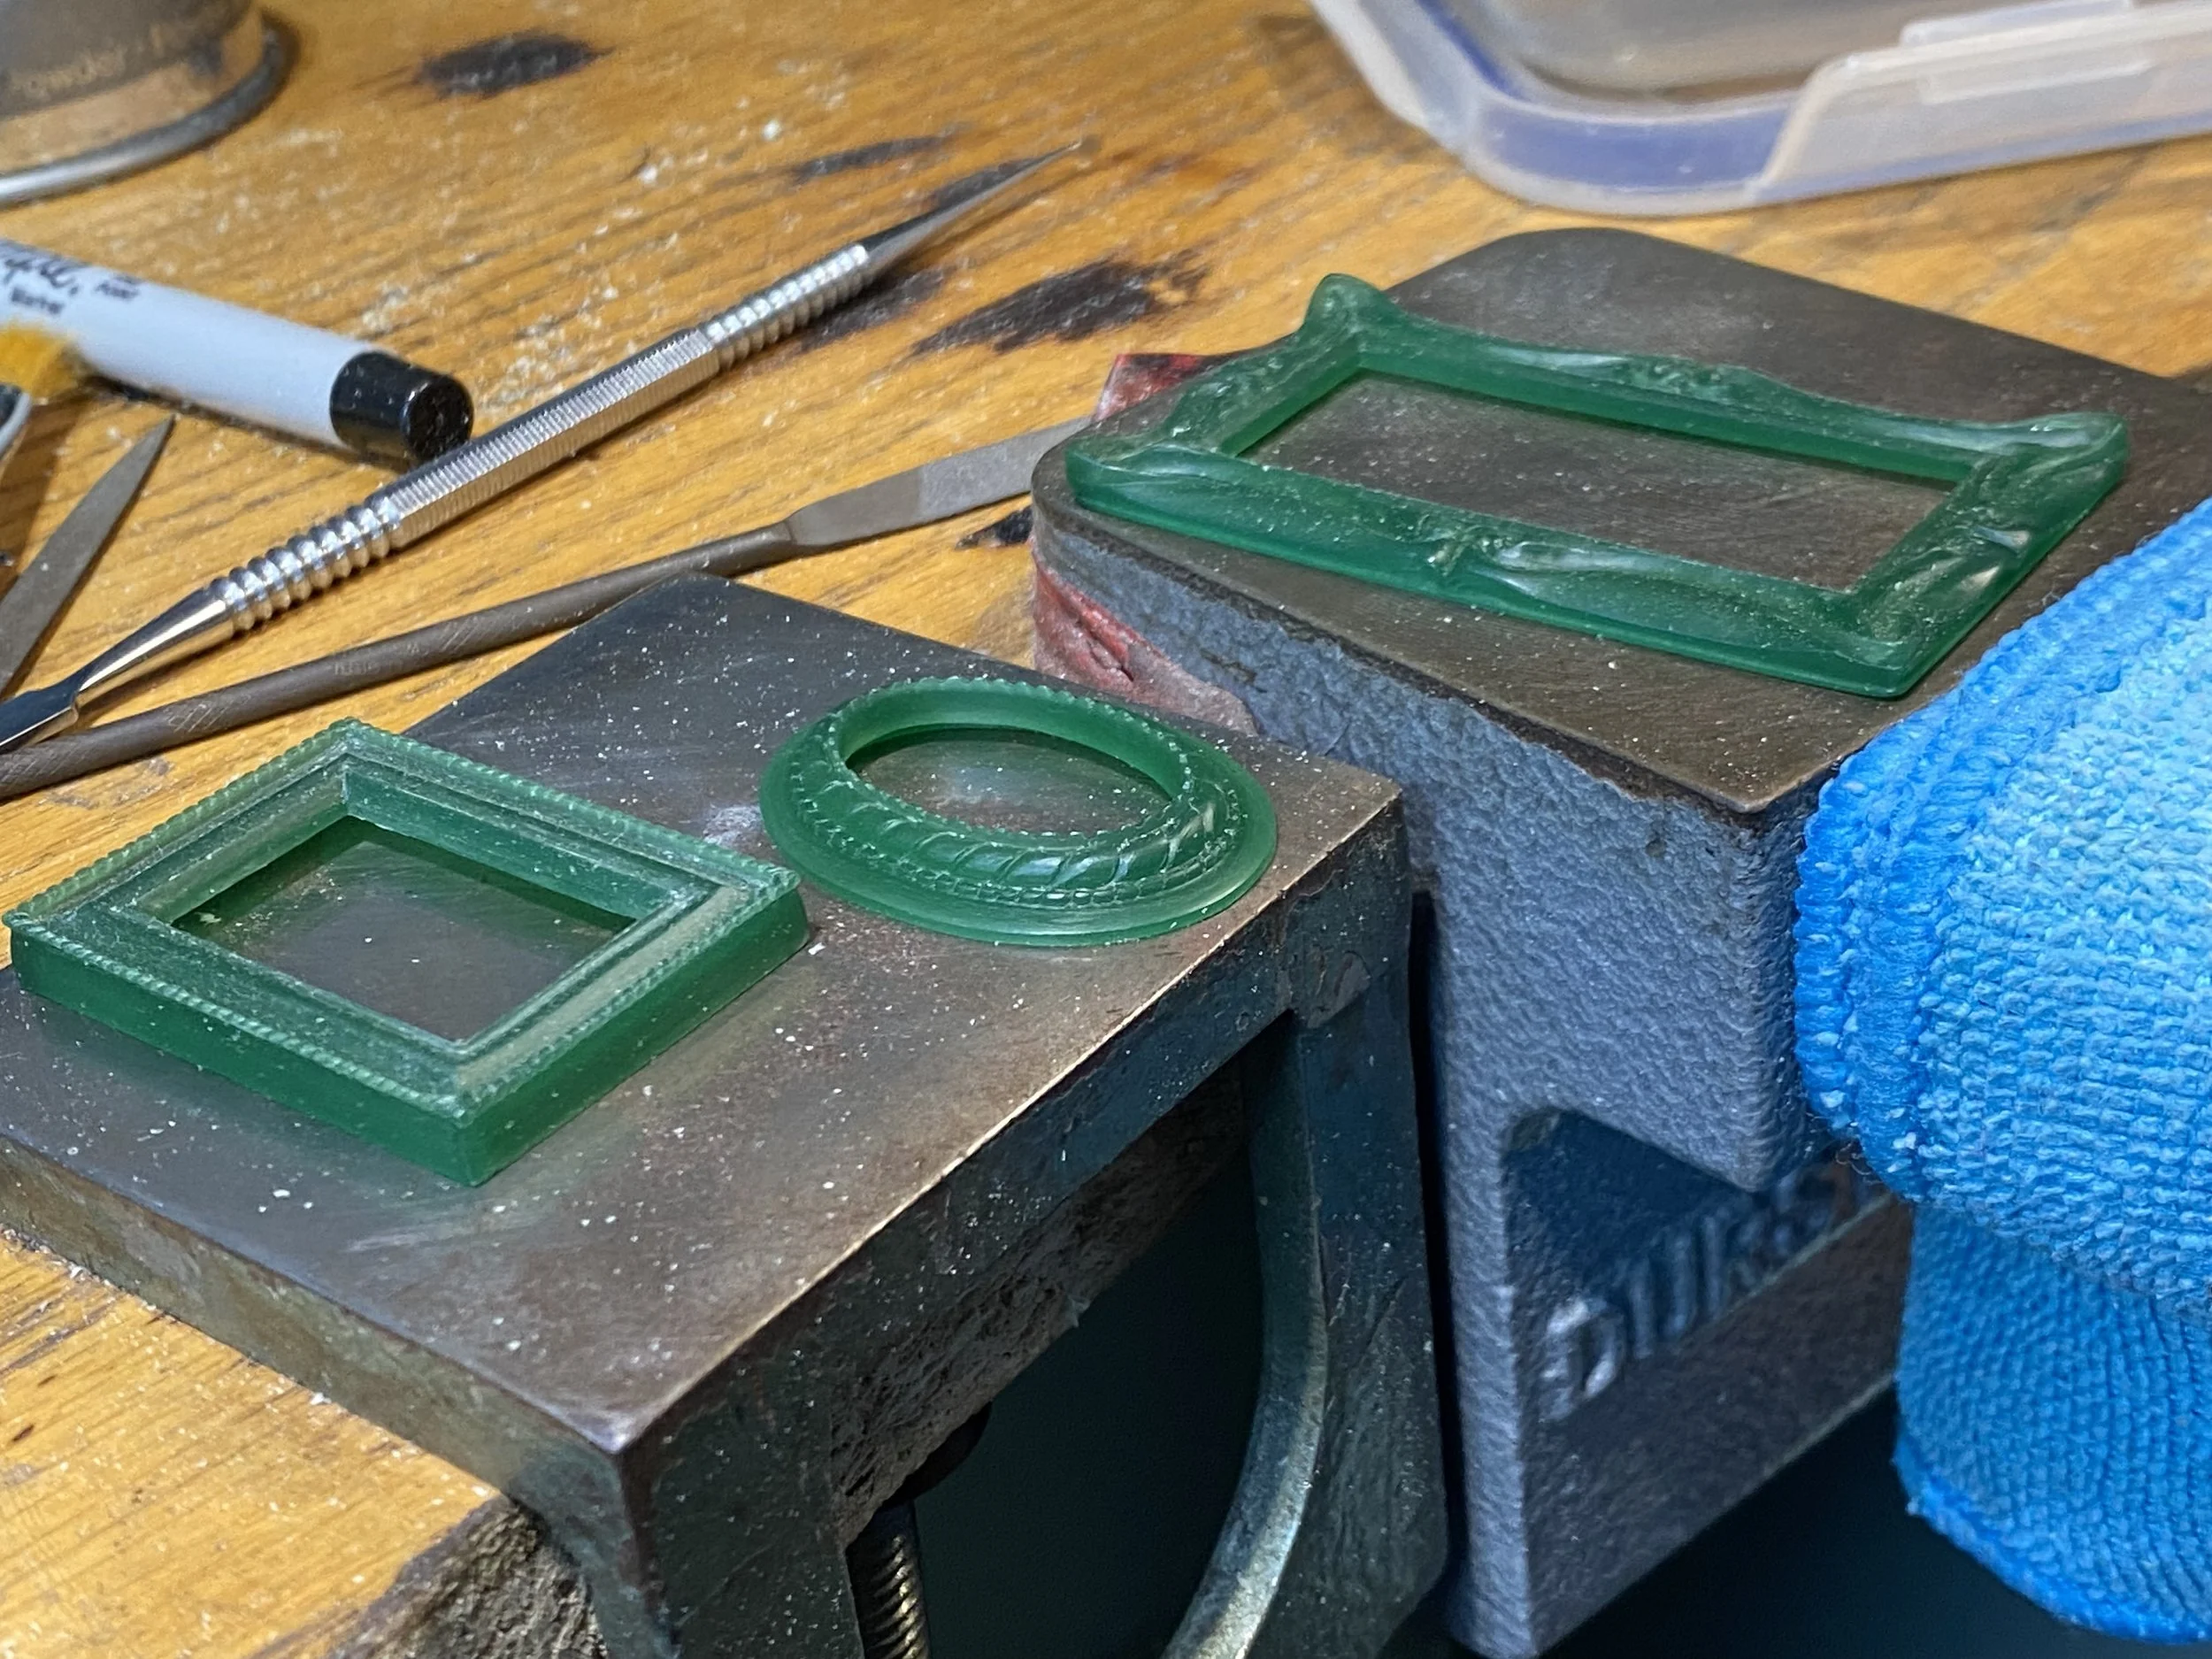
I had also carved another frame, which sadly cracked and split one of the sides. I could repair this, but given the level of detail I had already put into this, I felt it was best to leave it due to the catastrophic failure as getting the detail back in after repairing would be a real struggle to make it look seamless!
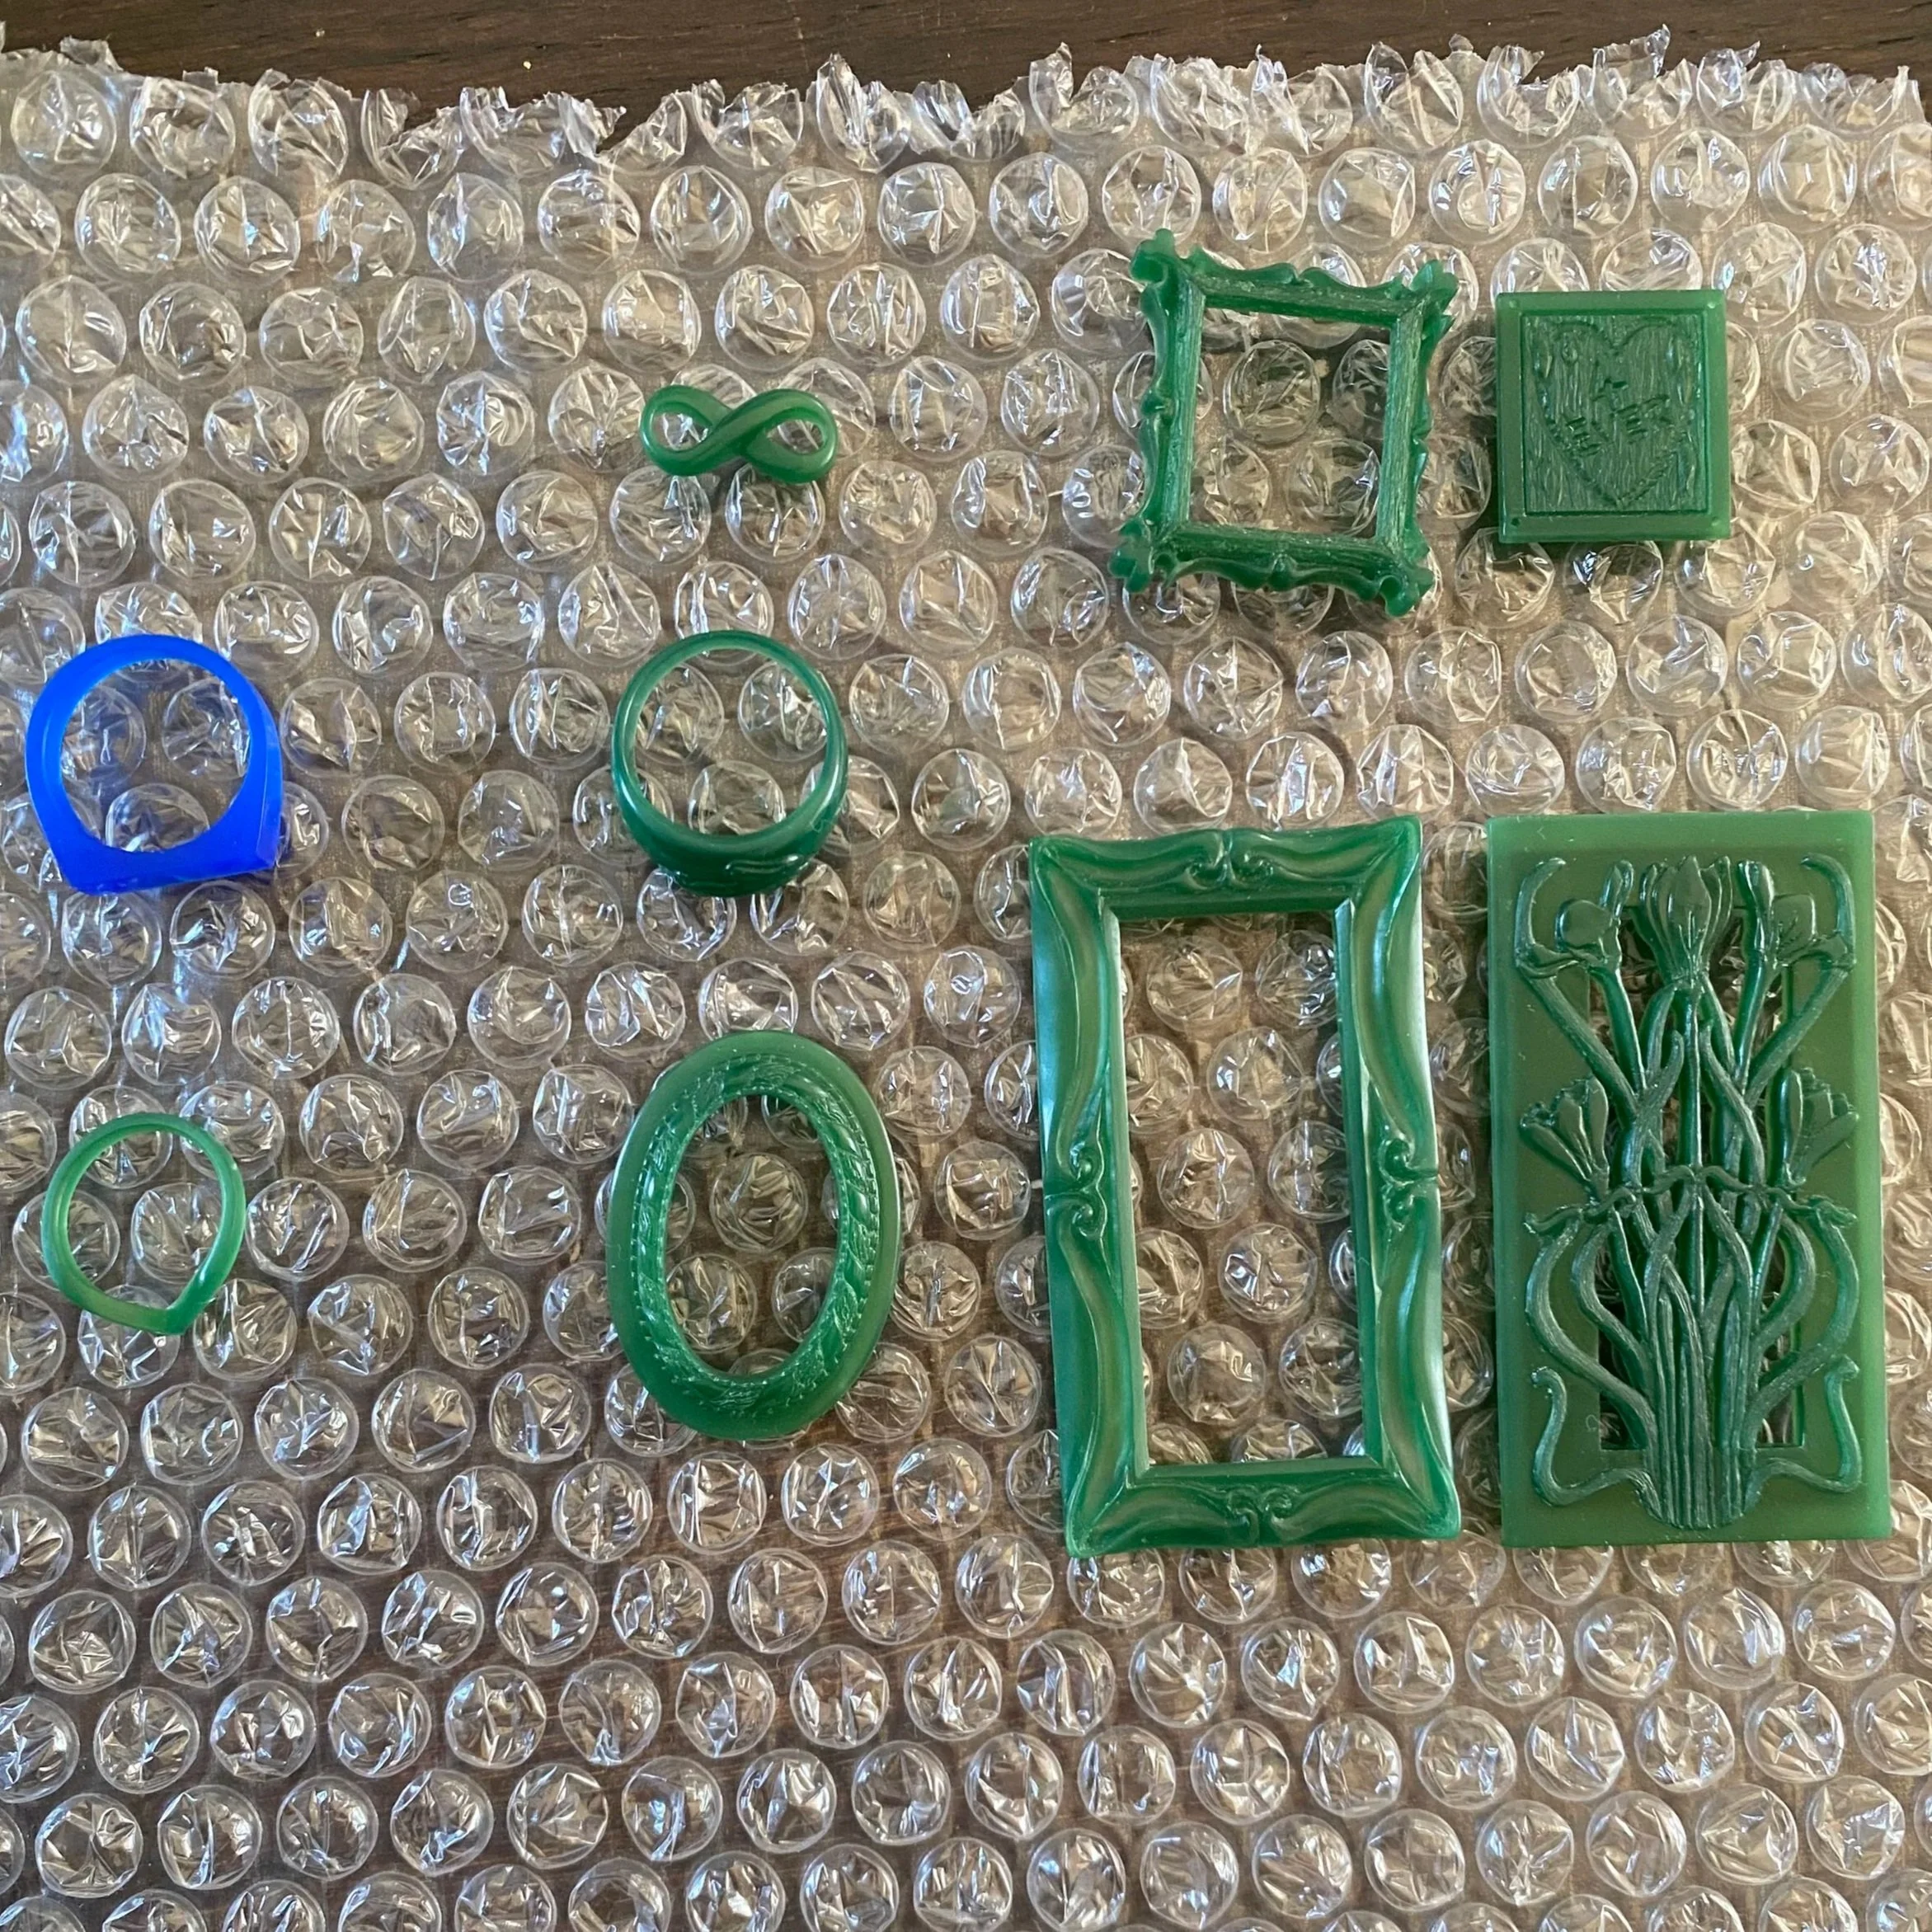
My wax collections being cleaned and prepared before sending to the casting house. All of the cotton wool, bubble wrap, hard box and a prayer!!
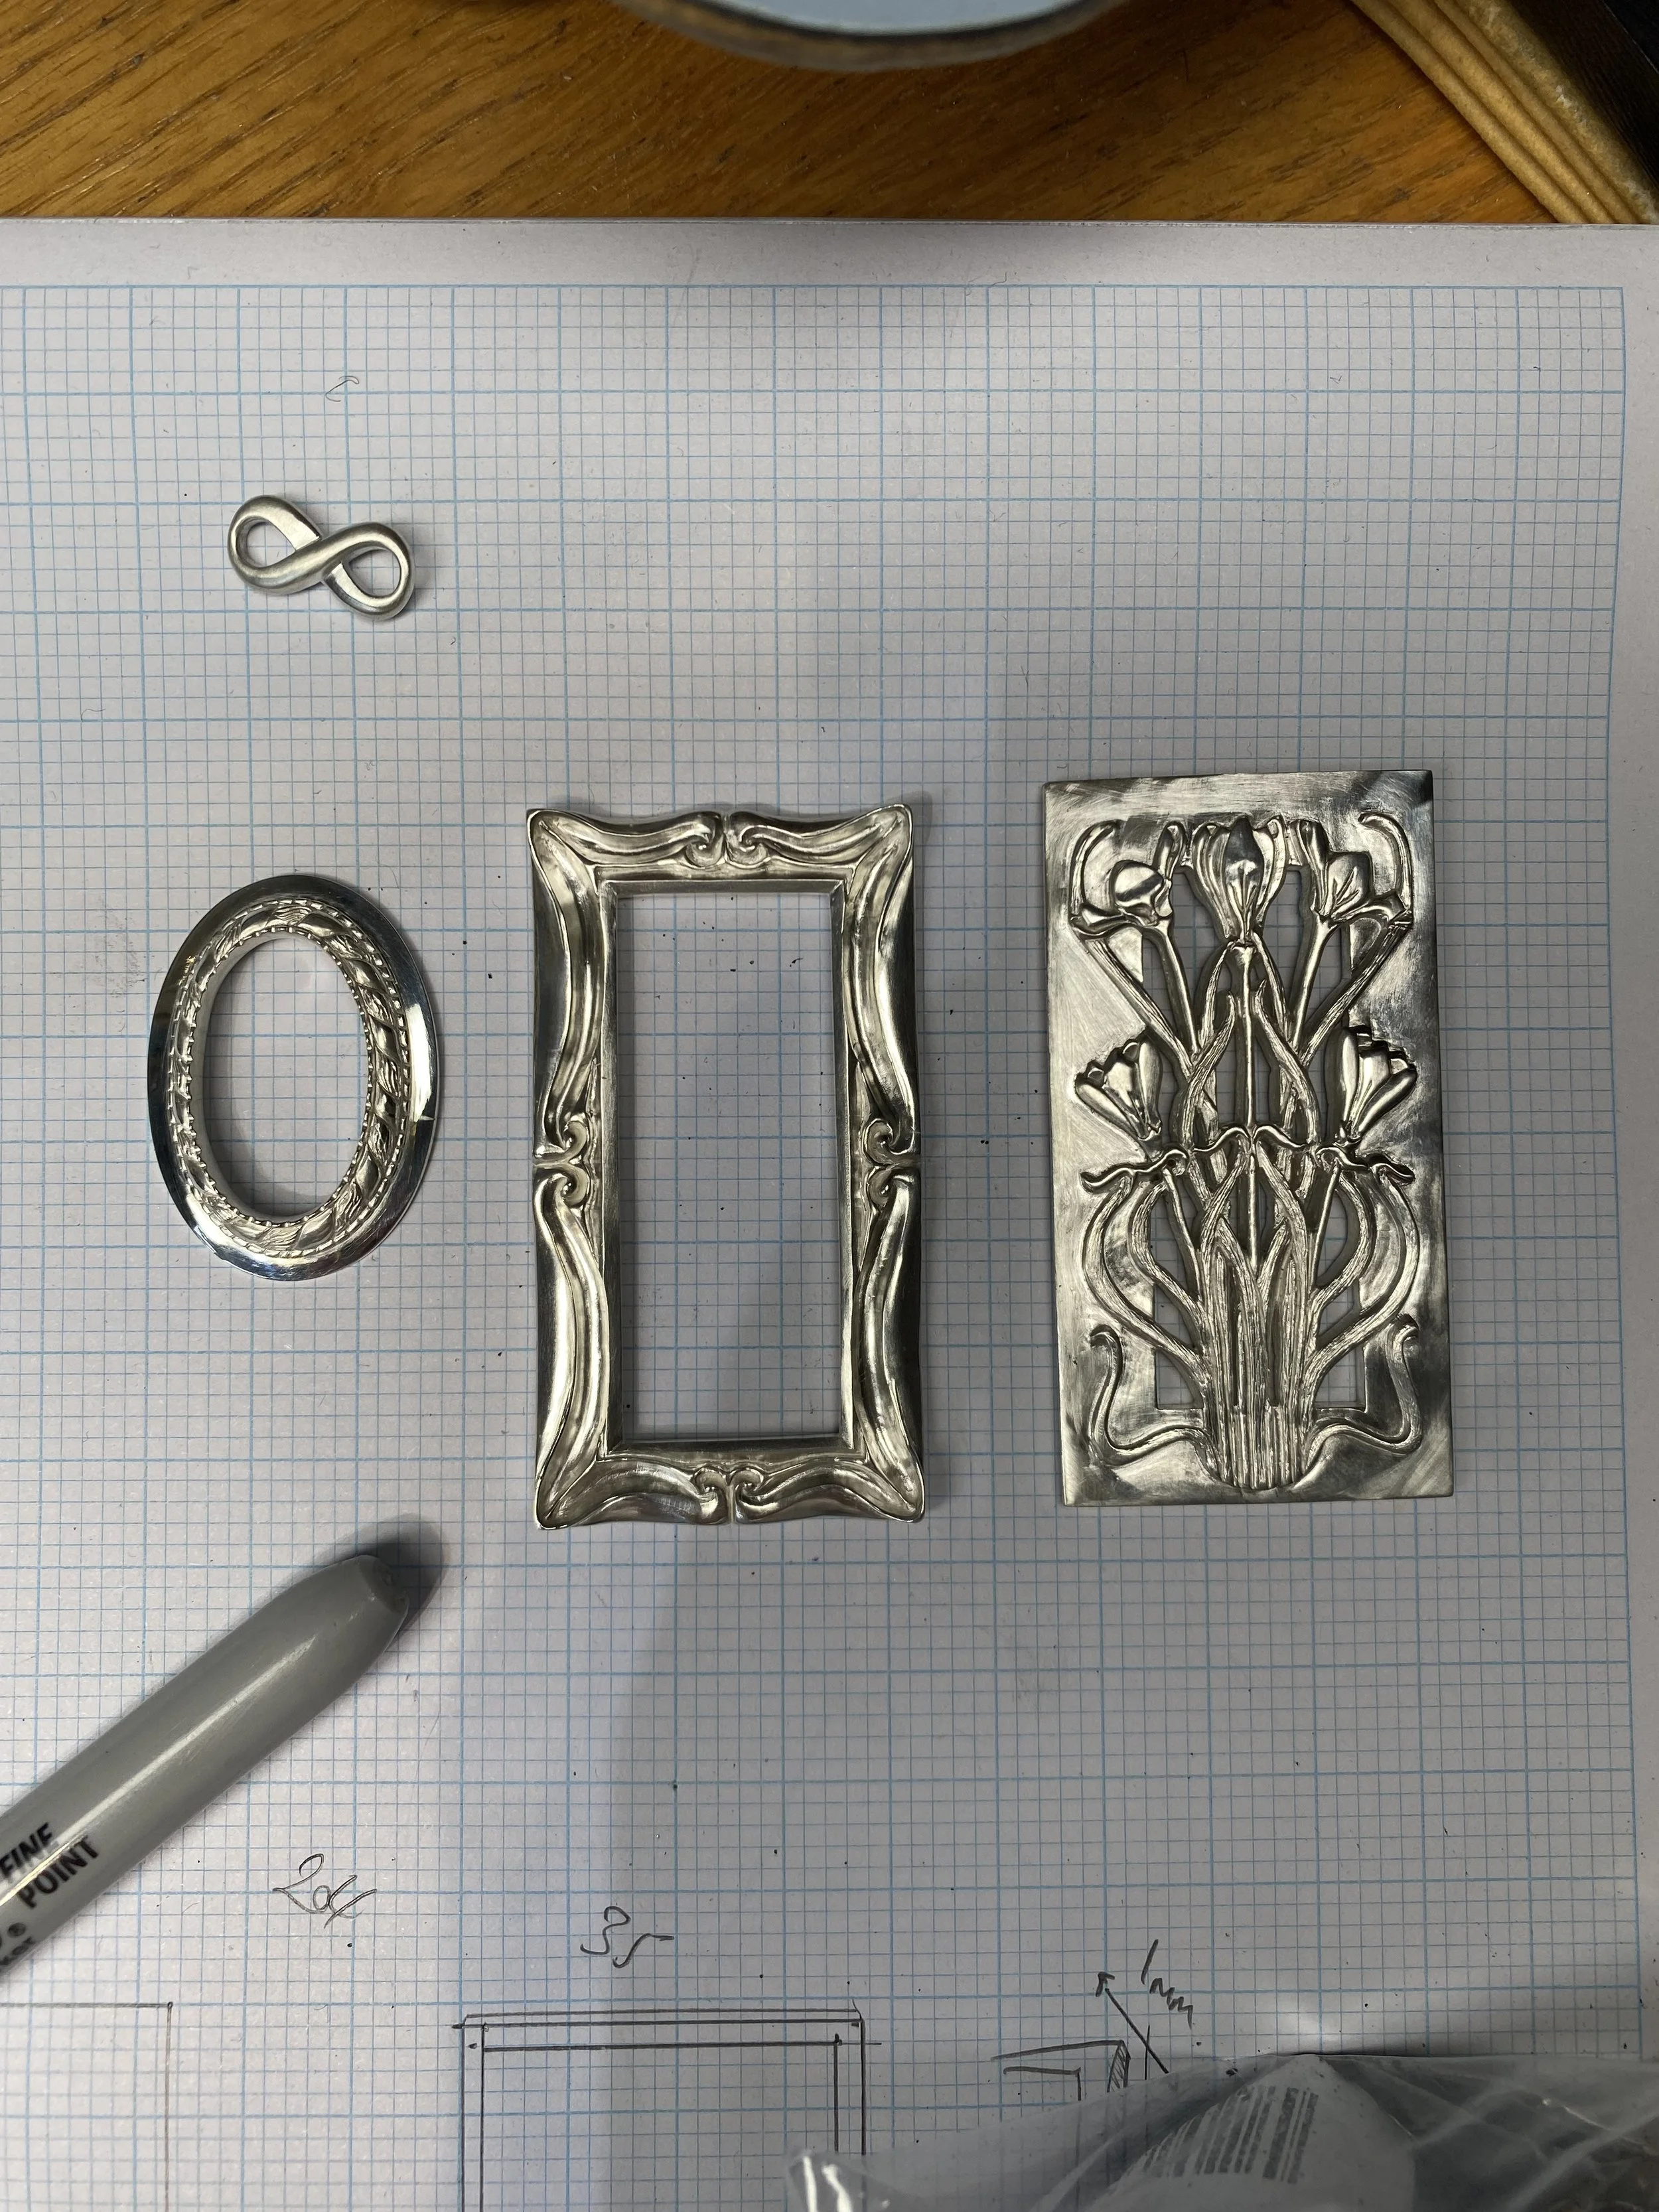
All safely delivered and beautiful castings returned! It's really nice when the director of the casting house calls you to comment how nice your carvings are! *sneak-peek at a 'figure of 8/eternity' link I am working on for a future bracelet and necklace design. You saw it here first!